
 Price: $89.99
|
 Price: $99.99
|
 Price: $99.99
|
 Price: $109.99
|
 Price: $99.99
|
 Price: $79.99
|
Wizard Of Oz Brightening Kit Installation
Thank you for purchasing our Wizard of Oz (Woz) brightening kit. This kit was created to light an already beautiful game so that it could be played and enjoyed in the dark or any room with low light. The kit takes a bit of time to install, but we believe it will be worth it. Please follow the instructions below carefully. If you have any questions, please contact us for support. Installation should take about 1 hour. Nothing is permanent and can easily be removed. Please be patient and take your time while installing.
Lets get started.
- Unpack the kit. The kit comes packed tightly.
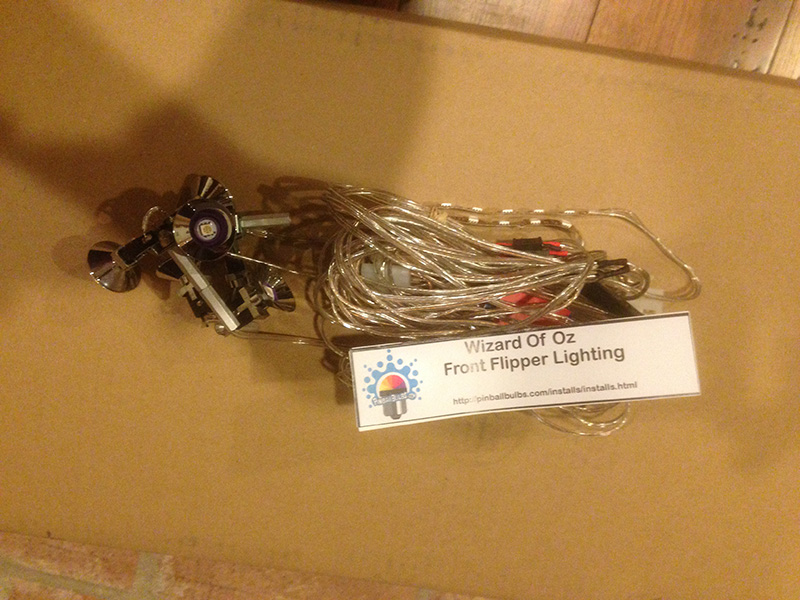
- There are a lot of wires to unpack. So first we should unpack and untangle the kit. Be very careful so that none of the solder wires get tugged out of place.
There are distinctive parts to each kit that will be referred to in these instructions.
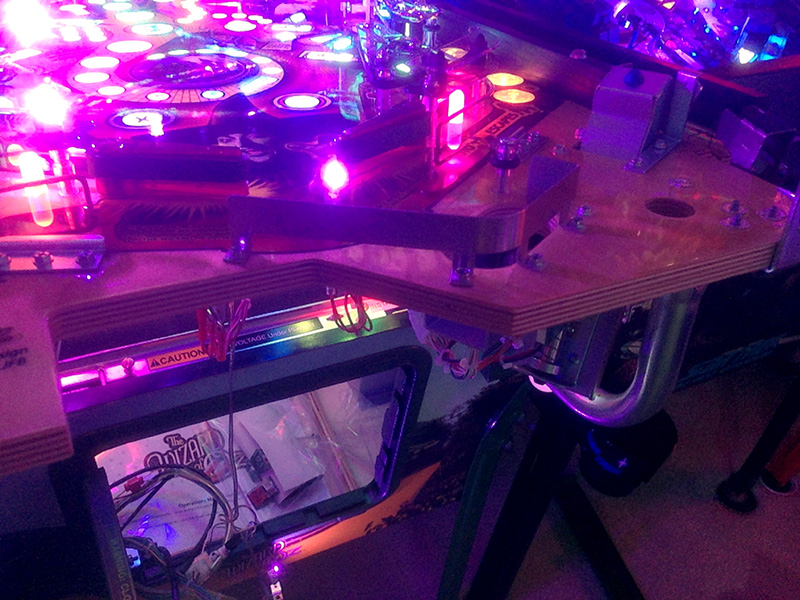
The spotlights (now 2 single and 1 double spotlight):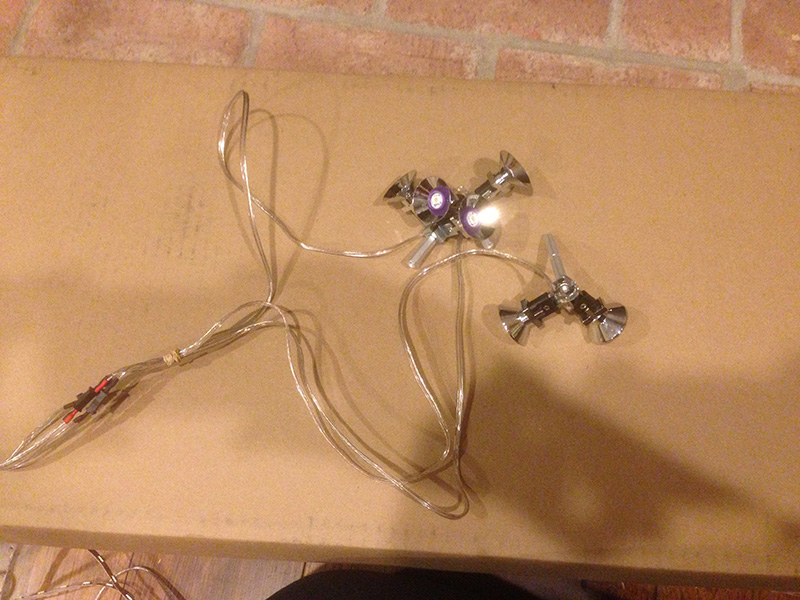
The front and back light strips: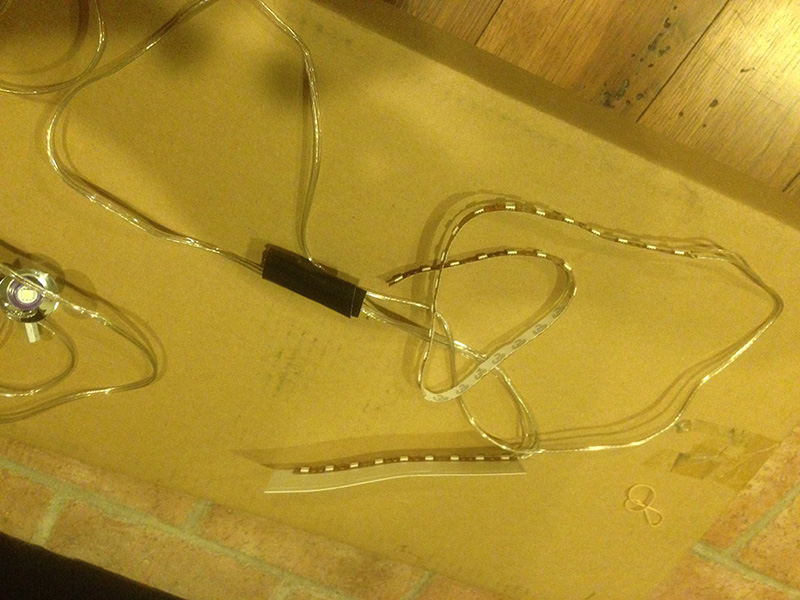
- The elements will each attach to their respective areas on the playfield and plug into the power section at the end to power up.
- Before we get started, please plug the power connector into the coindoor connector on your WoZ and make sure that the light strips power on as well as your coin door inserts light up. It's best to make certain of this prior to installing anything.

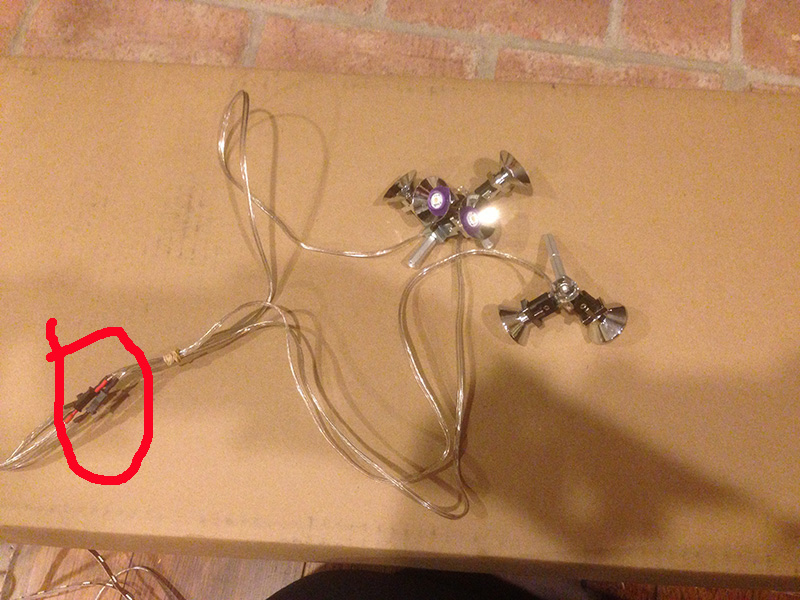
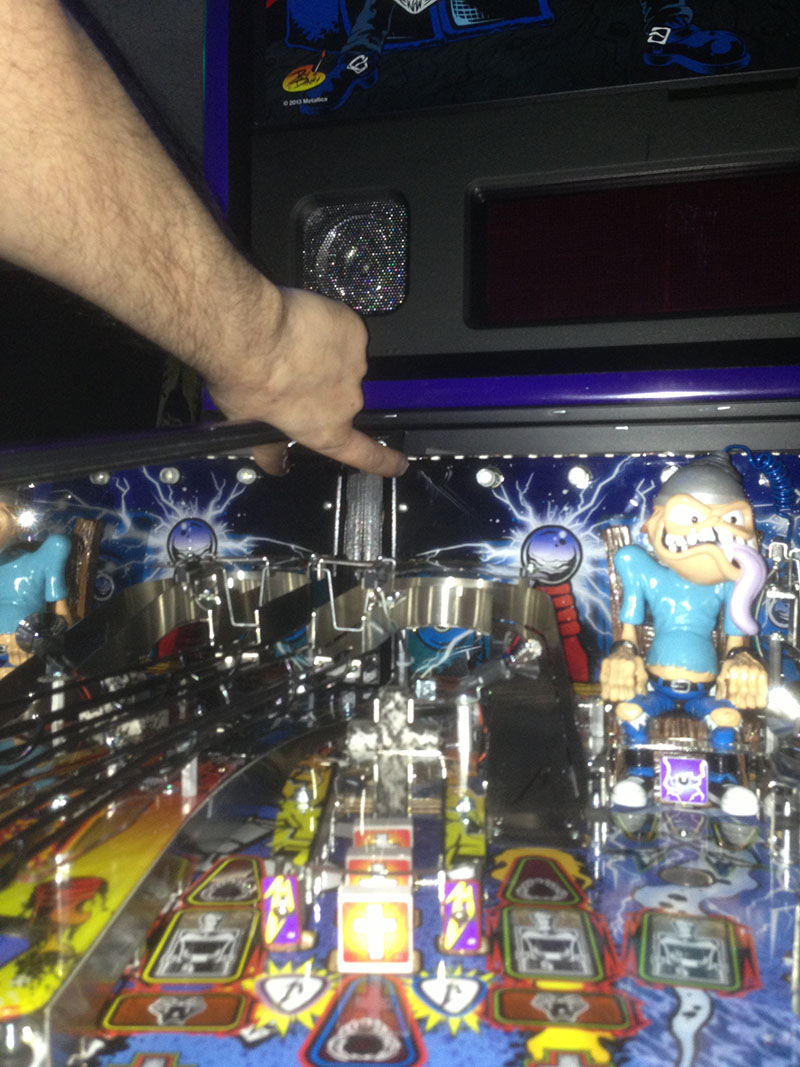
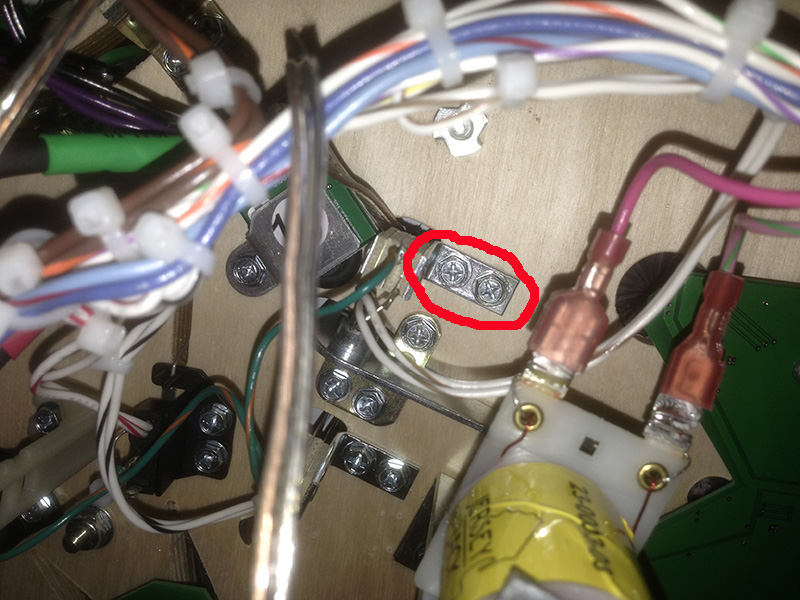
The power connector is to the very left of the coindoor. Just open your coin door. Unplug the coindoor light connector, plug the two kit connectors in, and power on the machine. The coindoor lights need to come on as well as the two light strips. If not, please contact us immediately. - Lets install the light strips first. Separate the spotlights from the power connectors. These just pull apart. See the red circled area of the photo.
Set these aside. We will use them later. - FRONT LIGHT STRIP
Remove the glass on the machine, power off the machine (ignore the fact that I didn't power off my machine. You should do as I say, not as I do.), and lift the playfield onto its supports. We need to remove the apron. Remove the two screws in front that secure it, and gently slide it off and set it aside.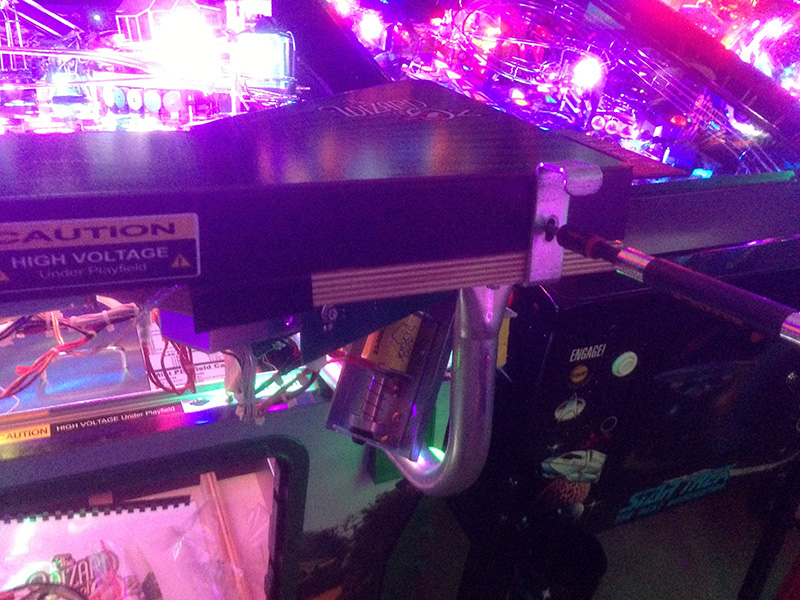
- The light strip comes on a cut and sized card for this machine. This installs just like our
Stern front light strips.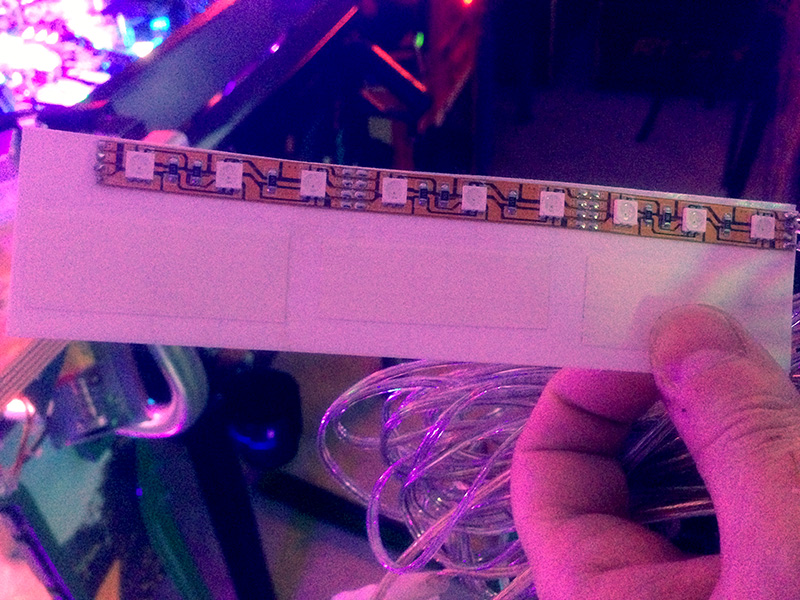
Peel the layer off of the tape on the front side of the card. And secure the card using the double sided tape to the machine as seen in the image below: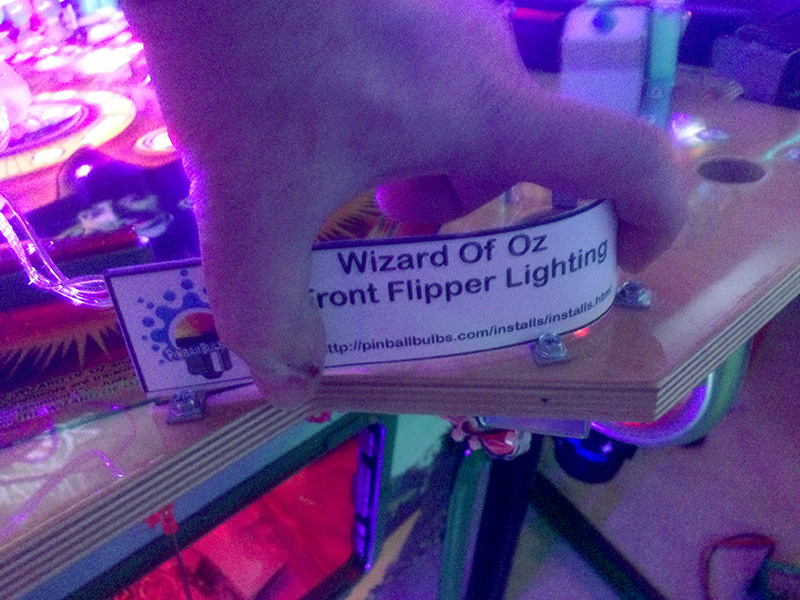
The installed strip should look like this: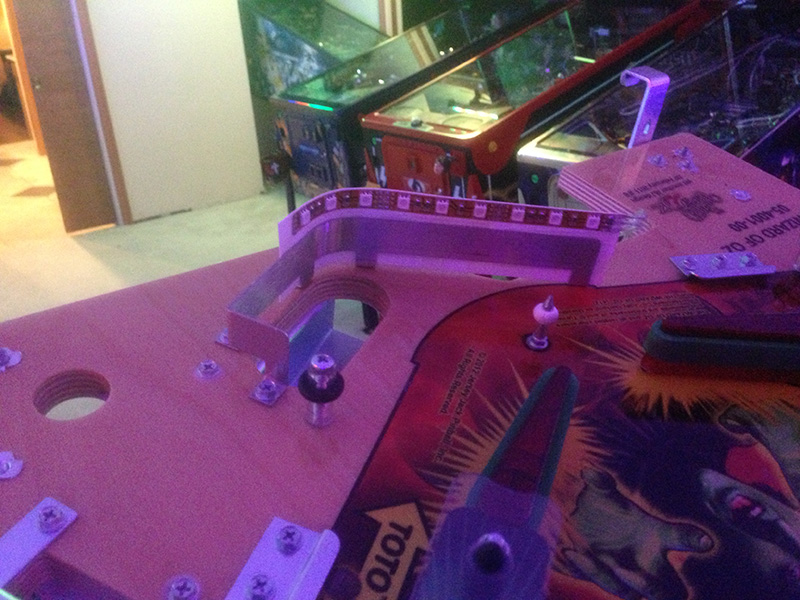
- Run the wires down into the open area in front of the ball trough and into the cabinet. Make sure you don't accidentally run the wires through the coindoor or you won't be able to close the door (Yes, I did this stupidly the first time myself).
- You can tape the wires a little bit if you want to prevent snags from ripping the card off or the wires off the strip:
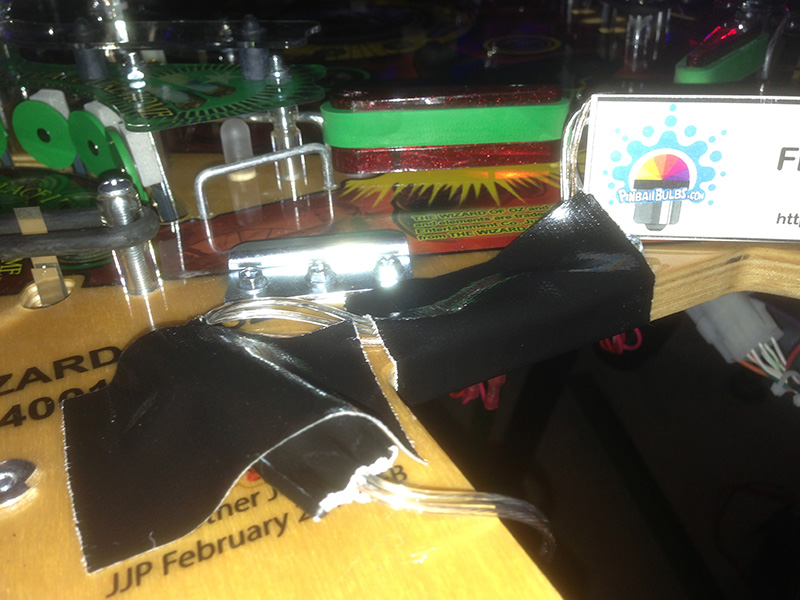
- On the underside of the playfield, you may want to run the wire back a little and use one of the tie straps to secure it. Notice we do not run the wire back very far. It will need to connect near the tilt bob and we want plenty of slack so the playfield can be down, up, raised fully, etc without having to unplug the wire when moving the playfield around.
- Reinstall the apron. You're done with this part.
- BACK LIGHT STRIP
The back light strip is the longer strip that is not on a card. This is a blue light strip that illuminates the entire back of the machine. This will be attached to the back wood. The instructions for installing this are very similar to the stern rear light strip instructions located here. - Clean the area thoroughly with rubbing alcohol and make sure it is totally dry. If it is at all wet, it will ruin the stickiness of our light strip and the strip will not stick properly. If this happens, it will have to be gorilla taped on.
- Stick the light strip on centered in the back. Let the cable side of the strip point to the left of the machine. See where to install it on this metallica picture:
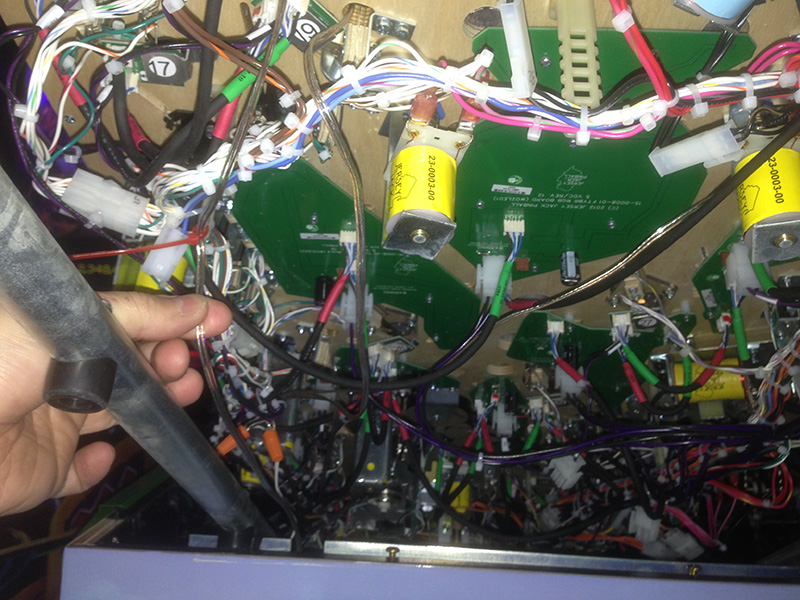
There is some decision to be made on your part here. You can mount the light strip to the underside of the rear glass channel or to the wood in the back as in the picture. I chose the glass channel on my game. It depends on your height and how you stand when playing the game. You may want to power on the light strip and lay it around the area you are considering to see what the reflection might be. The light strip is bright and can reflect some light off the playfield. Some people dislike this. If you see a few bulbs reflected off ramps or the playfield, you can also just cover those bulbs up with some black electrical tape on the light strip. - Run the cable neatly forward in the cabinet along the left side towards the area near the tilt bob. The wire does not need to attach to the bottom of the playfield. You can use some thin strips of gorilla tape on the ends and the middle of the light strip to keep it extra secured in place. Even if you cover one of the LEDs, it will not make a difference in brightness.
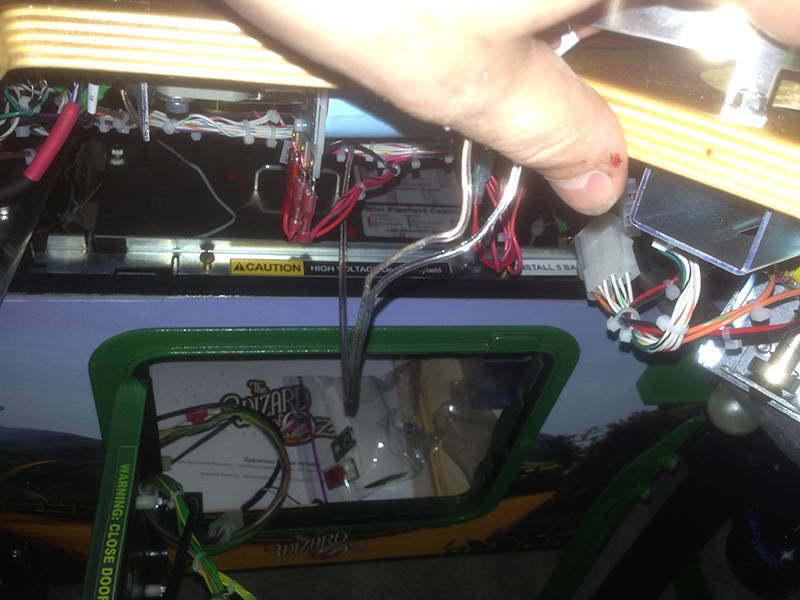
- The power plugs into the coin door harness. We provided a pass through harness so you can also plug your existing coin door harness back in.
This harness is in the front, left side of the machine. With the machine on, you know you have it because the coin door insert lights will power off when it is unplugged. Unplug this harness, plug in our harness to both ends. The prongs in our connectors may not be very straight so you may need to straighten them out in order to fit the connector. You will see as you work with it. It shouldn't take much effort to plug in. - At this point, you can power on the machine and see both the front and back light strip lighting the game. When done, power it back off for the rest of the installation.
- SPOTLIGHTS
The spotlights are the real lightening factor of the kit. We provide 4 total spotlights to add, as well as 2 super bright flasher bulbs to replace two of the 3 existing spotlights. Lets start with the flashers first. Note: some of the 12vdc bulbs do not make good contact with our spotlight sockets. If the bulbs do not light up, this is the reason. You will need to remove the bulb and bend the prongs on the bulb outward so that they make better contact. The bulbs are all tested prior to being shipped and do work. And once you get them to light up the first time you will not have further problems. - We will be replacing the two bulbs in the spotlights that come with the WoZ that point at the upper playfields. The white one in the back looks very nice with the blue light so we will leave that alone.
Unfortunately, the white spotlight bulbs in WoZ are hot glued in place. So you will need to pry these out with some thin pliars. Once out, simply insert our bulbs. These spotlights should be pointing and illuminating the two upper playfields.
- Now to install our 3 spotlight mechs. Each of these will require screwing them into their post bolts, running the wires down into the playfield, then connecting them to the power connectors coming off our power harness. These will install almost exactly like our spotlight kits. The installation instructions here will give you some extra details for this step.
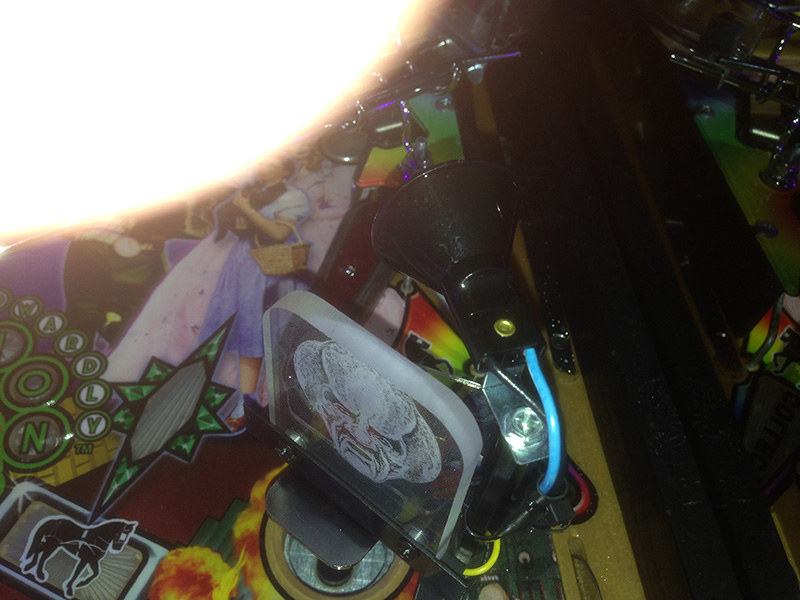
- Lets start with the left spotlight. There will be two spotlights on single hex posts, one on double hex post. The right slingshot gets the double post while the single post goes on the left slingshot and upward on the playfield. This will attach to the left bolt on the left slingshot.
To attach these, you will run the wire under the slingshot switch. These are extremely tight fits. You will probably need to remove the slingshot plastic, poke the wire through the switch, then reinstall the plastic after. In some cases, you may need to loosen and lower the slingshot switch underneath the playfield. We run the wire through the lower slingshot switch (the one cloest to the flippers). Make sure the wire goes behind the switch and does not get between the blades of the switch.See how the wire looks from the top running behind the slingshot switch (kind of hard to get it between the blades anyway).
And underneath the playfield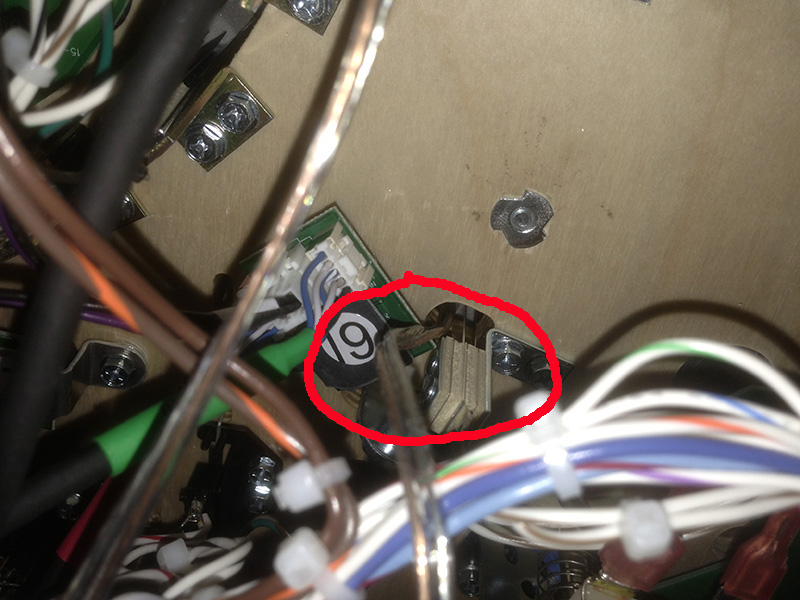
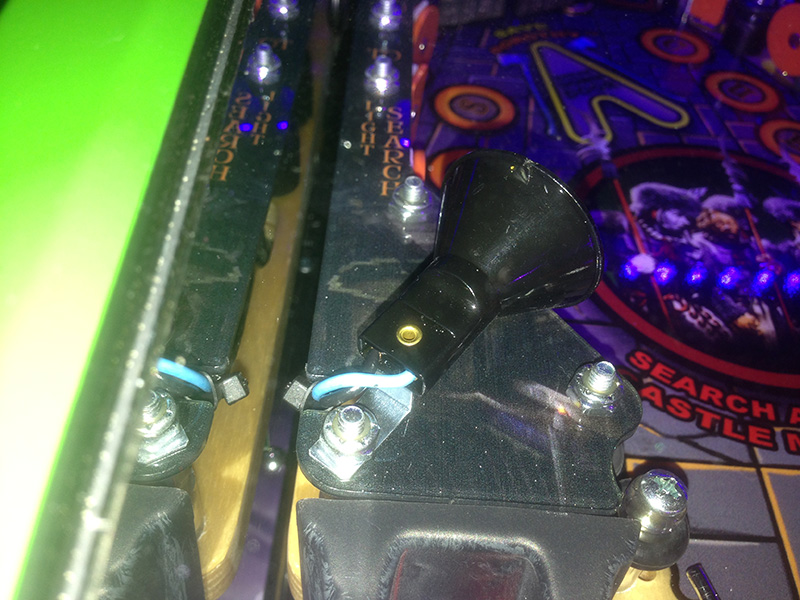
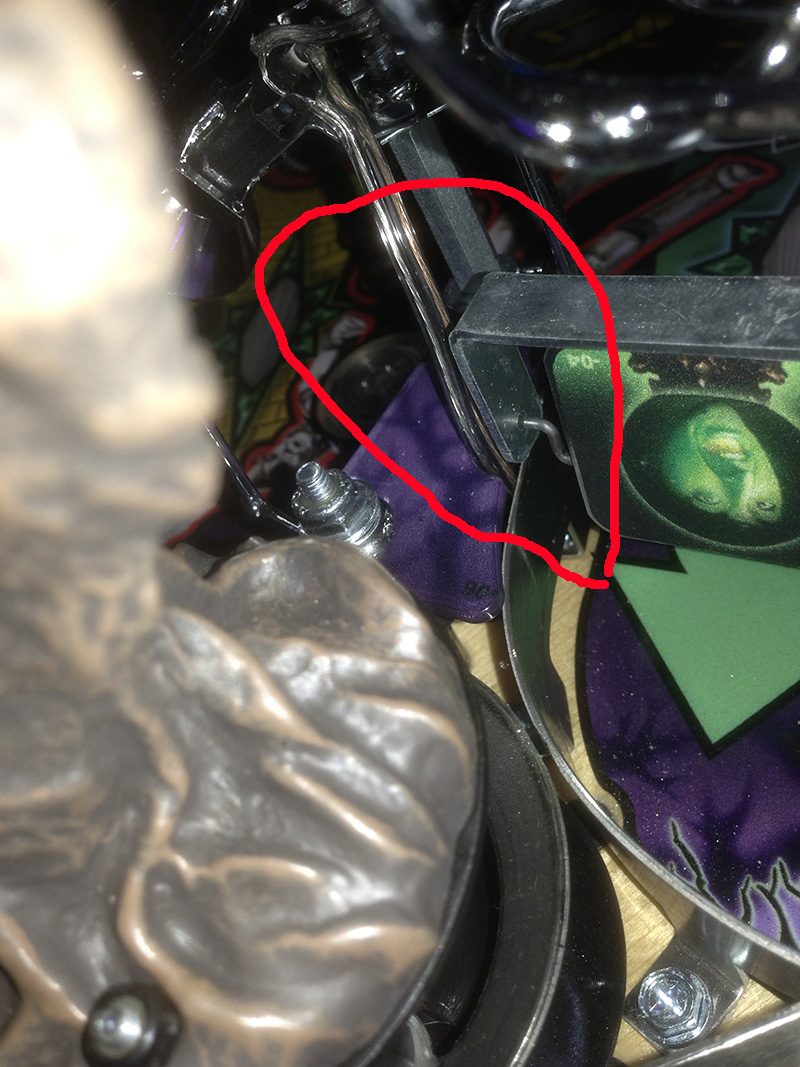
If you need to drop the switch out of the way to fit the wire through, you can do so by removing the circled 1/4" bolts, run the wire through, then resecure the switch as it was.
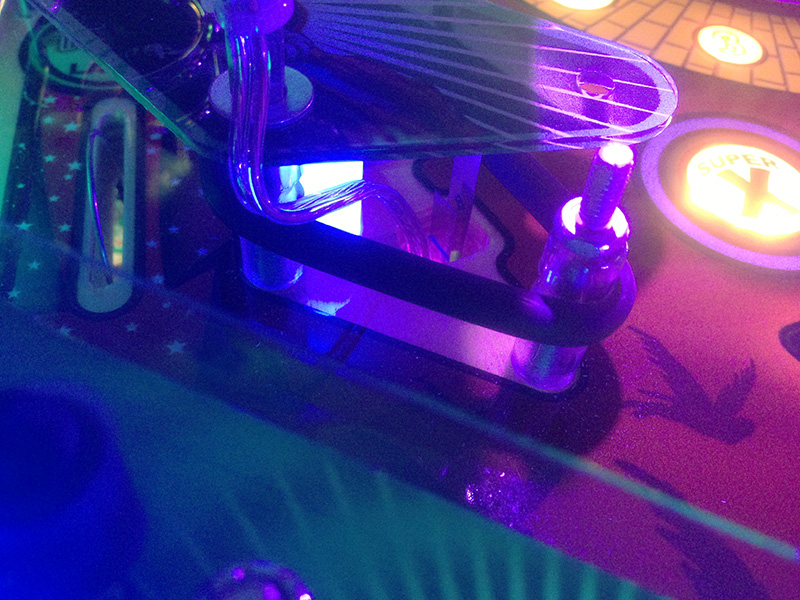
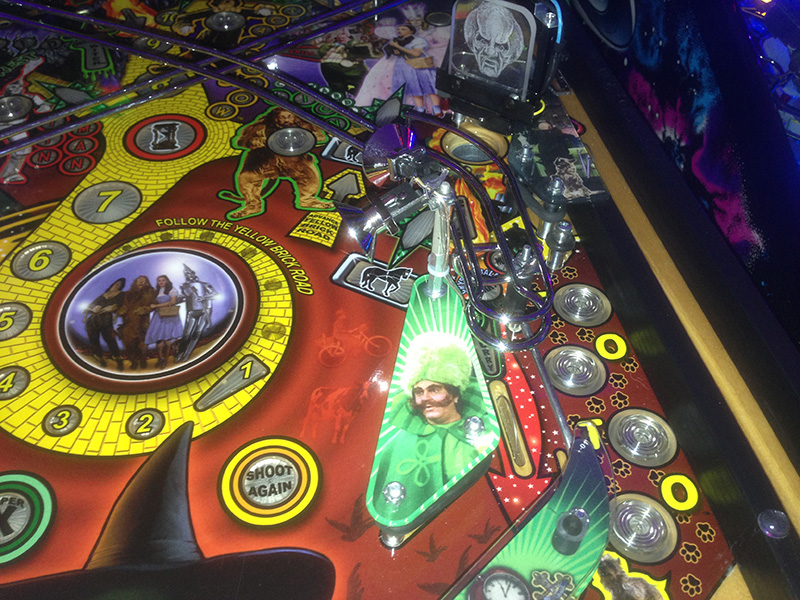
Once the wire is poked through, resecure the slingshot plastic and secure the spotlight assembly onto the plastic. Then zip ties the bolt nicely so it looks like the picture.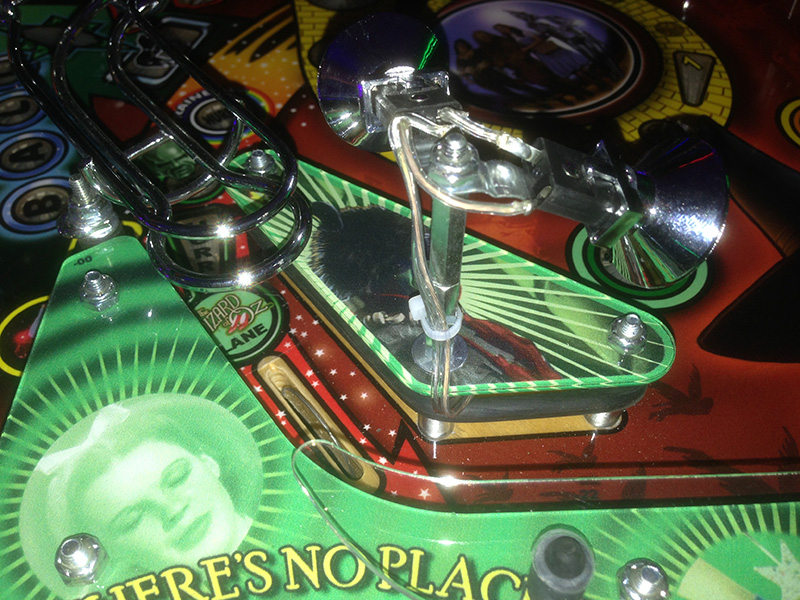
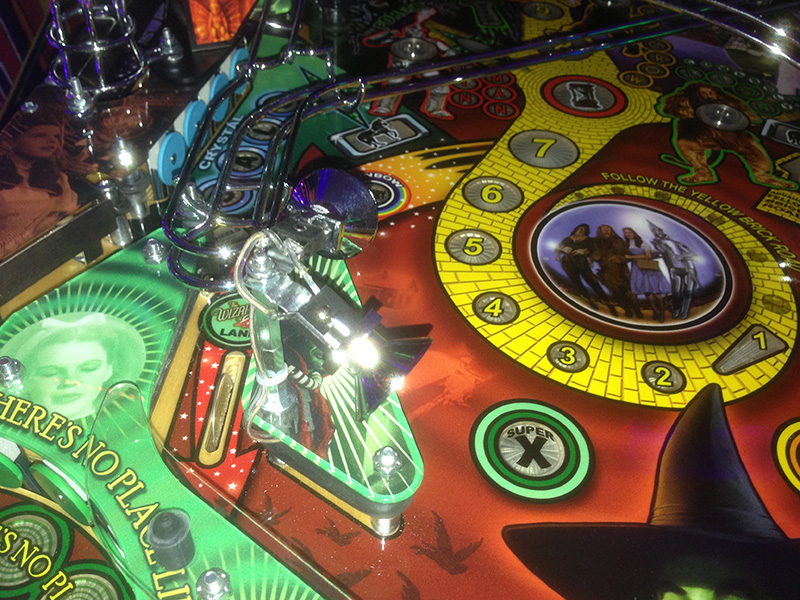
You want the lower spotlight to point towards the witches nose on the artwork between the flippers. The top one should point towards the 5 on the yellow brick road. You can do fine tuning on the pointing once they are all hooked up and powered on. -
Note: our newer WoZ kits have brigher bulbs so we moved from 6 to 4 spotlights. The photos were take with the v1 kit that had 6 total spotlights. Our current kit only has 4 since the bulbs are so much better. We provide the 8 SMD flat top bulbs. Make sure these are not pointing at your face to avoid being blinding by the tower bulbs. Our newer 12vdc bulbs are bright enough that you will no longer need to populate 6 spotlight sockets. Therefore we now provide 4 total sockets. The photos below still show the double spotlights but instead these are single spotlights.
- Attach the double hex bolt spotlight to the right slingshot, upper bolt this time. Use the same procedure as before. It should look something like this:
The wire will run behind the upper slingshot switch installing just like before. Secure it onto the slingshot and tie strap it. The underside wire should just be dangling below the playfield. As for pointing this, try pointing it around the 11:00 position. After its powered on, you will want to fine tune the pointing of these so that they light the playfield evenly to your taste. - The third spotlight is the one on the single hex post. This will light the middle / upper playfield. It attaches to the post directly to the left of the tin man rollover button. See the picture.
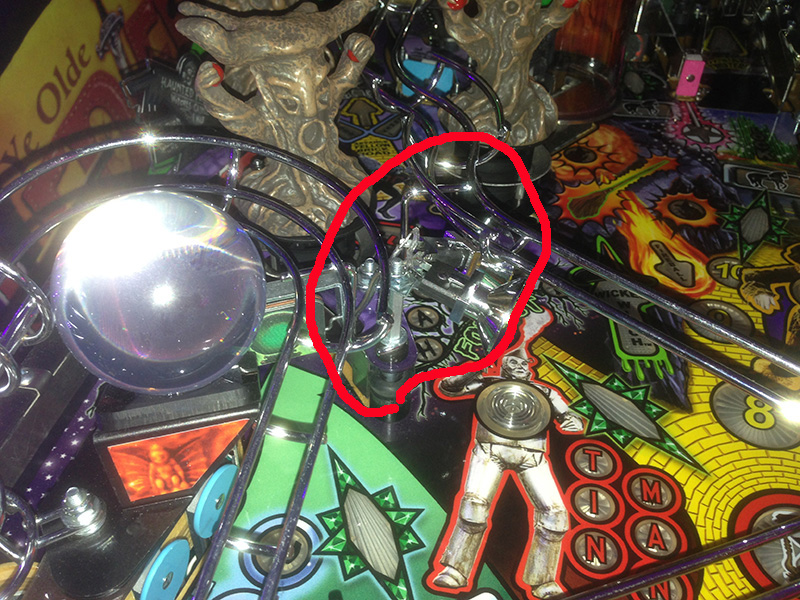
This one runs directly down into the purple plastic beneath it and into the hole already present for the spinner switch.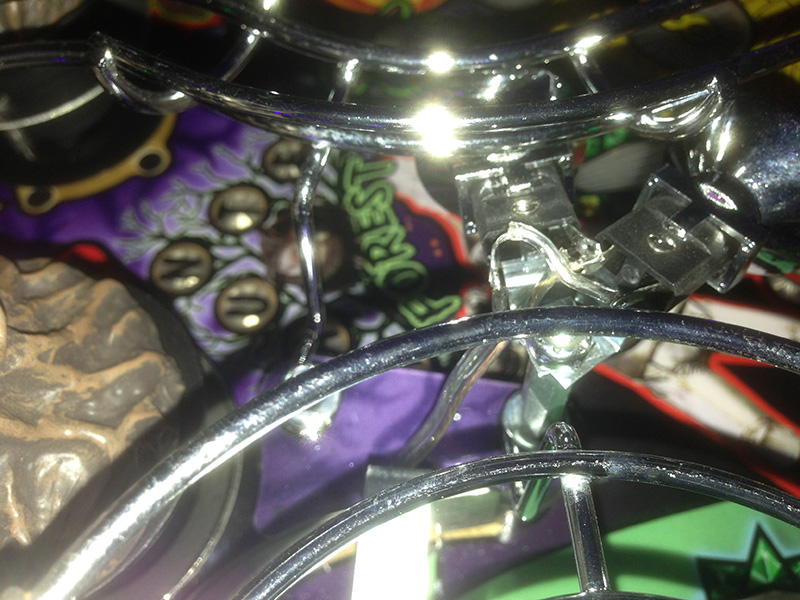
To get this in, you probably need to remove the ramp screw circled below and move the plastic out of the way, run the wire, and reinstall the screw and plastic. Point this around the 2:00 position to start and adjust to make sure the upper middle playfield is evenly lit.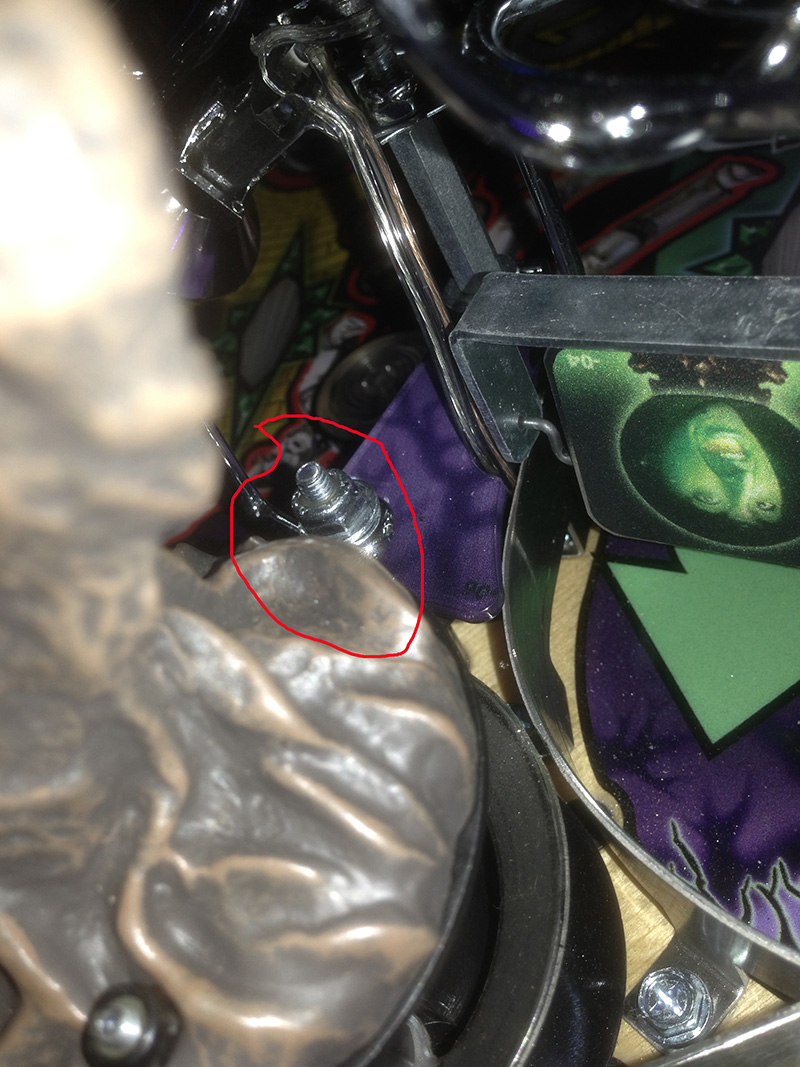
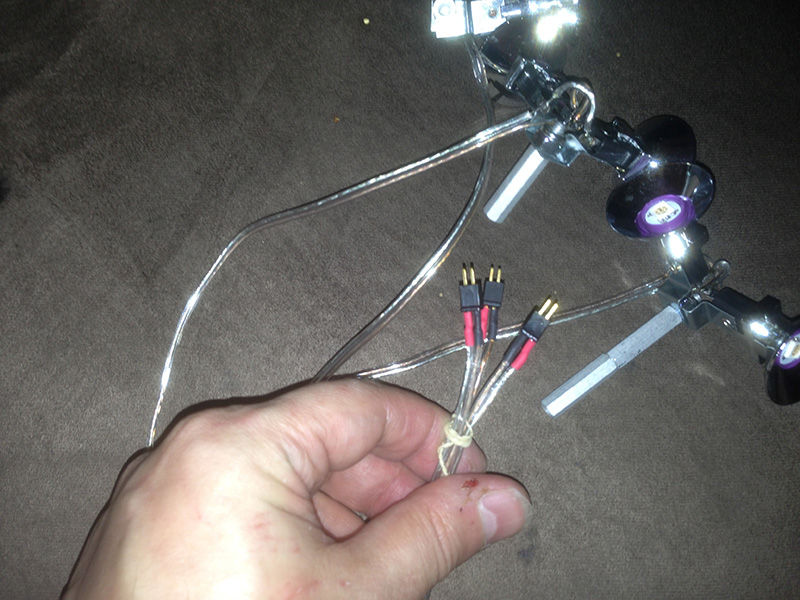
- If you're here, then the hard part is done! Now time to just plug it all in. Gather the 3 spotlight connectors that are now dangling underneath the playfield
and plug them into the 3 connectors off the power harness that match them: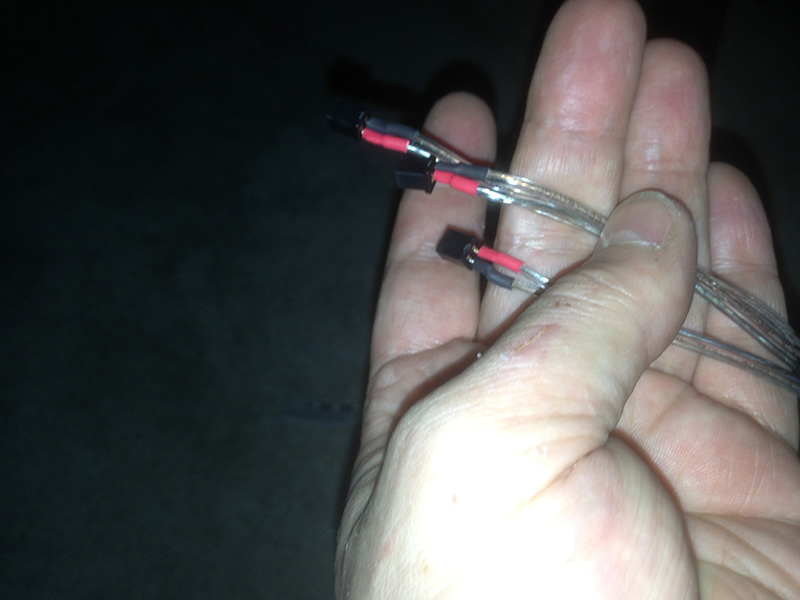
It really does not matter which one goes into which plug or even which order they attach. They are non polarized. We did color red on one side and black on the other to make it easier, but it really doesn't matter. It will work either way. - If there are any loose wires, you may want to bind them with a ties strap underneath the playfield. Make sure you can lift the playfield all the way upright as well as put it back in place without tugging any of the wires.
- At this point you should be done. If you have any questions please feel free to contact us. We are happy to help.


