
This modification will light up your translite door panel in a pattern that you choose with the included controller. It can fade, flash, be all one color, up to you. Default is slow even fade. For this you don't need to touch the remote.
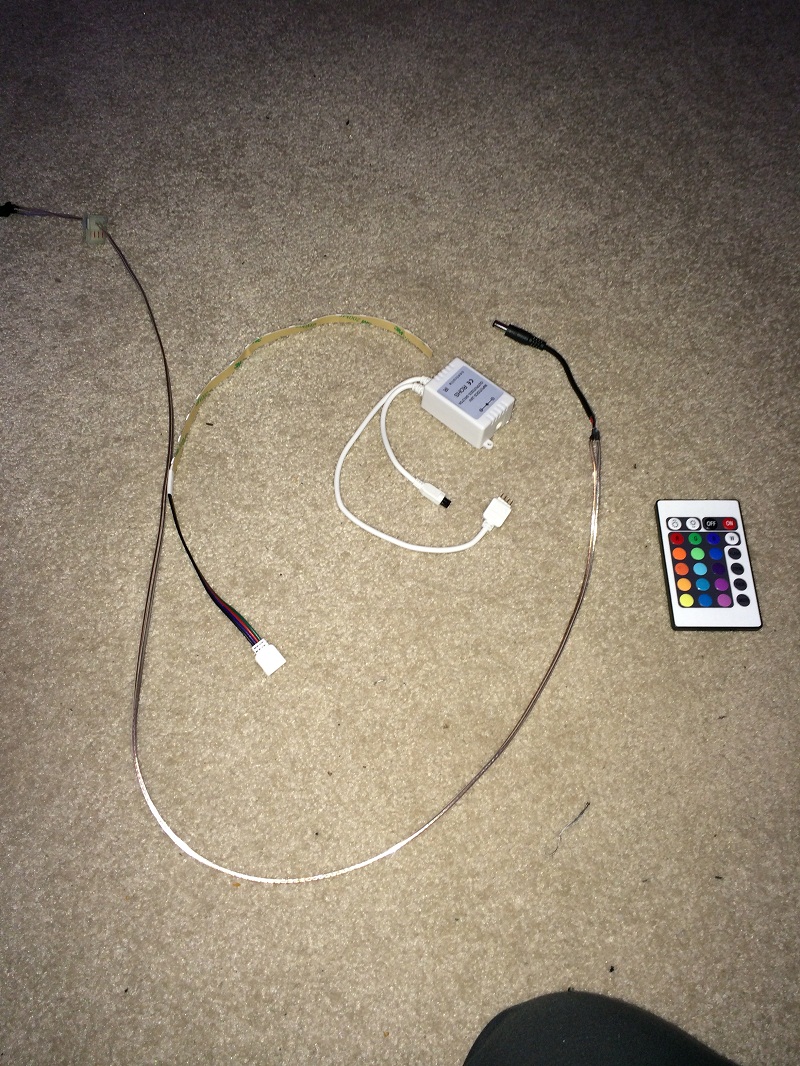
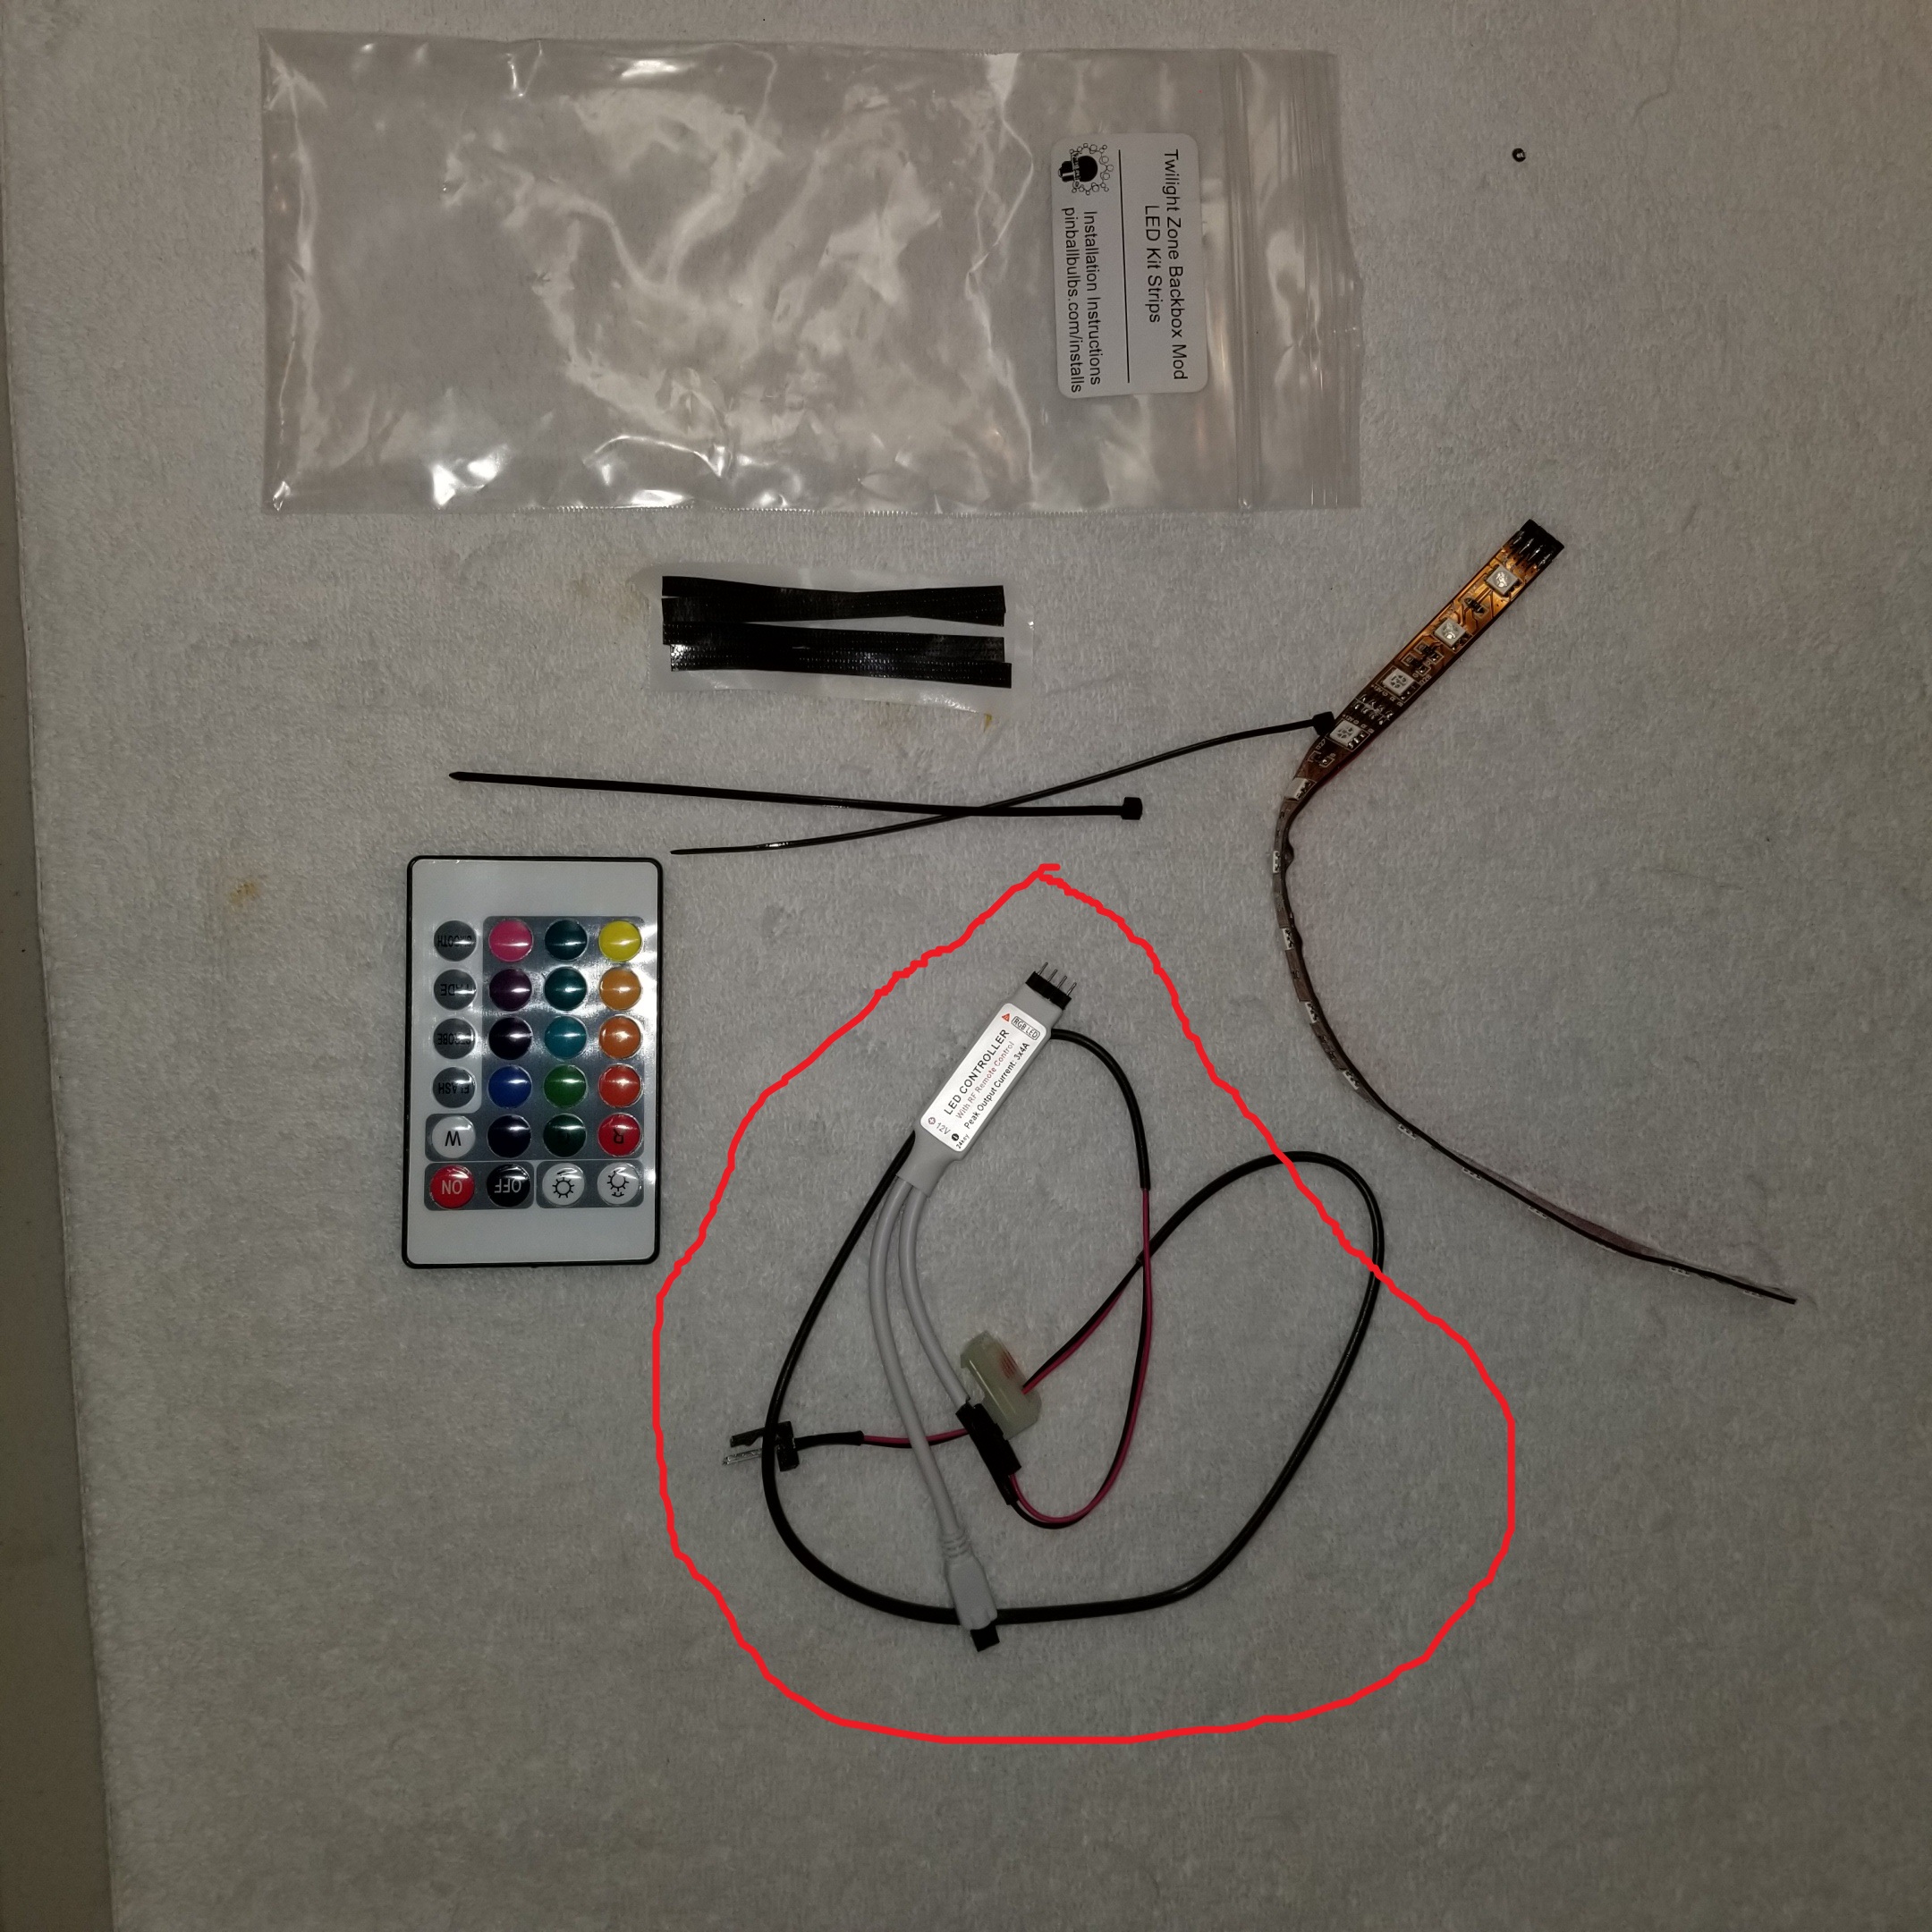
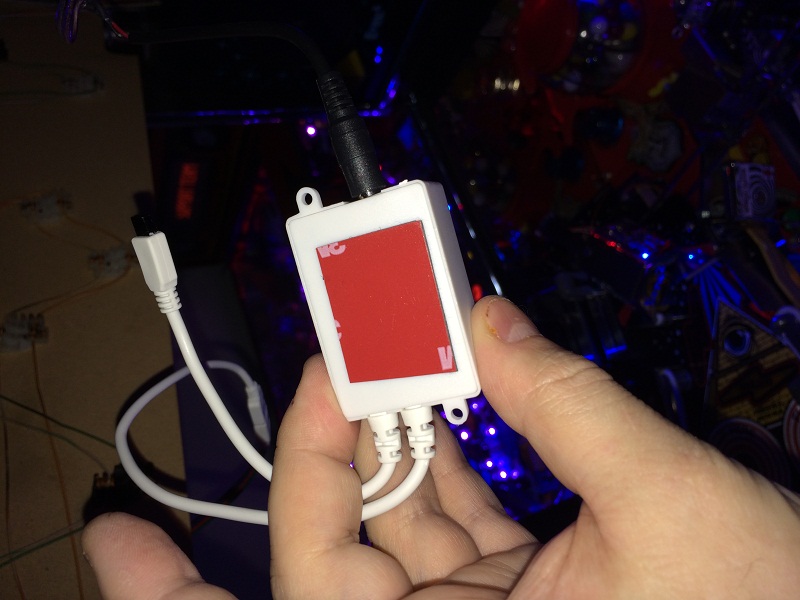
- First, unpack the contents of the package. You should have a remote control, a power controller, a power connector that plugs the controller into the game, a light strip, and some strips of tape (not pictured). The updated controllers are smaller and may be more inline than the square box you see below. See the 2nd photo.
- The power connector type changes and may look more like this
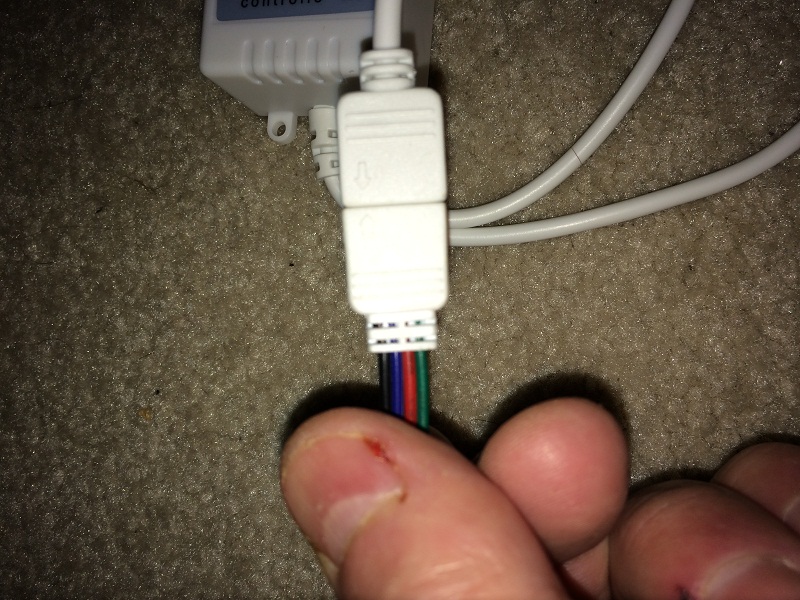
- First, let's assemble the package. Plug in the ends of the light strip into the controller. Make sure the arrows line up.
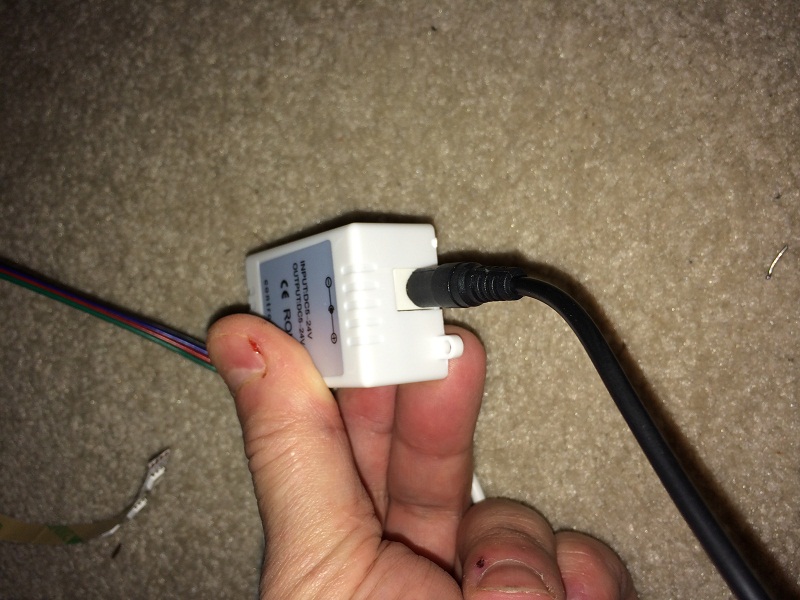
Plug in the controller to the power cord.
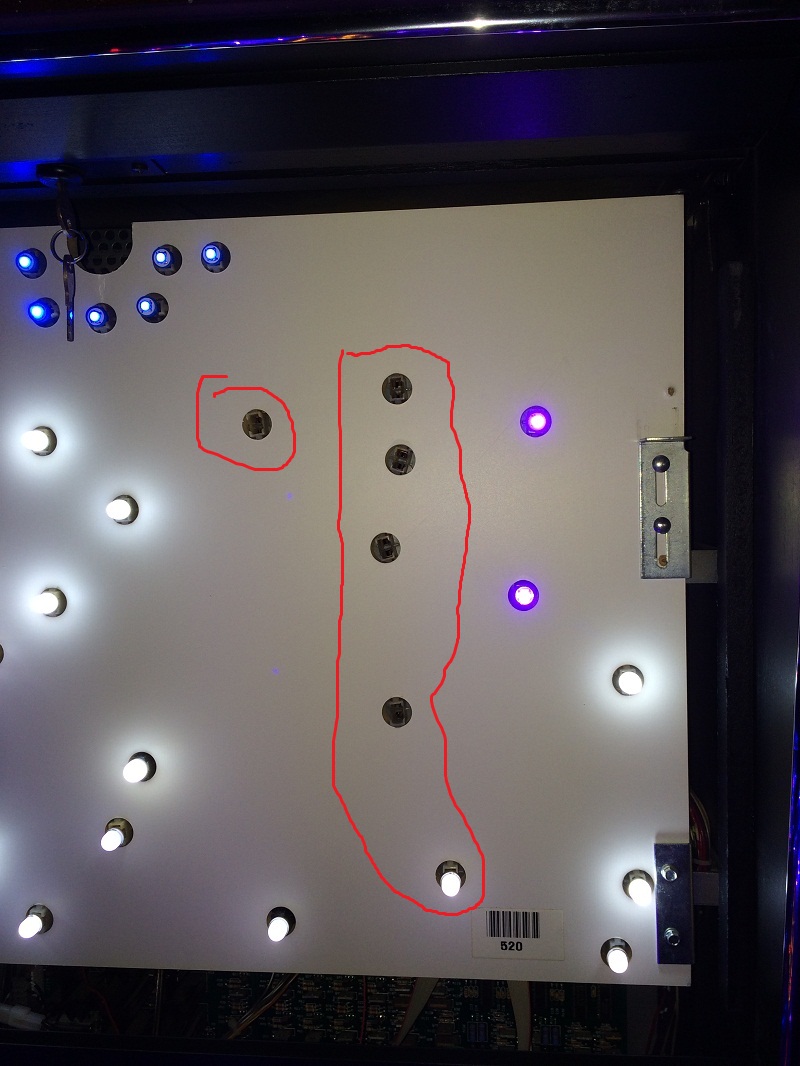
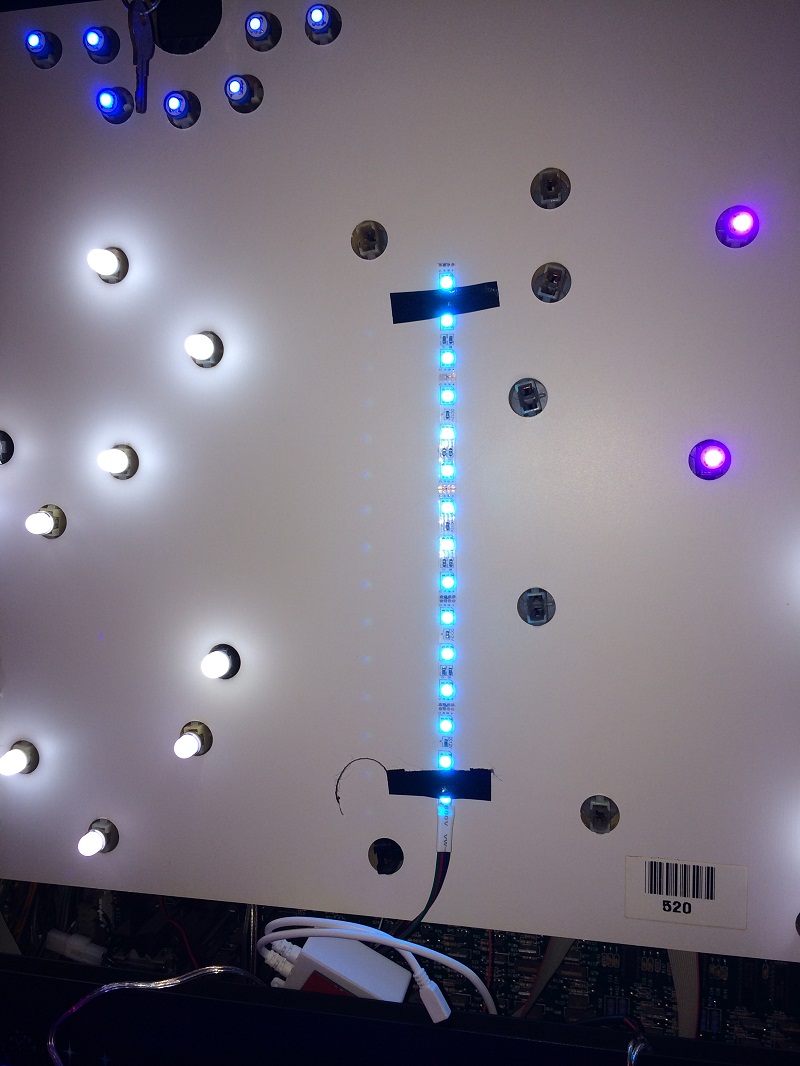
- Remove the translite of your twilight zone. Remove the bulbs in the circled areas. This helps the effect of the controller to make a greater impact. The last bulb on the bottom is up to you. We tried it both ways and preferred it removed.
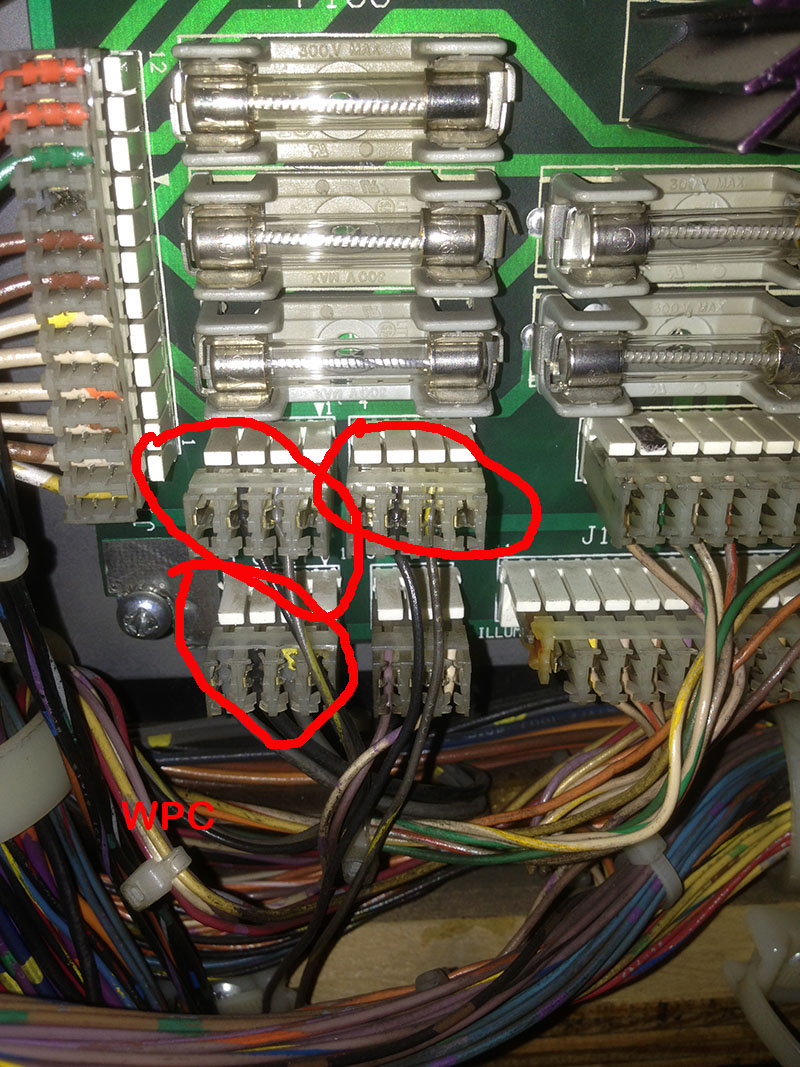
- Next, lets plug the light strip in and make sure it lights up (you may need to power it on with the remote if it doesn't automatically come on). You want to do this before actually attaching the tape to the backbox. You can use either J116, J117, or J118 on your power board for power. The power board is the biggest board in the backbox, the one on the center/left. Pick one with 2 wires in the connector not 3. (If you remove this cable with the game running, it will start to freak out until you plug the pass through cable back in because it will think balls are in places they're not).
The cable that plugs in from our kit looks like this:

Remove one of the J116-118 connectors, plug in our power cable, then plug that removed connector into the 2 prong black pass through plug we provide on our connector:
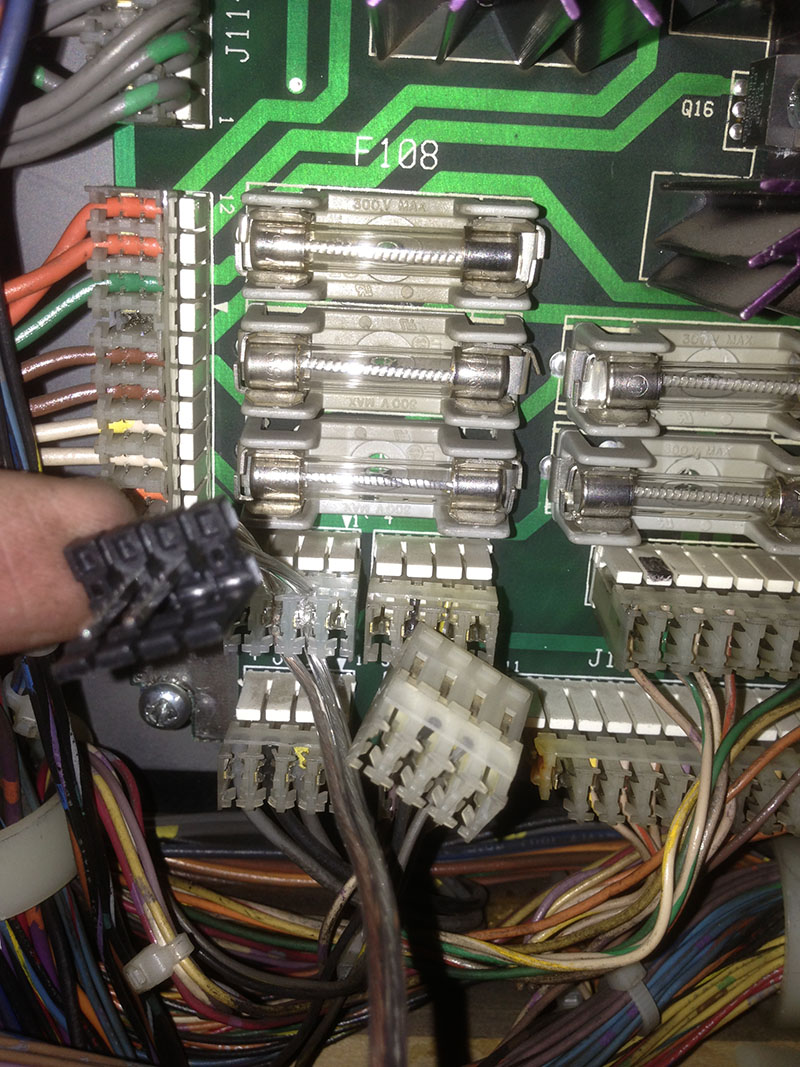
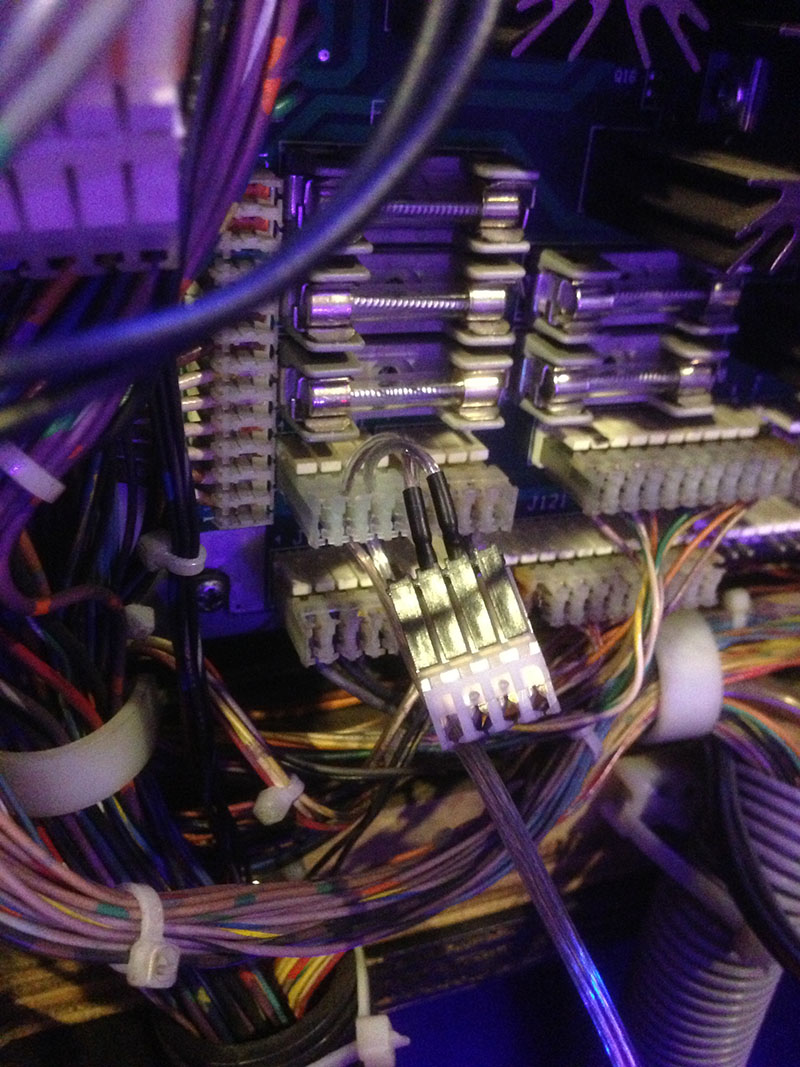
Make sure that the cable is plugged in correctly not upside-down or you will blow some fuses. The white connectors have a ledge that hooks into the roof on the black connector. It's actually somewhat difficult to plug in backwards, but not impossible. Note the picture below showing the pass through cable plugged in. (We have since moved to a 2 prong black pass through rather than a 4 prong for ease of use.)
- Next, we want to line up the location of the light strip. We can do this using two of the included black strips of tape. This allows us to position the strip perfectly without permanently mounting it (yet). You should position it, make sure you are pleased with this position before attaching it permanently. The picture shows where we preferred the position. On the translite, it should be centered over the man so that it evenly lights up the white area both to the left and right of him.
- Once you are pleased with the position, properly clean the backboard and make sure it's completely dry (any wetness at all and this tape will not stick). Then attach it permanently by peeling off the backing. You can probably also just leave it attached with the black tape from the previous step. That seems to stick very well also.
- Next we will mount the controller onto the backside of the backbox door. Peel the double sided tape off the controller.
Attach the controller to the backside of the door. See the location we used. Then secure the misc wires with strips of the black tape provided in our kit. We used 3 strips. You want to make sure that the cable that runs to the light strip is tight against the bottom of the door so it can cleanly open and close without hitting the speaker pannel.

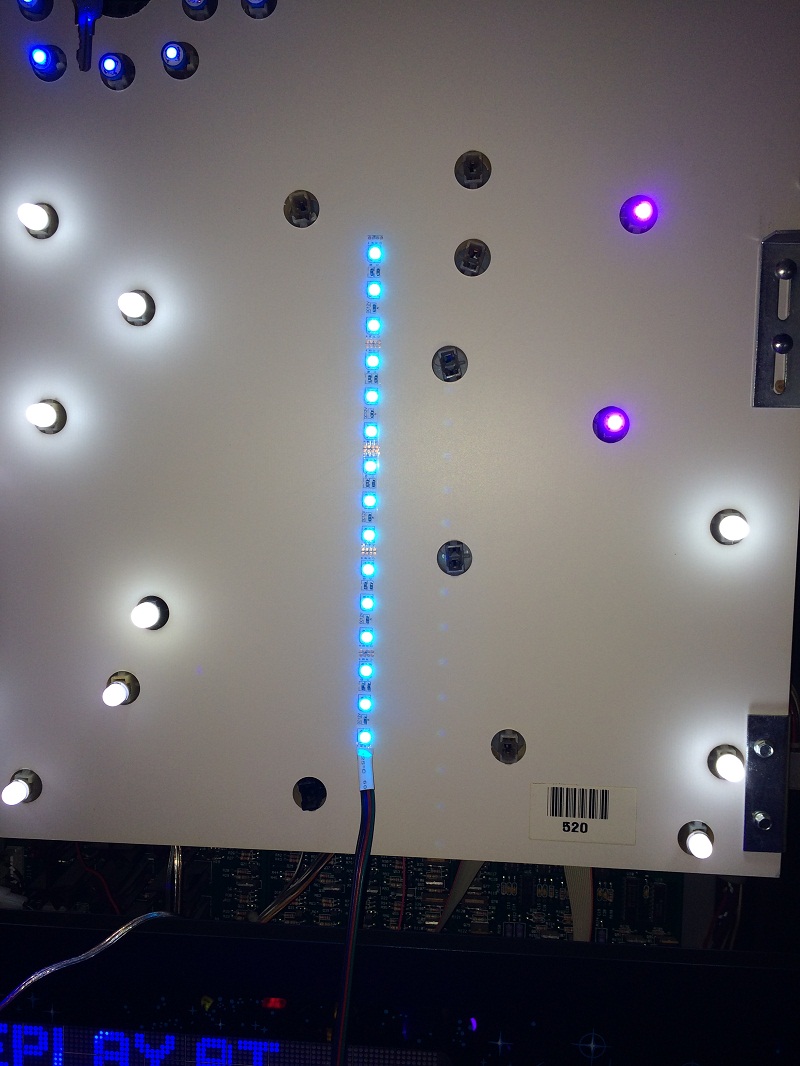
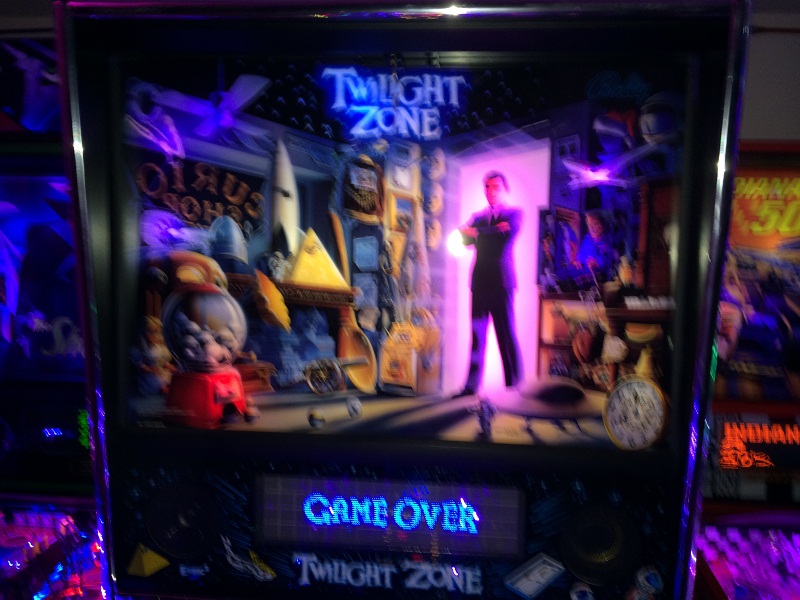
Finished product install.
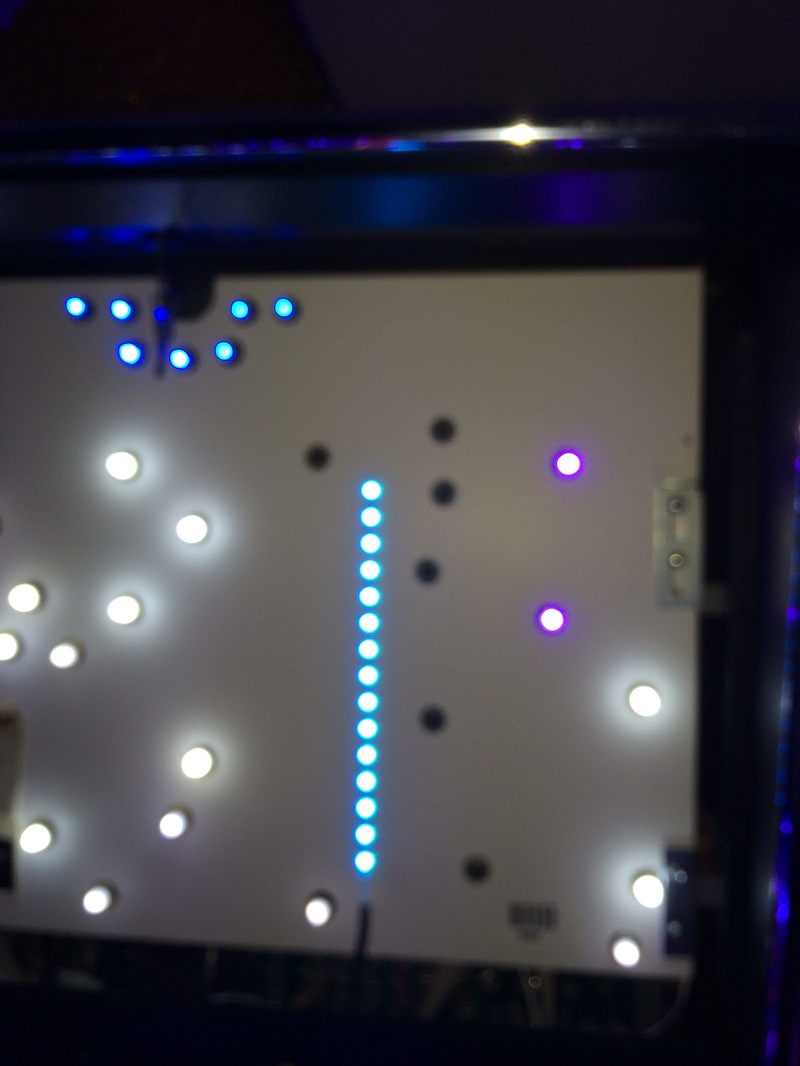
and with translite on
- Finally, use the buttons on the controller to set fade, flash, or your color choice. When in fade or flash mode, the brightness up and down should adjust the speed of this behavior. Note that all these controllers behave slightly differently so there are no specific controller instructions given here. You may need to open the door to change the settings on the remote since the remote sensor is behind the door.
- Need further help? Please contact us.
Finished product in fade mode: http://youtu.be/zpLl7lS36fU
Finished product in flash mode: http://youtu.be/BfuKrETSeCw