
|
|
|
Stern light strip installation
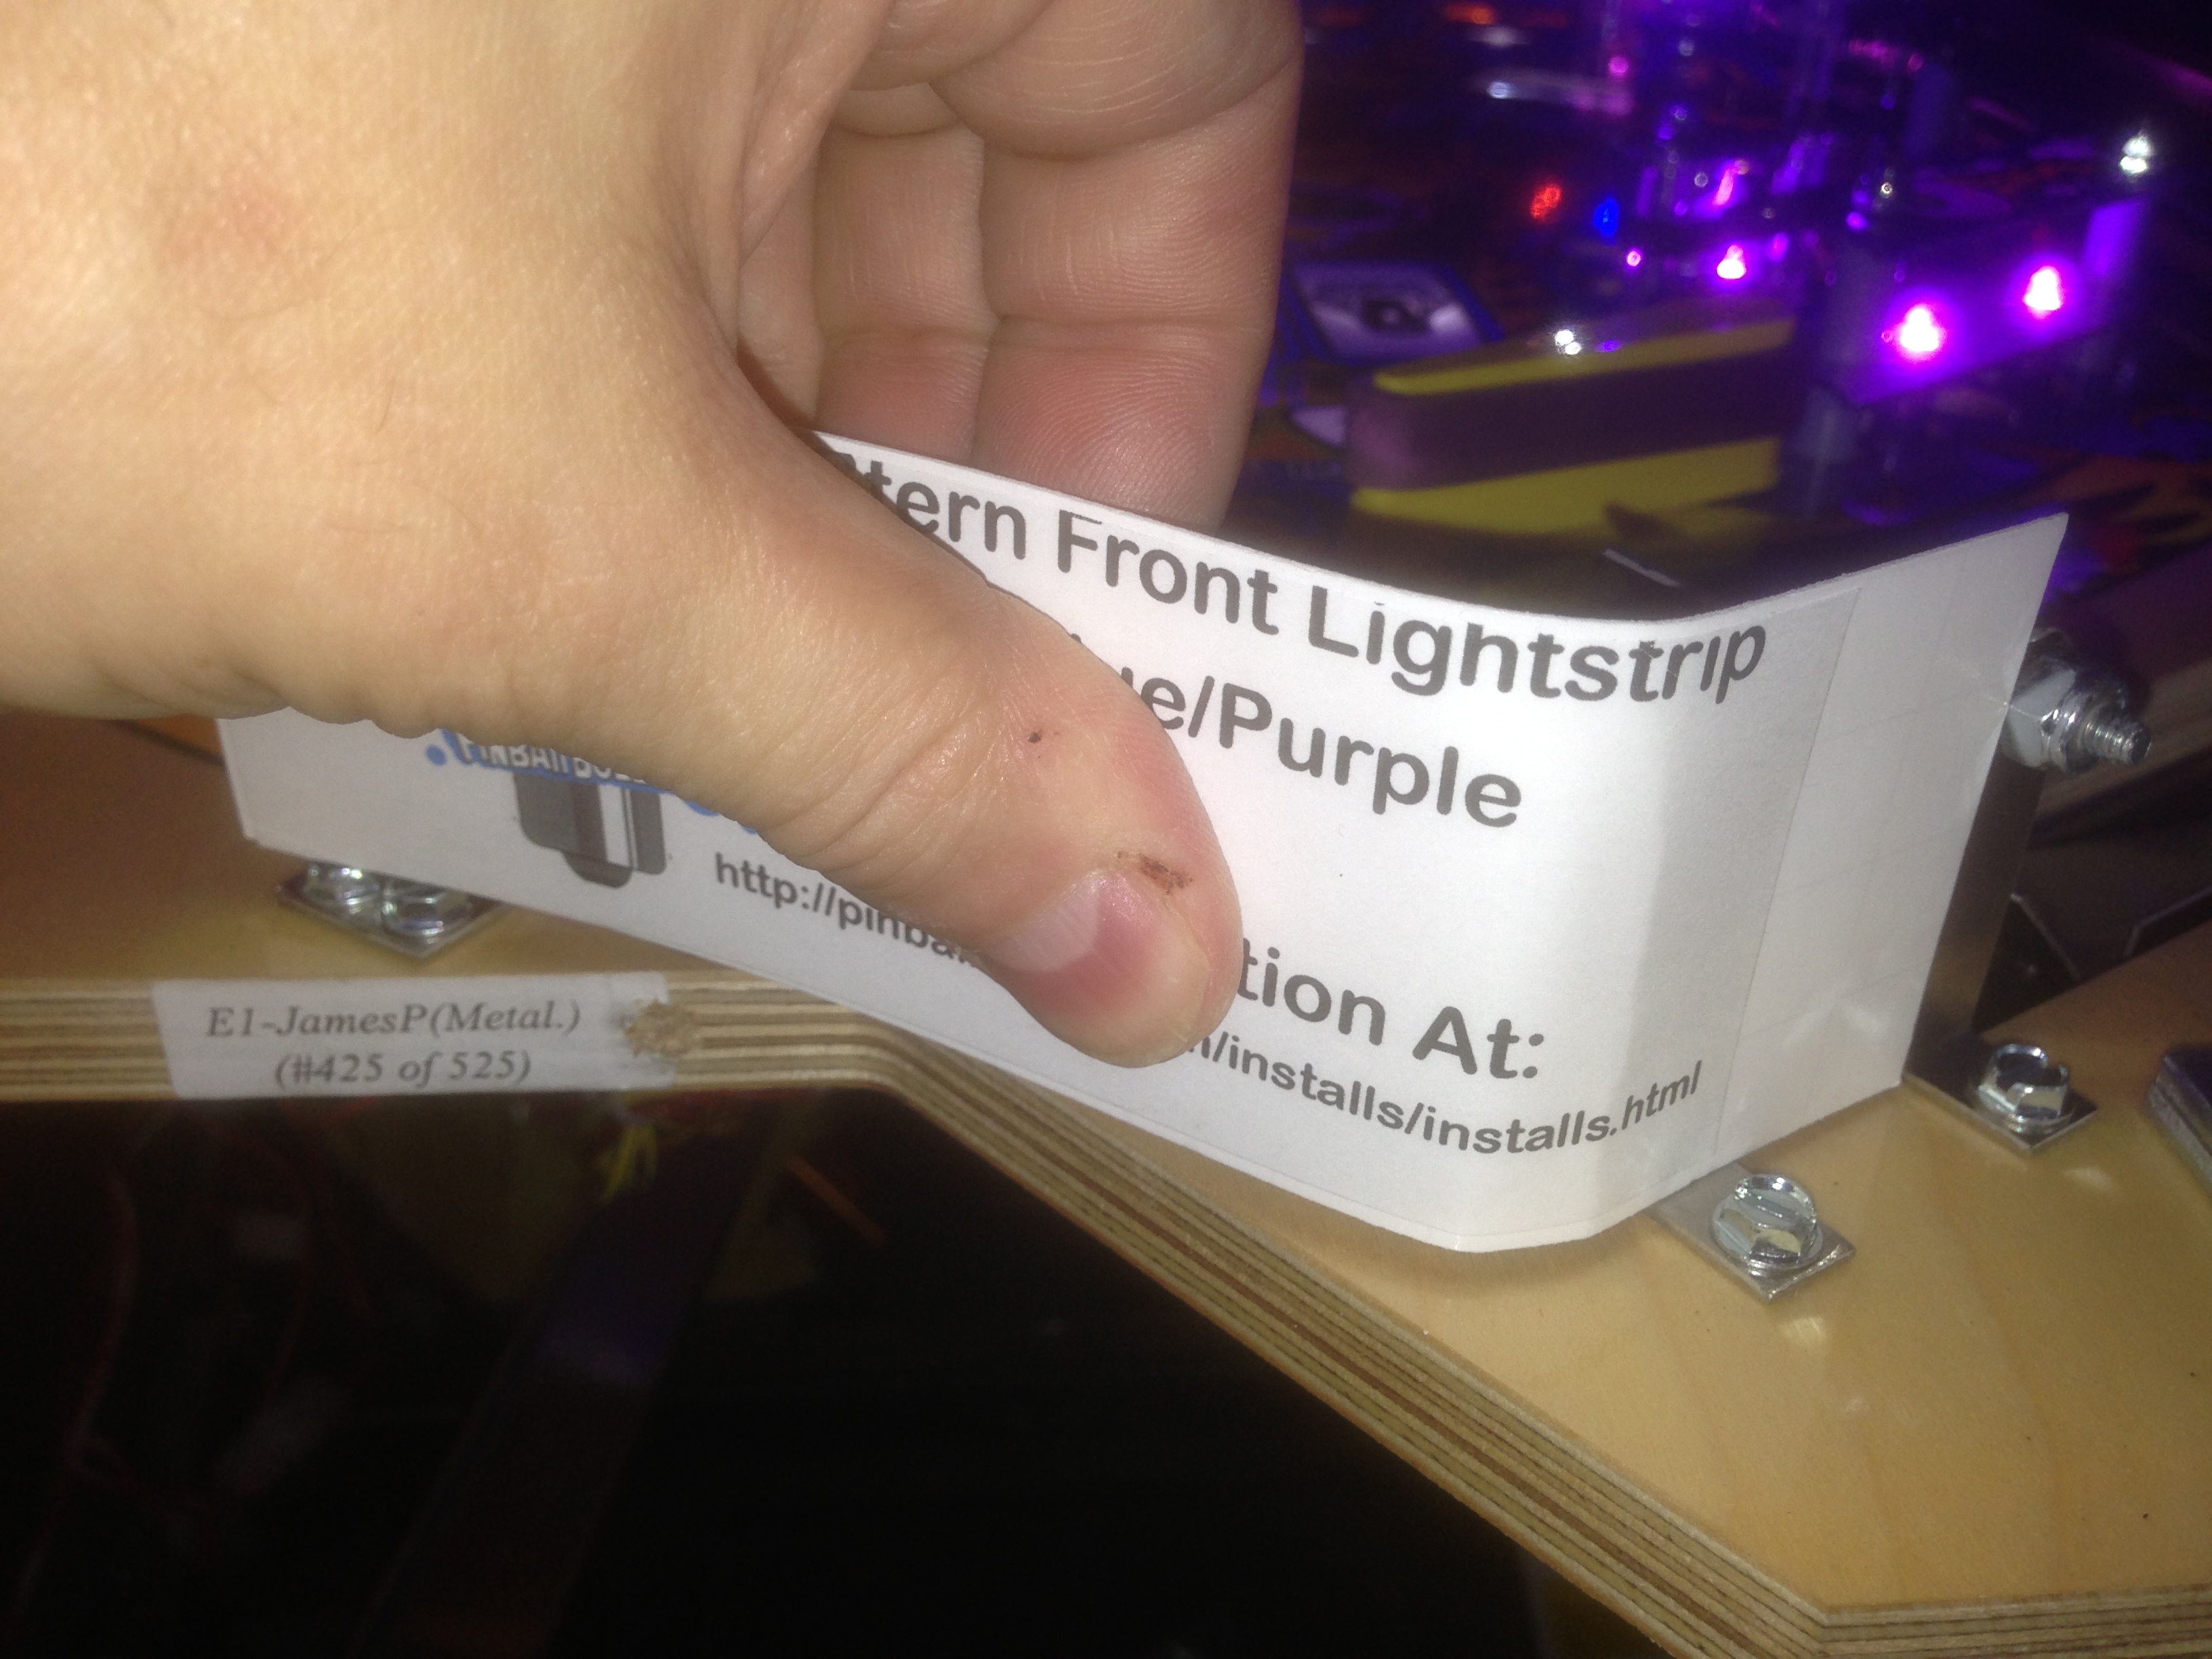
The flipper light strip is one of the best modifications you can add to your machine. Our light strips come pre-wired for 12vdc and is powered by the coin door connector. It has a pass through in case this connector is already in use. You can simply daisy chain it in.
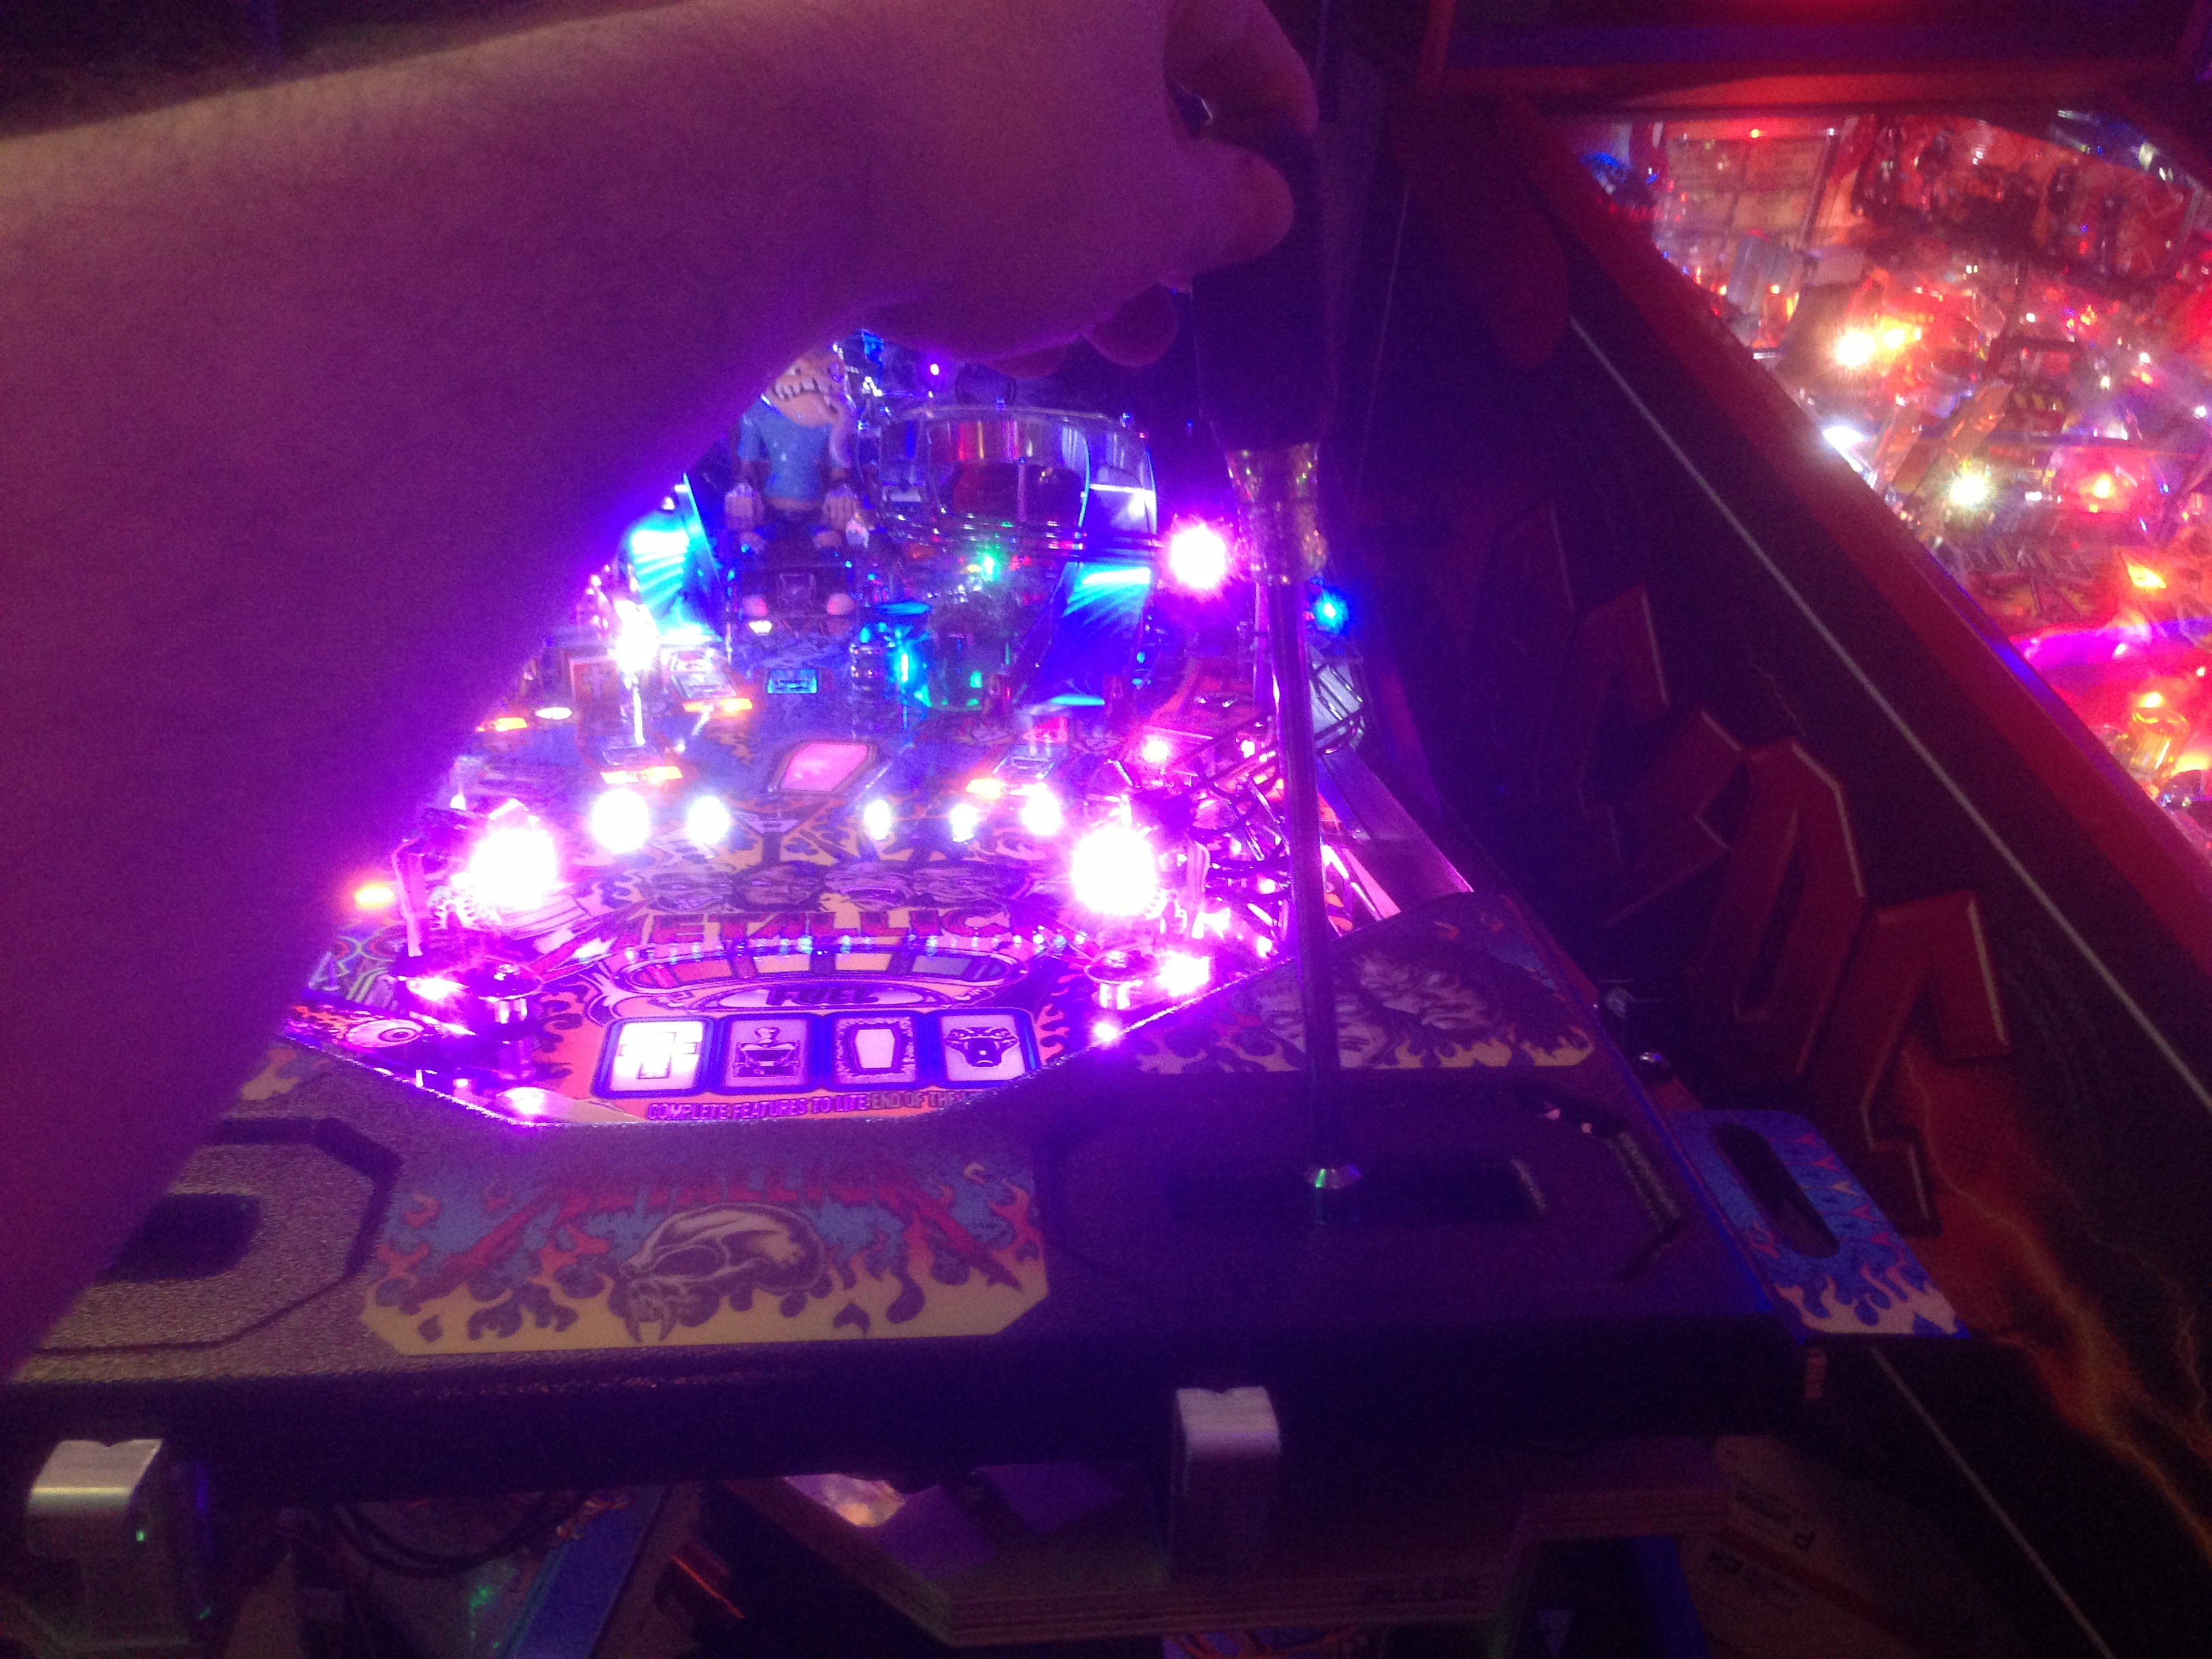
- First, remove the glass and pull the playfield onto its supports.
- The light strip is attached to a card. The card will be attached to the front of the ball guide that guides the ball into the trough. It will be high enough so that the balls cannot hit it.
-
Remove the apron on your machine. Plastic aprons remove with an 11/32" nut driver underneath the instruction cards. Metal aprons unscrew from the front.
Proceed when your machine looks like this: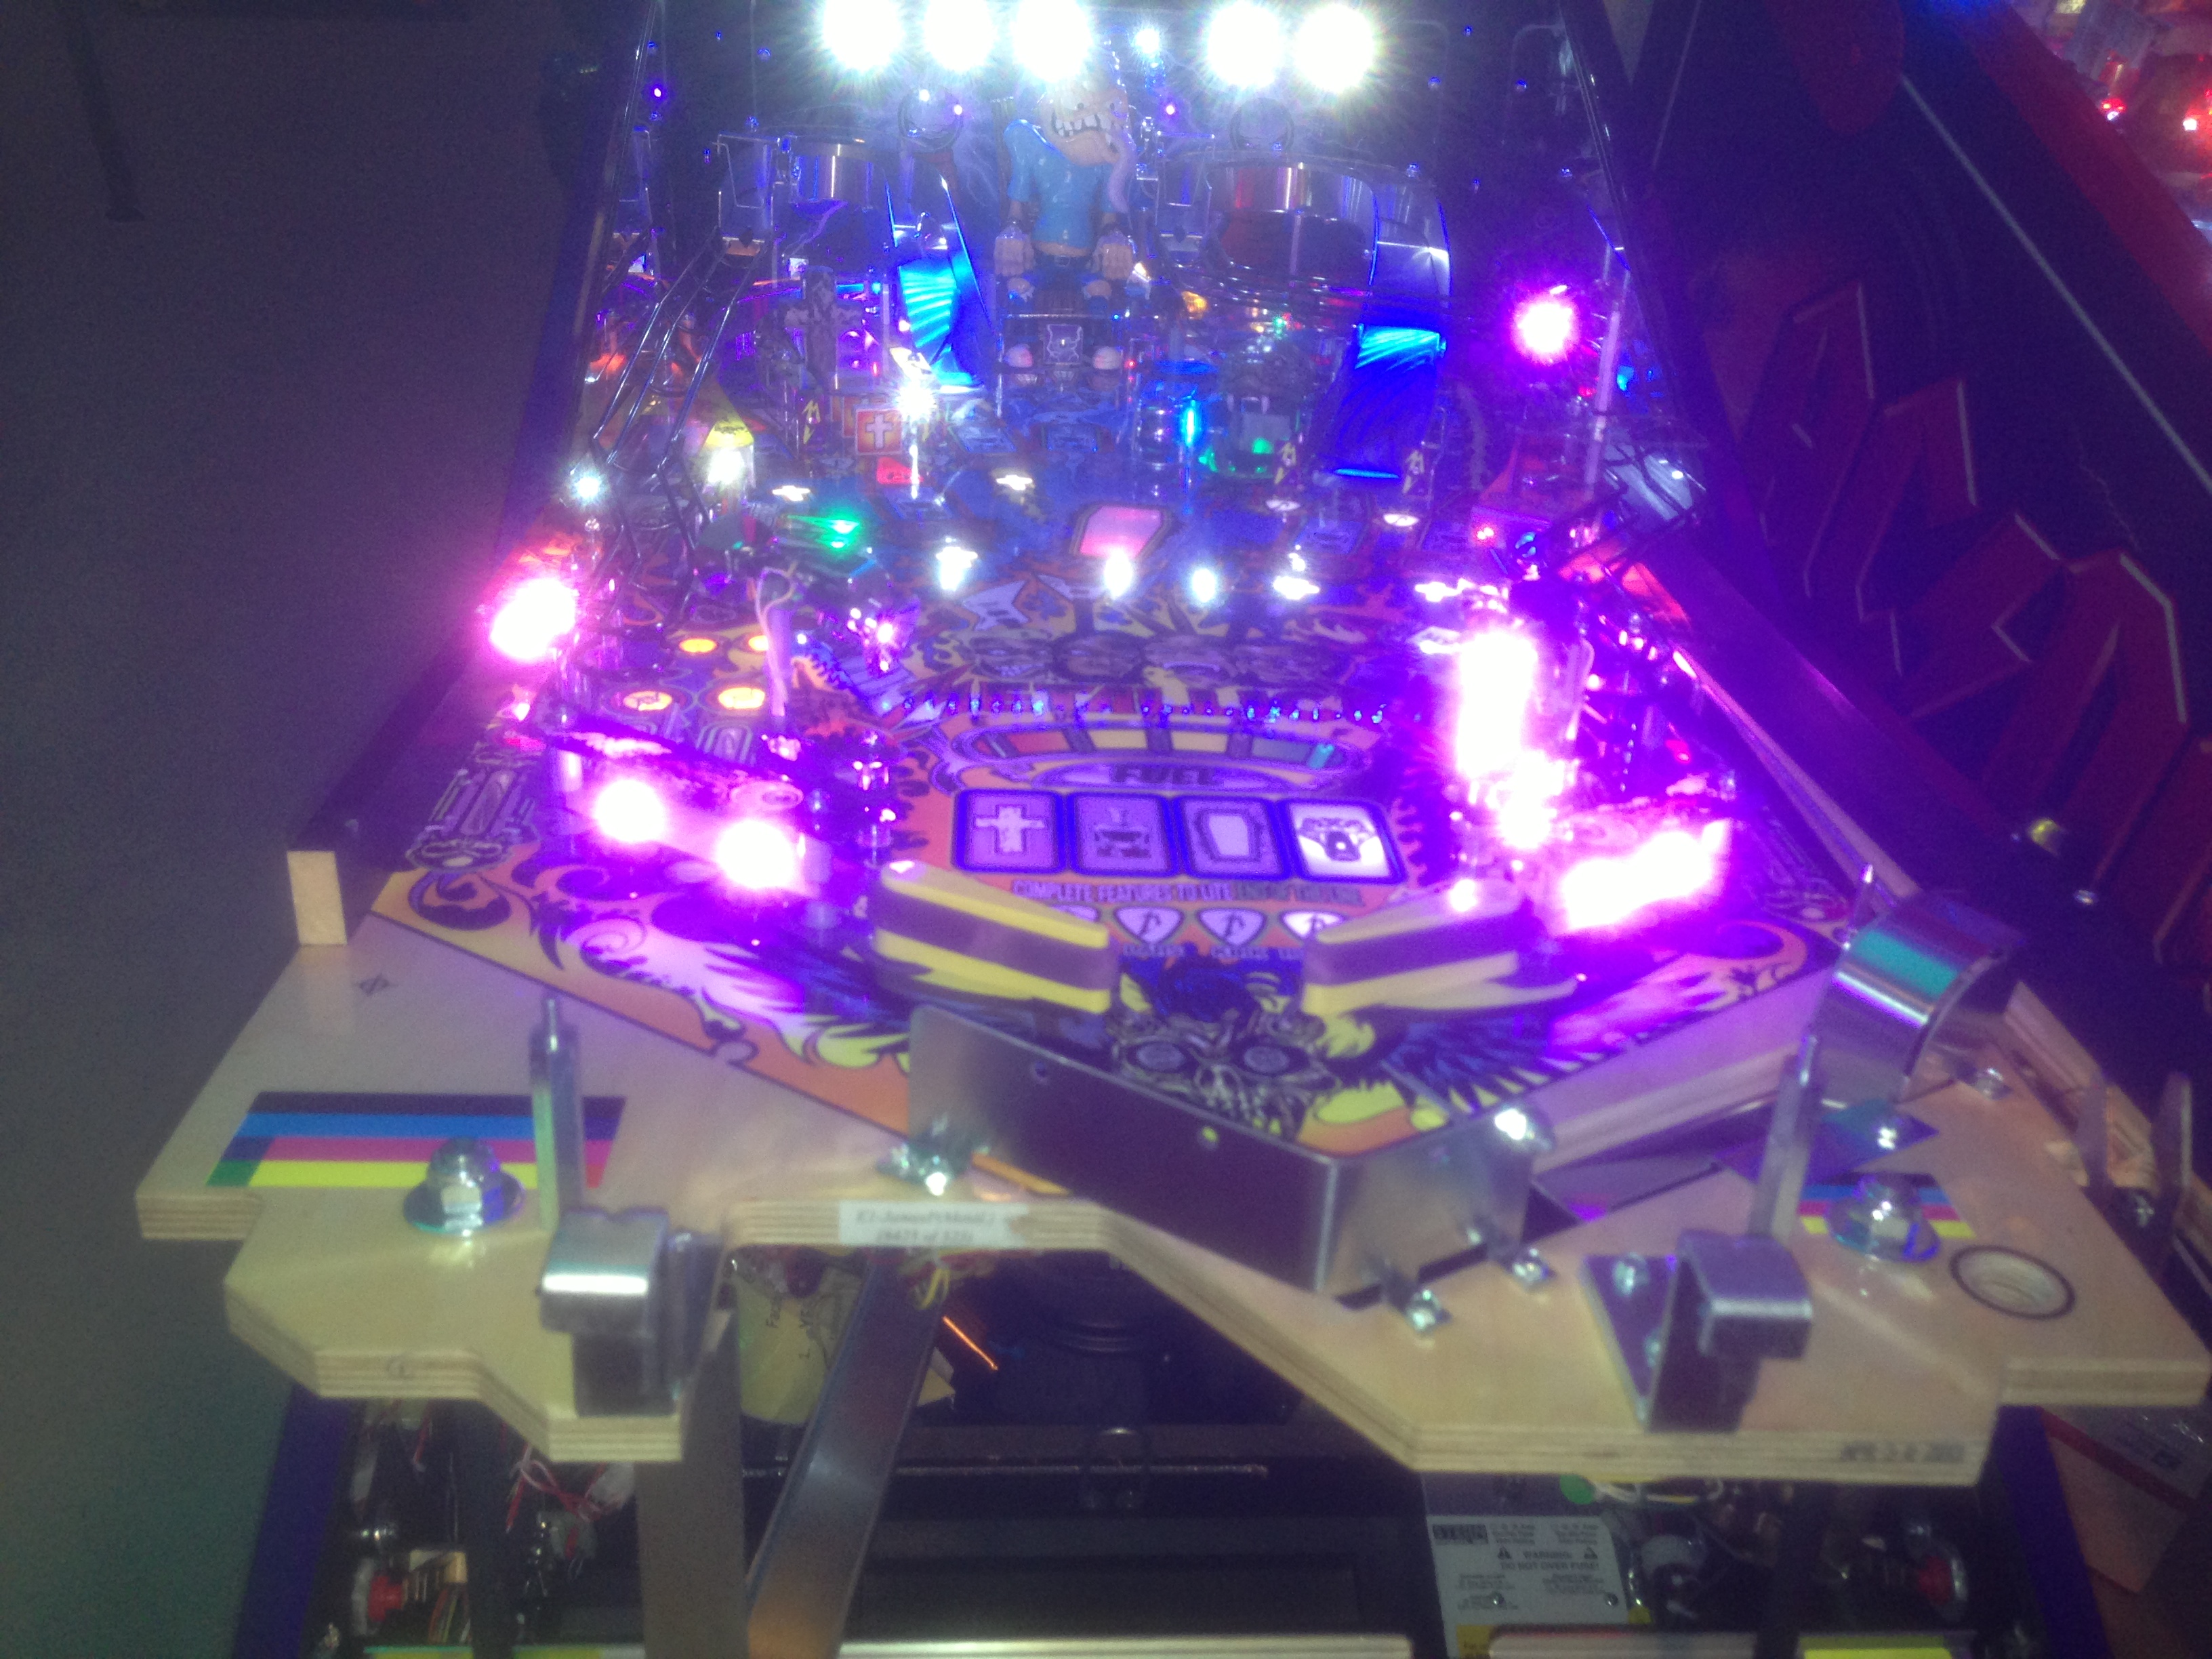 This is a good time to clean any dirt out of under your apron area. Clean and thoroughly dry the metal guide under the flippers. If this isn't thoroughly dry, the tape will not stick and the light strip will fall off. Recommend rubbinb alcohol or such.
- Peel the double sided tape off the card attached to the light strip.
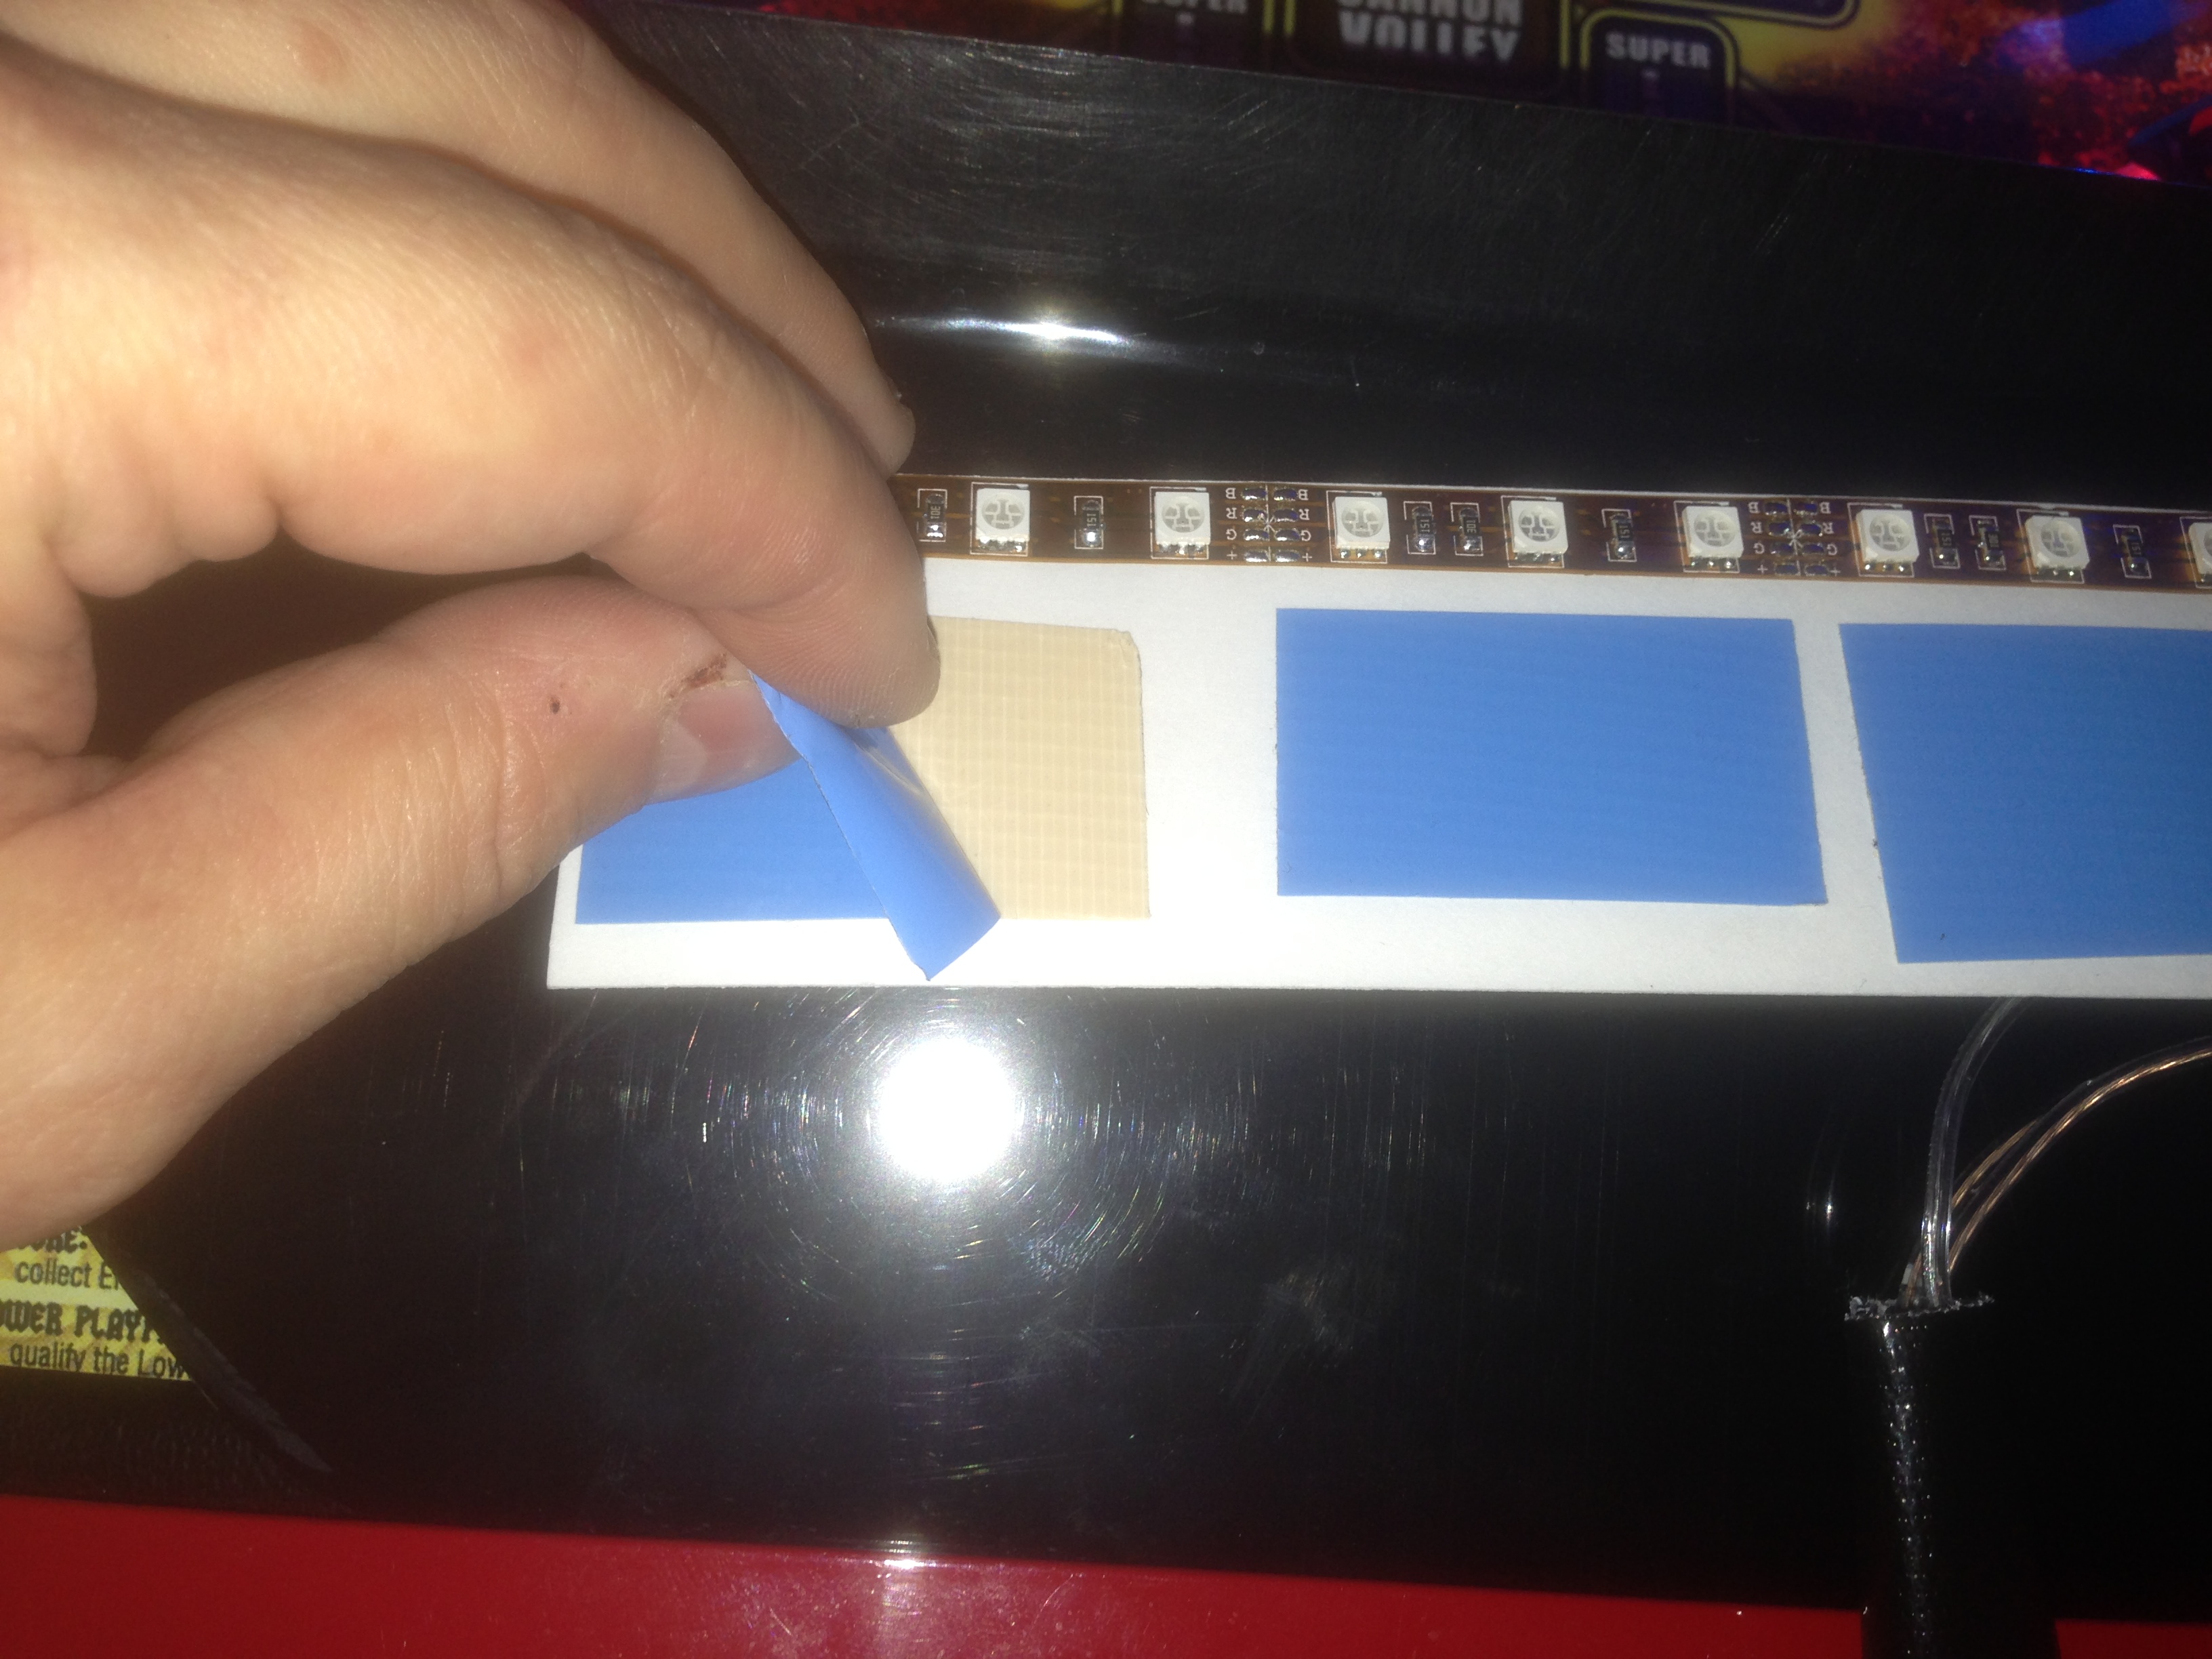
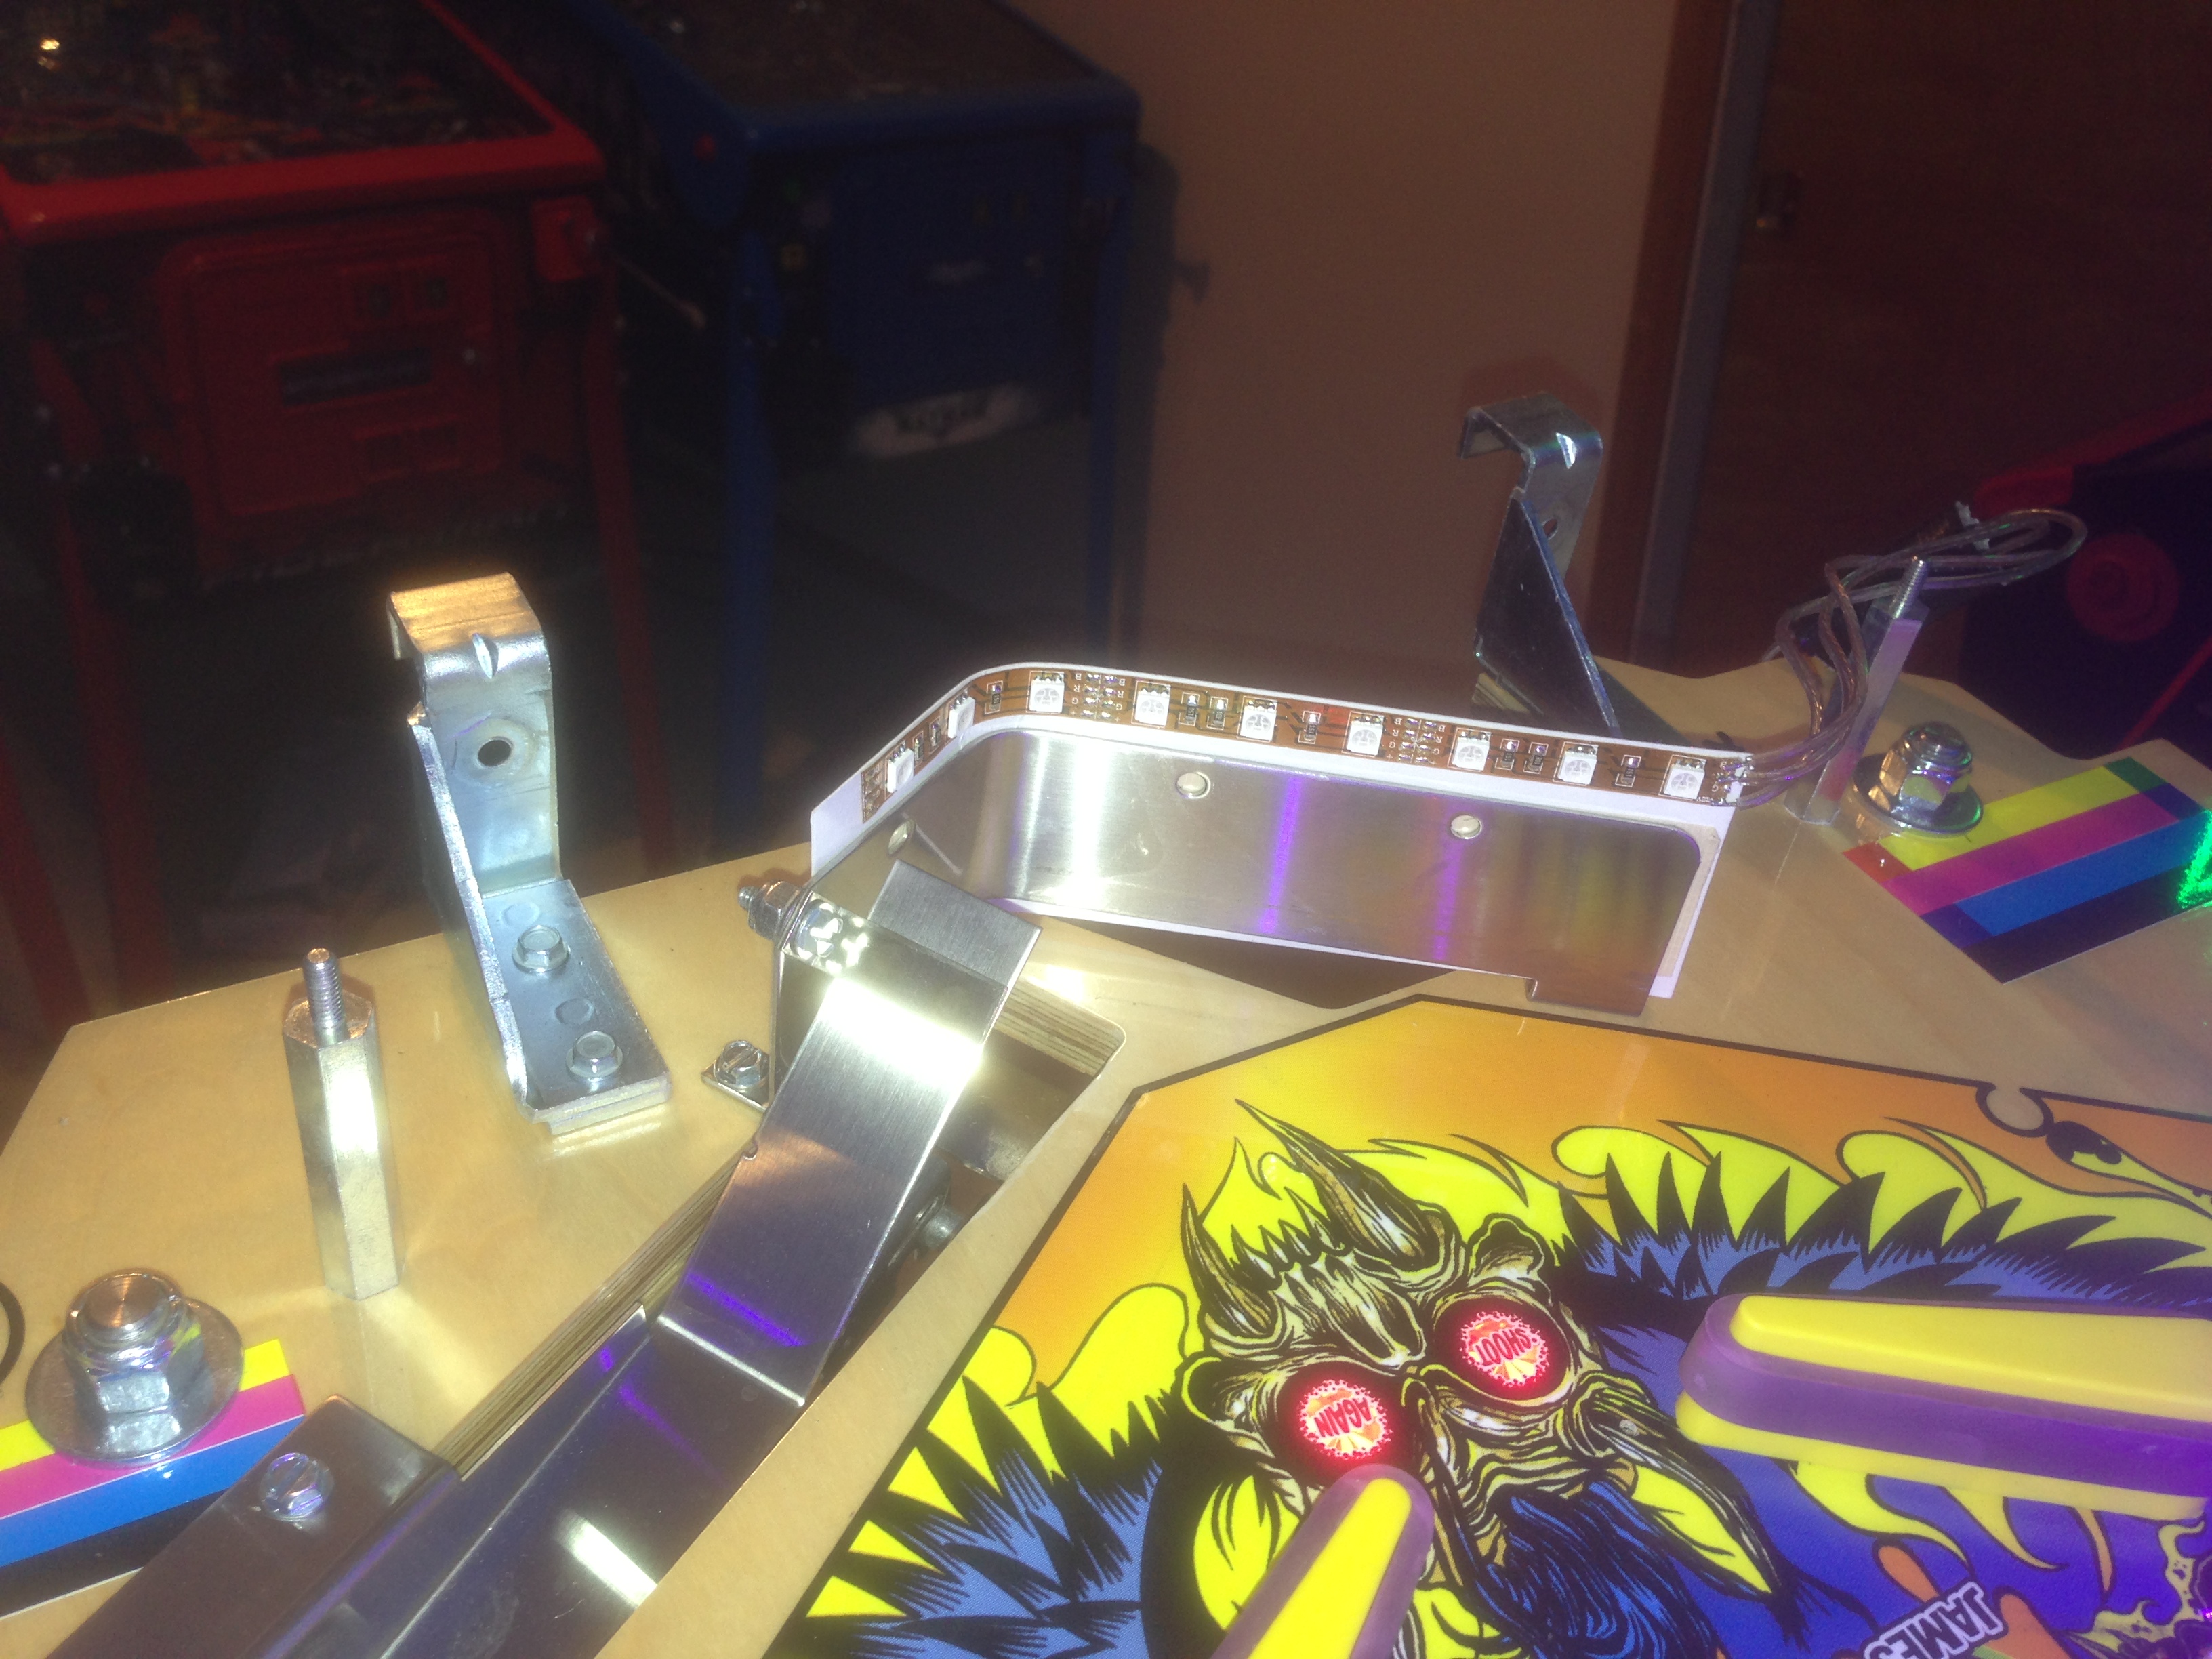
- Attach the card to the metal guide. Line up the right side with the right bolt. Thn lights will face the flippers and be above the metal not below it. It's pre-attached so there's only one way it can fit.
Gentally bend the card as you go securing it to the metal.
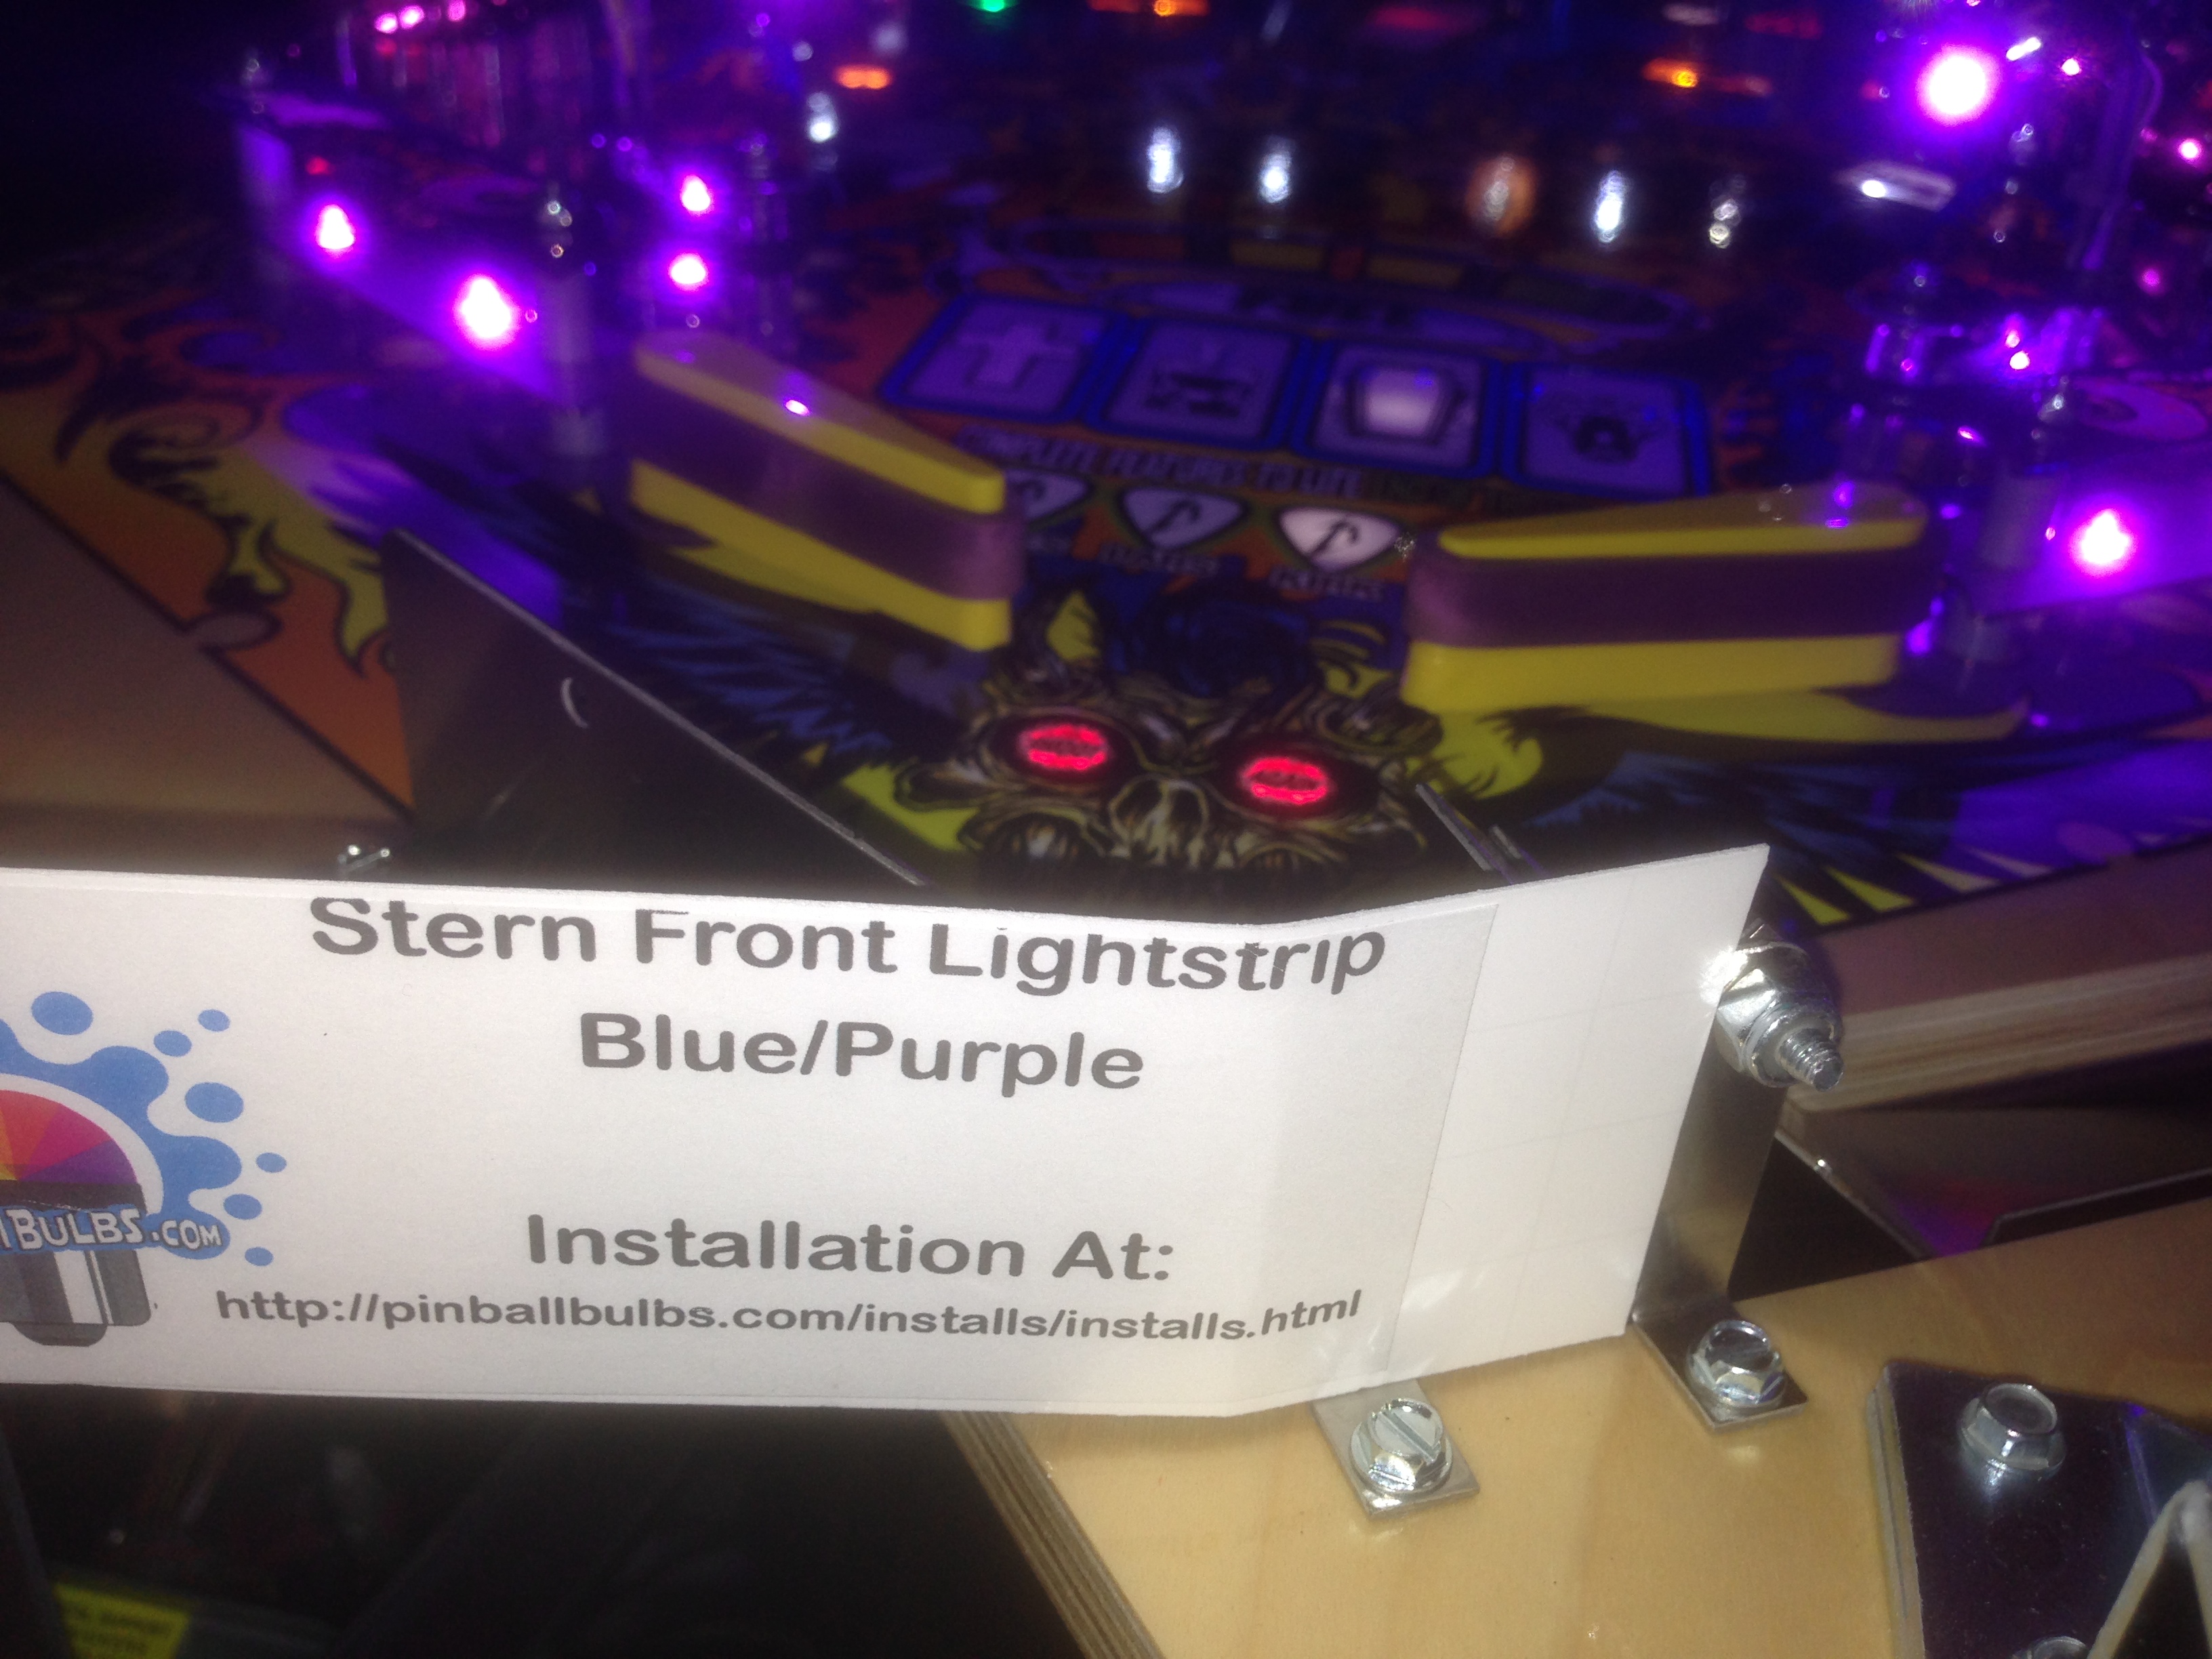
The Strip should look something like this installed at this point.
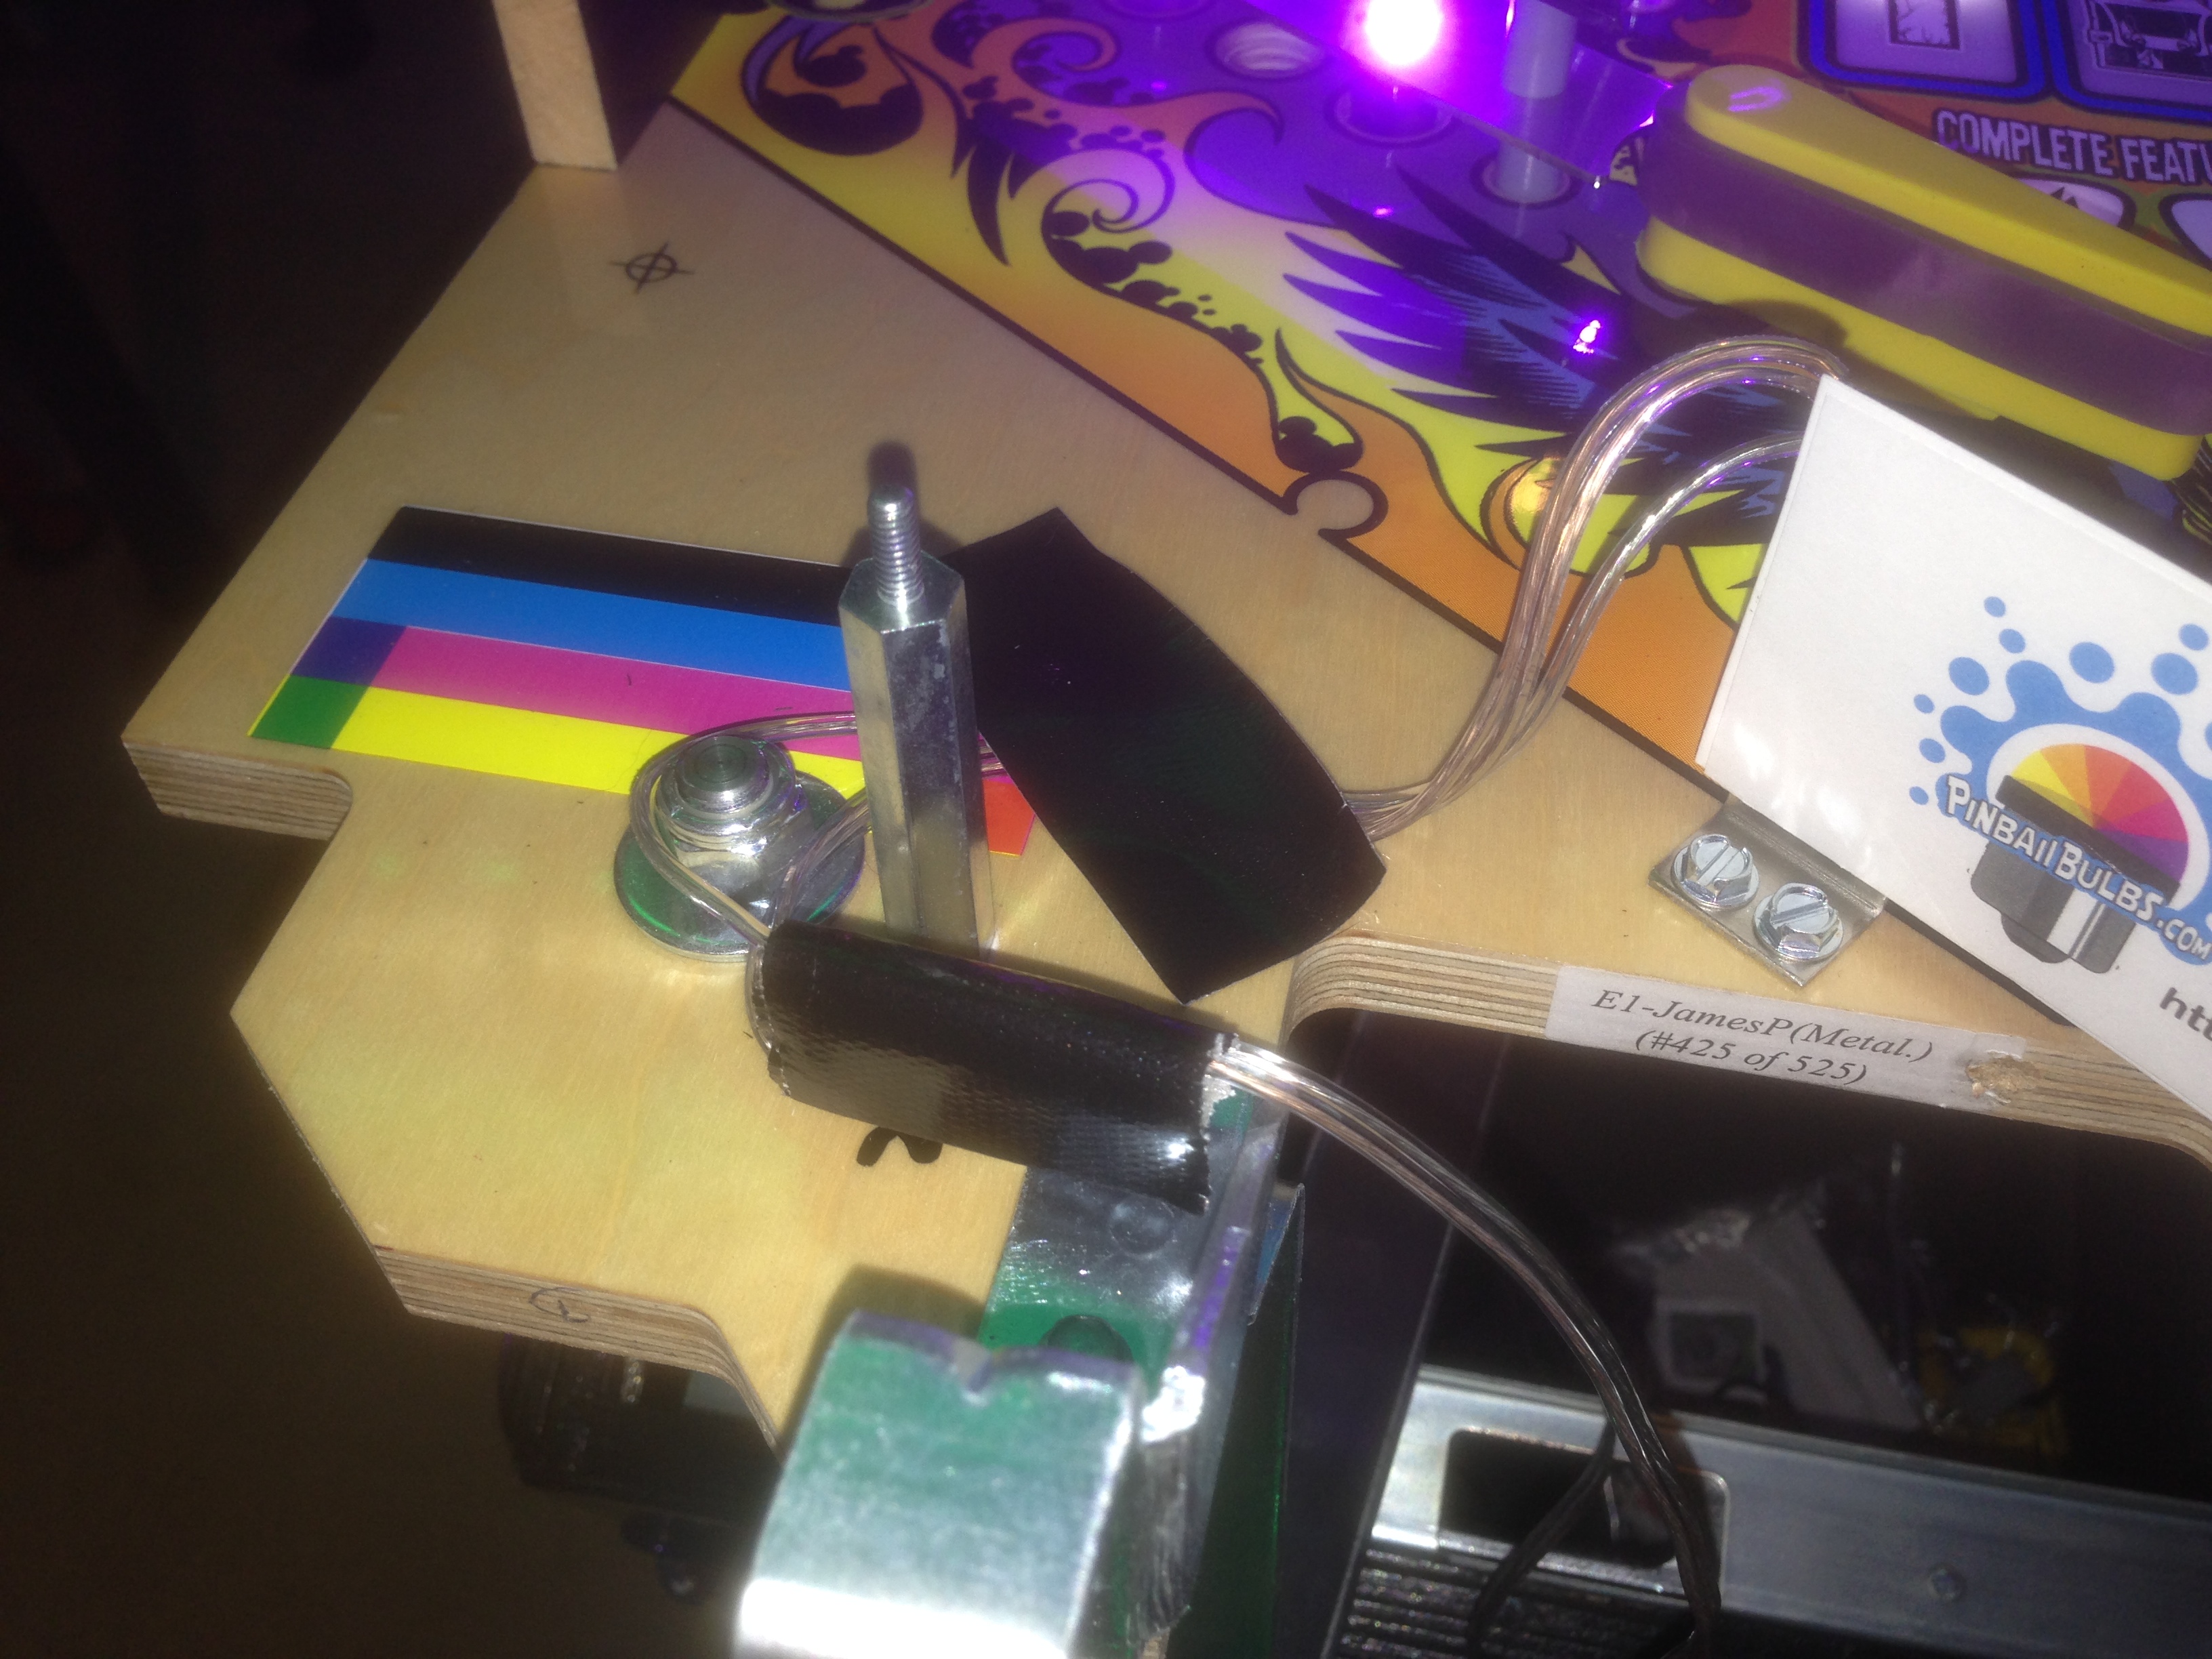
- I recommend taping the wire down so it cannot be accidentally tugged. Run the wires down and into the open area in front of the ball trough.
- Reattach the apron. We are done working underneath the apron.
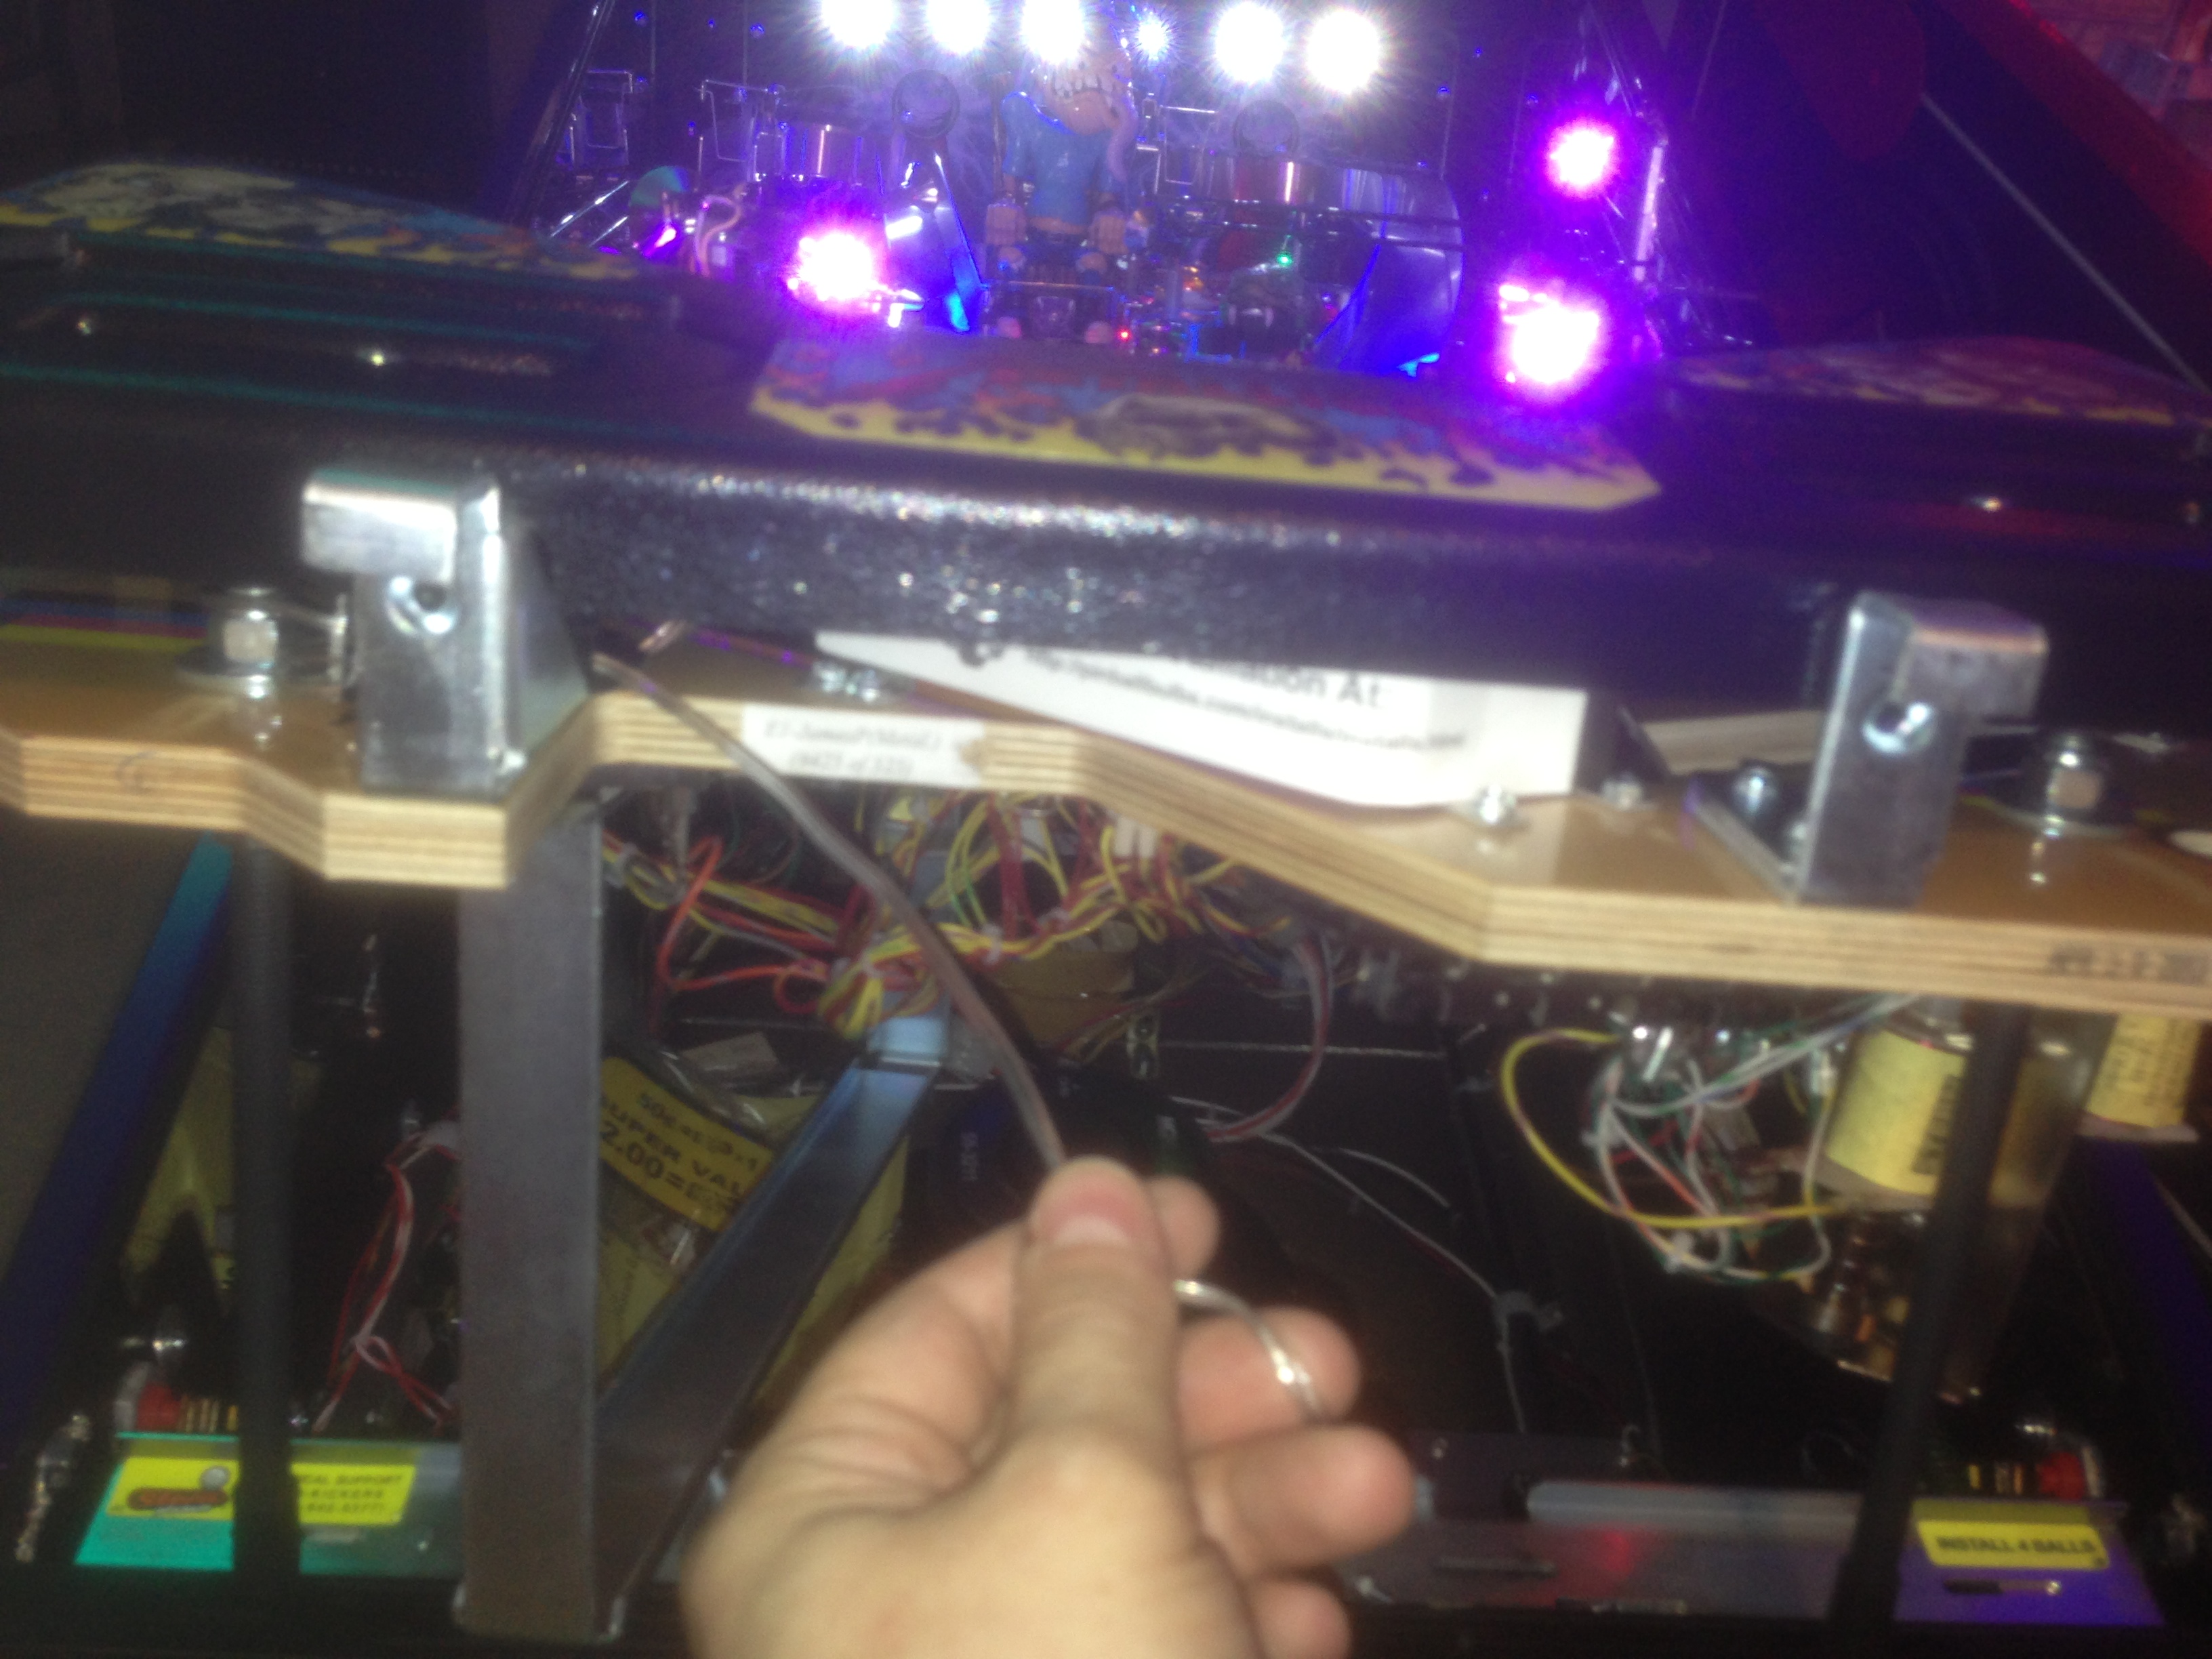
- Next, we will plug into the coin door harness. There needs to be enough slack here so that the playfield can be lifted all the way upright without tugging the wire loose. If for some reason there is not, you can unhook the coin door plug from the white clip on the right.
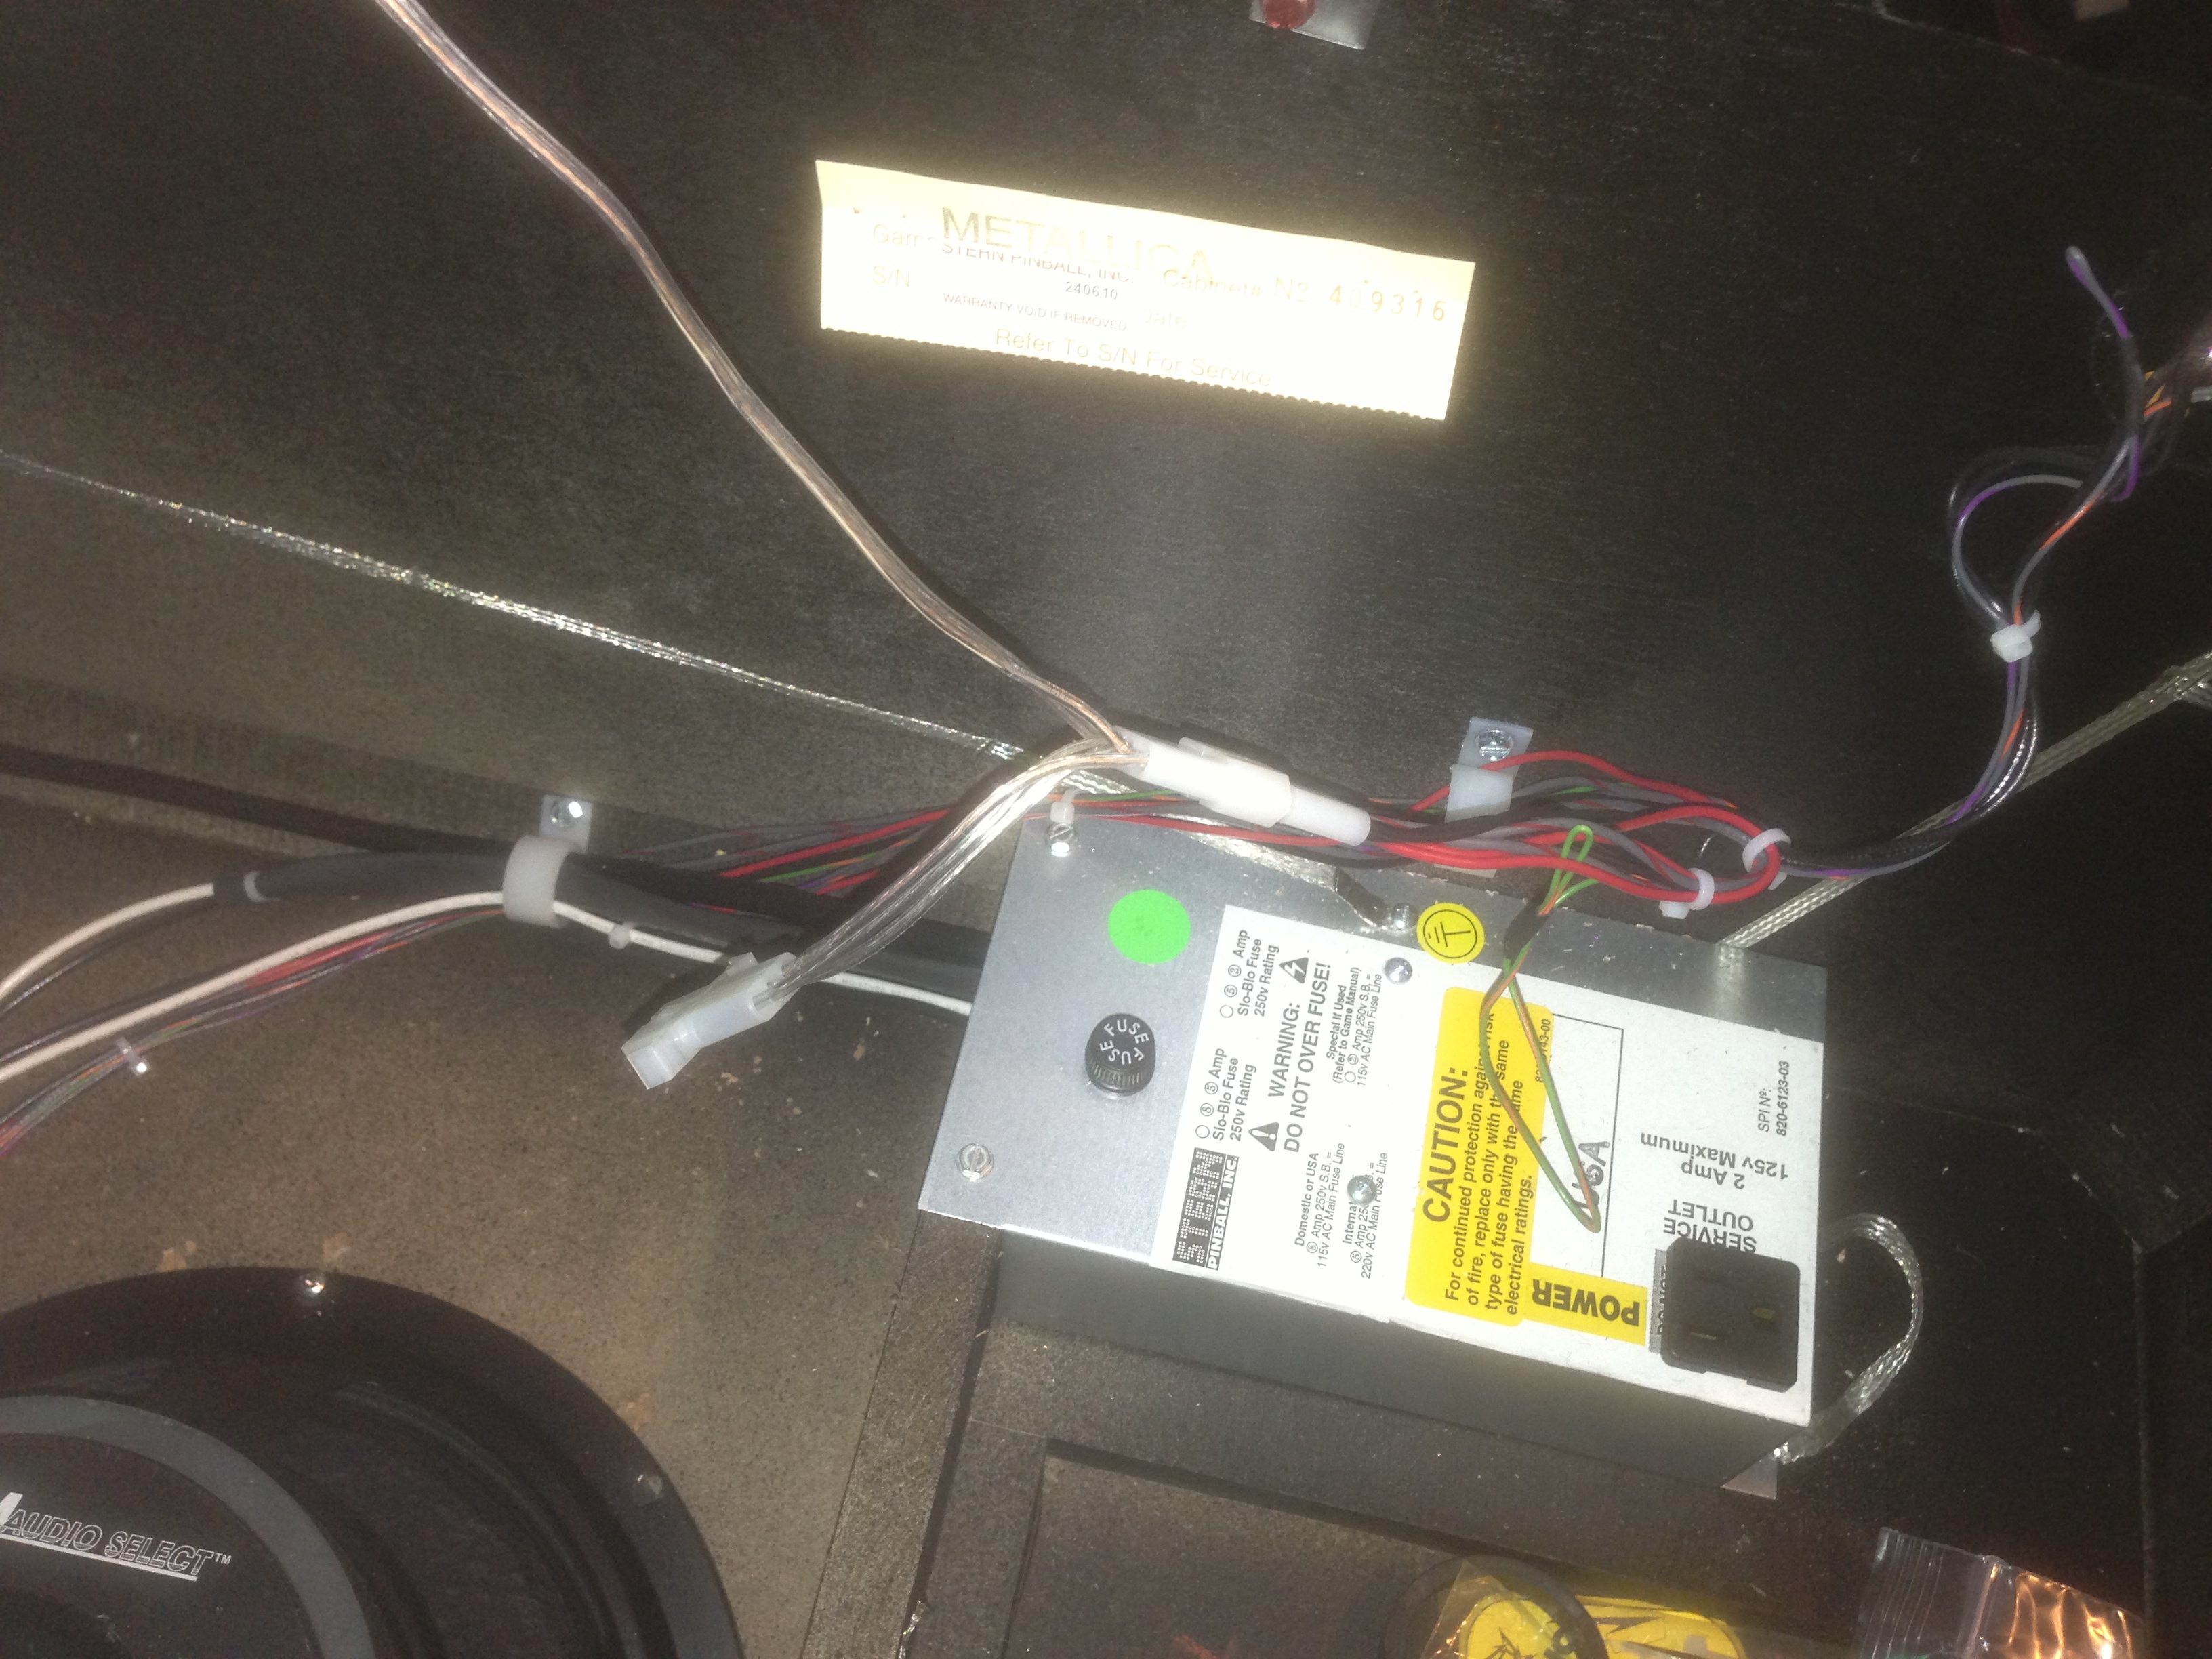
Worst case, you may have to unplug the light strip if you raise your playfield all the way up. (It really should be long enough though).
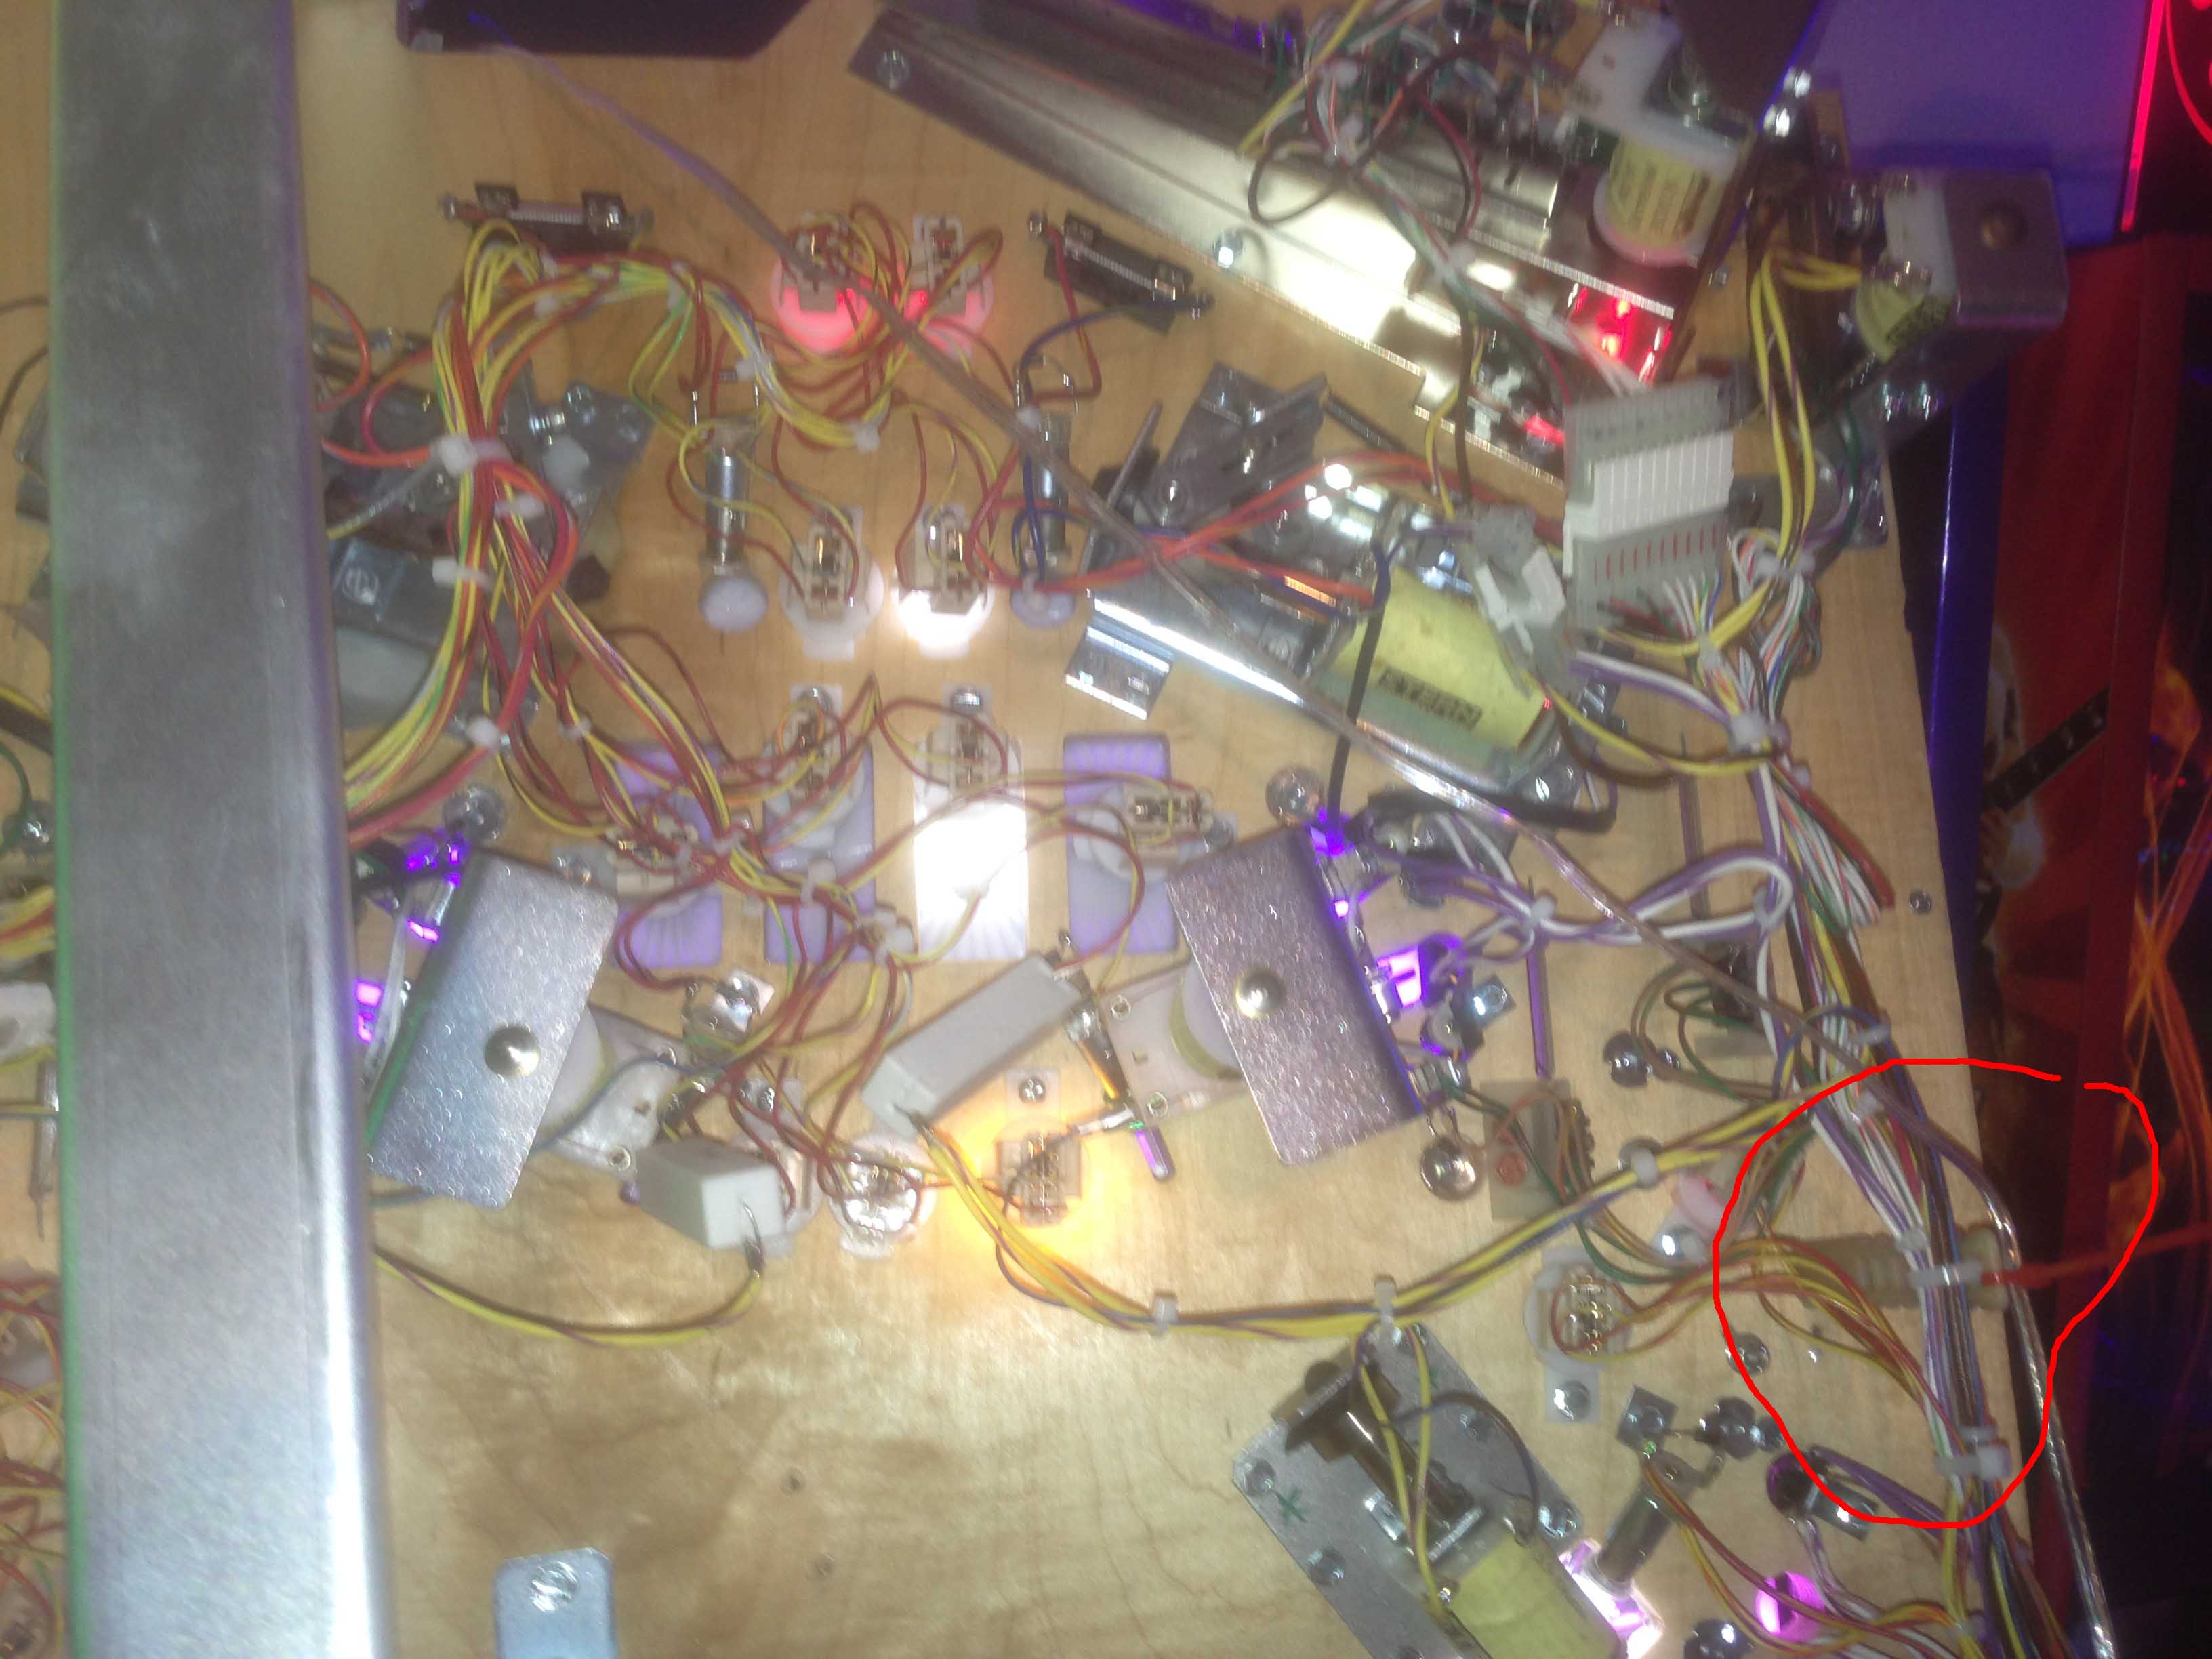
- At this point, you can route your wire. WIth the playfield all the way lifted upright, route the wire away from the coils and tie strap it to some wire harness that keeps it routed away. The wire does not need to run all the way down the playfield. Doing this would probably not provide enough slack for when the playfield is pushed back into play position. In this case, we route it about 12 inches and secure it letting the wire rest loose after this.
- Reassemble your machine. You are done.