 Price: $99.99
|
Price: $99.99
|
 Price: $189.99
|
 Price: $99.99
|
 Price: $209.99
|
 Price: $209.99
|
Spotlight kit installation instructions
Pinball Spotlights greatly enhance your game by brightening up the center playfield area. Most games were not designed for low light play. GI lights up the playfield, but even incandescent GI does a poor job of lighting the center playfield. Pinball Spotlights solve this problem. Our pinball spotlight kits are solderless for folks that cannot wire in their own spotlights to system GI.
NOTE: All of our pinball spotlight kits are now Universal Spotlight kits. You will get a 6-32 pinball spotlight kit with an extra set of 8-32 posts and a nut. If your game calls for 8-32 pinball spotlights then simply remove the 6-32 posts and attach the 8-32 posts. This allows for maximum flexibility if you choose to move the spot from our recommended position in the kit instructions.
We also use the higher quality black domes. This all in one piece of the dome and socket are more reliable and hide within your game better.
Installation (click images to enlarge):
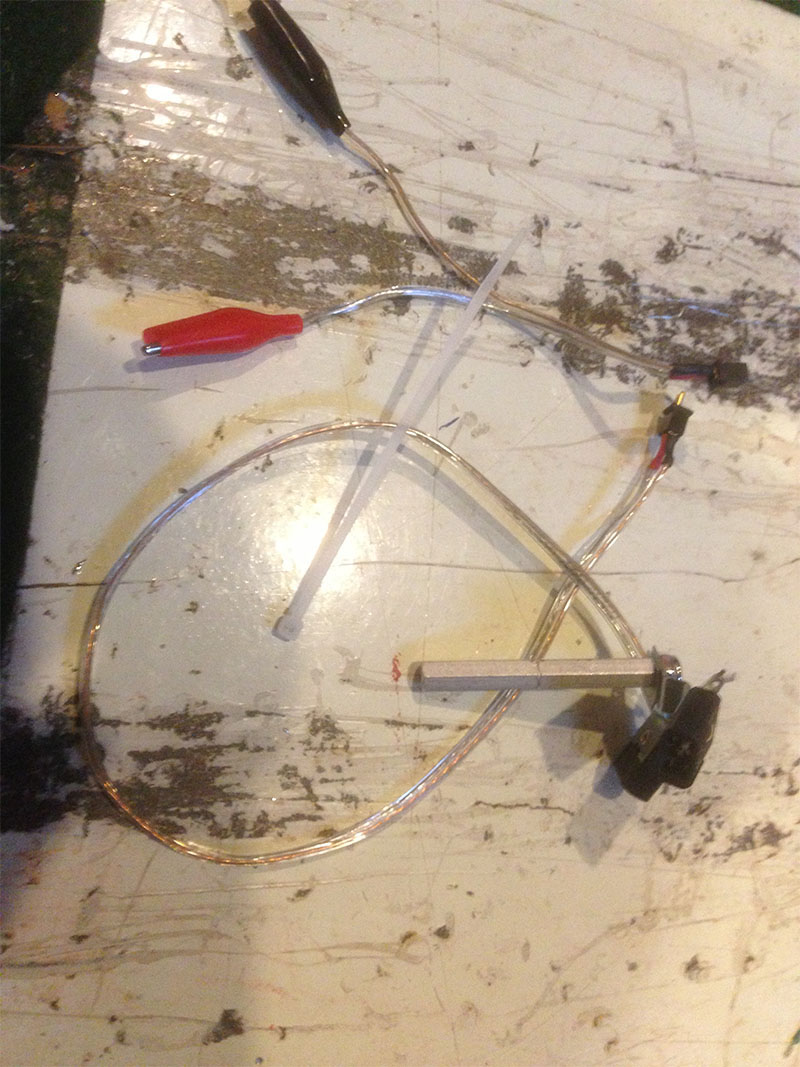
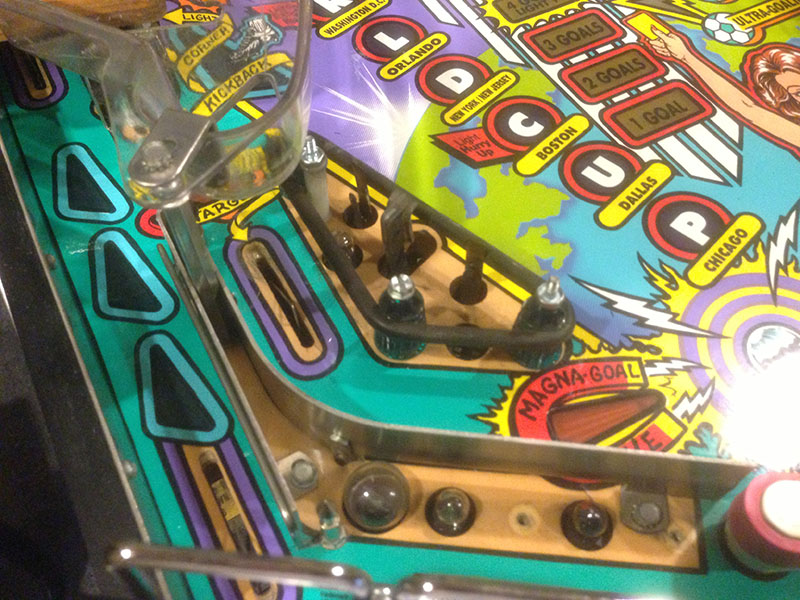
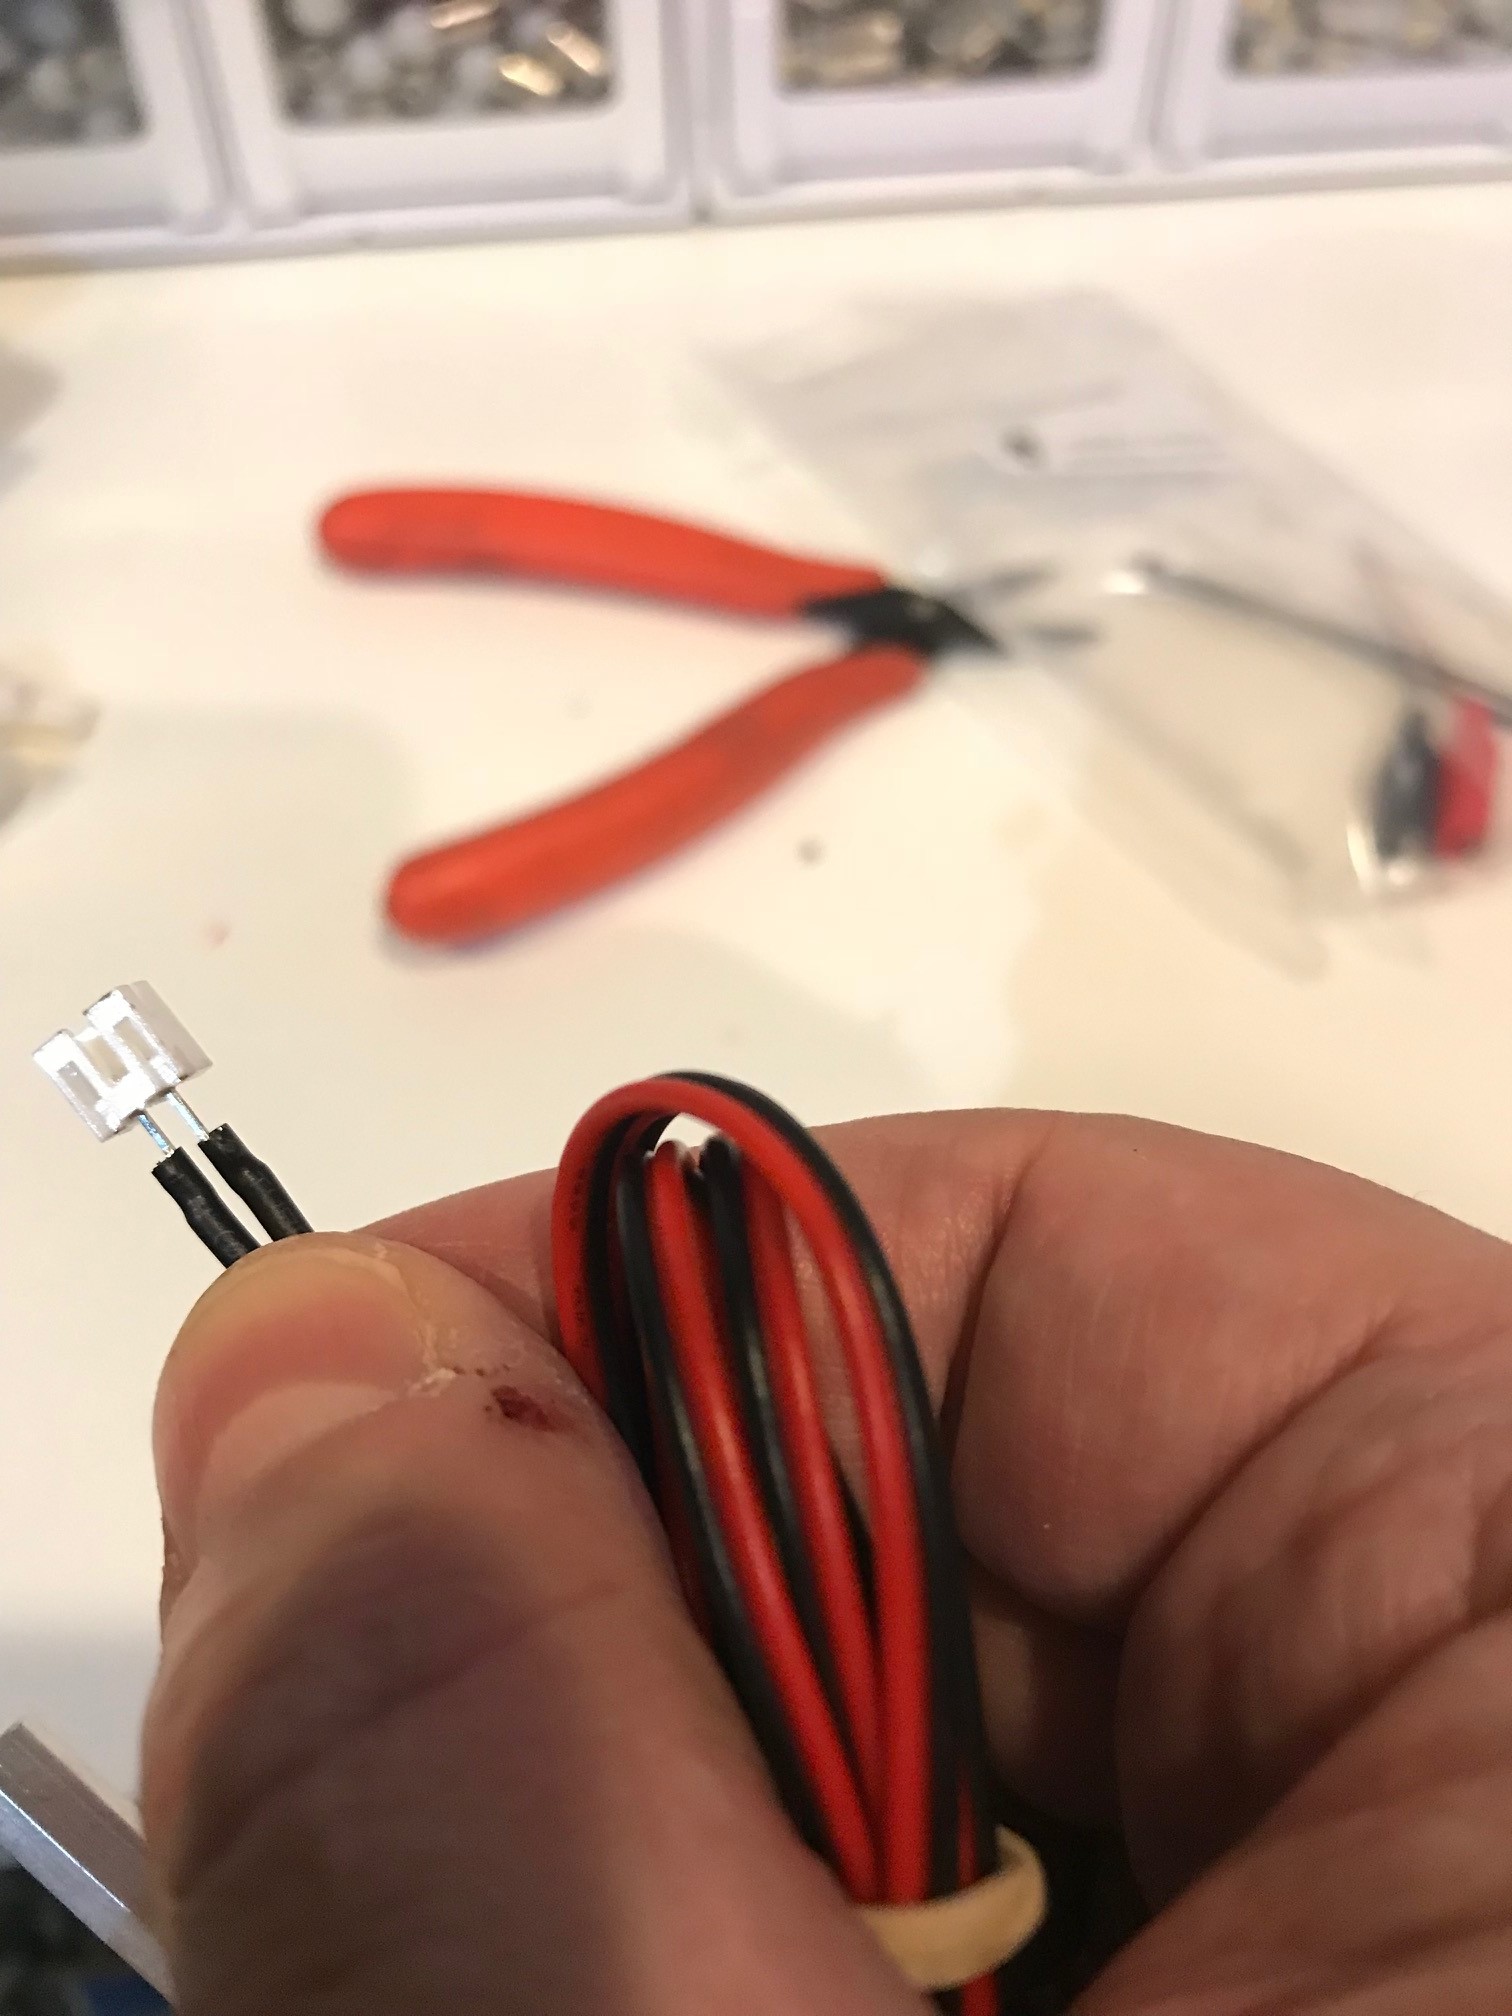
- Your kit should look something like this.
- We will install this spotlight onto our slingshot. The spotlight locations in our kits are often given such as "6-32 double, left sling, lower bolt" or "8-32 double, right sling, upper bolt". In general, 6-32 fits on a 5/16 nut, 8-32 fits on an 11-32 nut. Most williams games use 8-32 11/32 inch nuts. Many use 5/16 inch nuts on the lower bolt of the sling. Most stern slings use 5/16 inch nuts. Our kits should take this into account and we should send you the correct posts for your machine.
In this case, we will install a 6-32 double on the left sling, lower bolt.
- Remove the plastic. In many cases you can just loosen it and move it out of the way. In the case of this game, the sling plastic is connected to the lower inlane, so we have to remove it all.
- Feed the spotlight plug through the slingshot leaf switch, in the backside of the switch. In some cases, you may need to remove the screws on the bottom of the playfield and lower the leaf switch if the hole is extra tight. To date, I have not come across any that we could not fit through without removing the switch, so hopefully this is unnecessary.
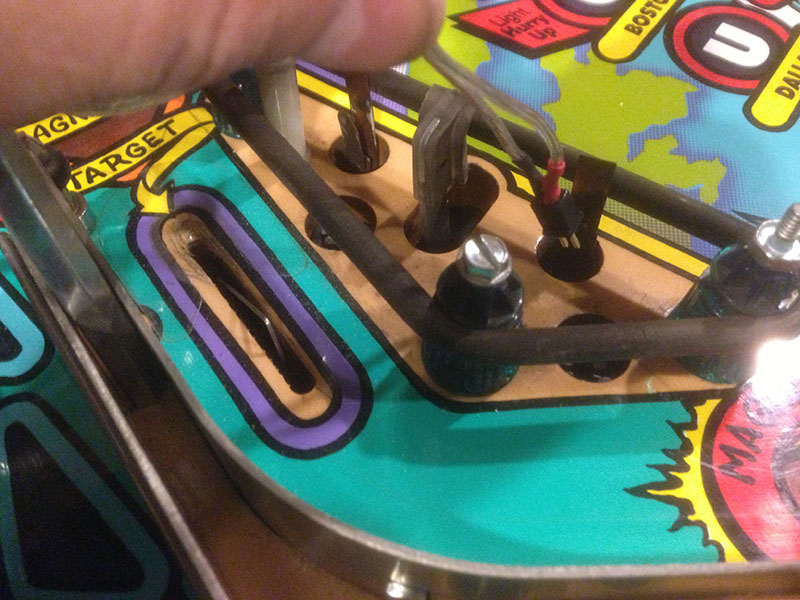
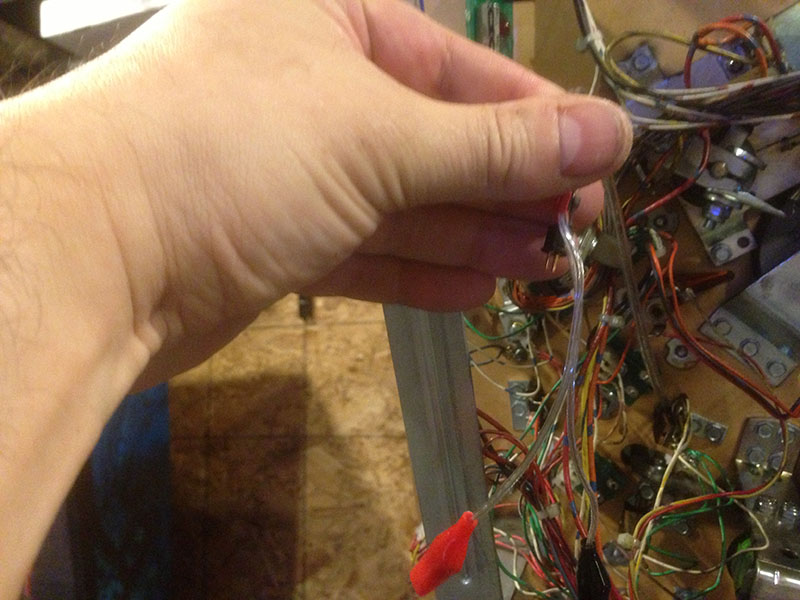
- Once through, lift the playfield and find the connector poking through the leaf switch.
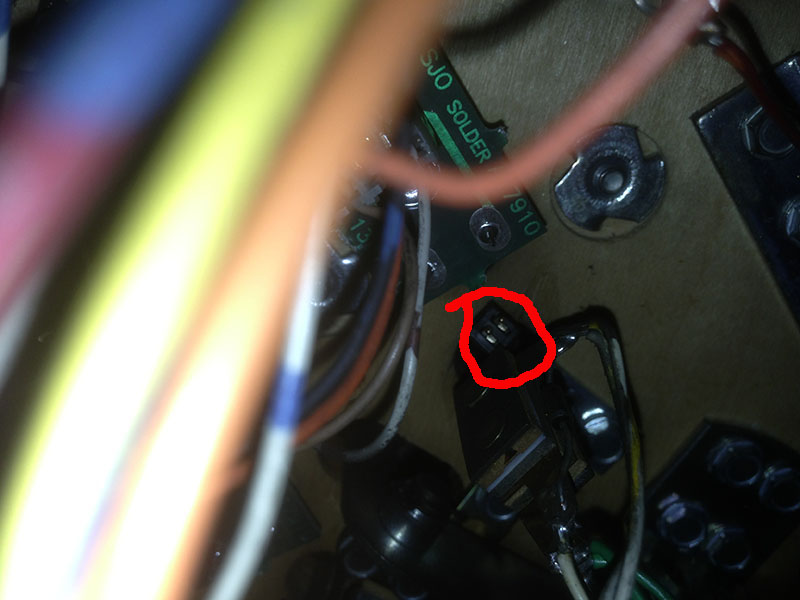
We want to grab this, perhaps with needle nose pliars, and pull it through.
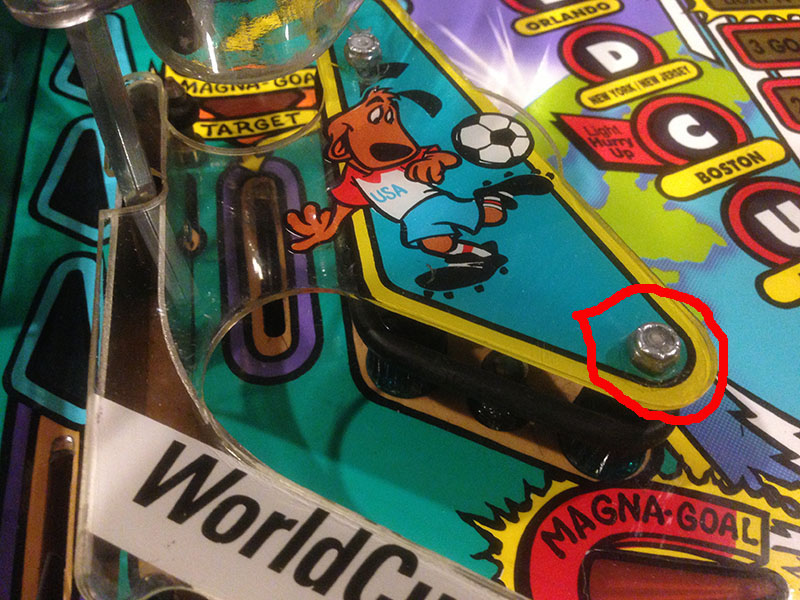
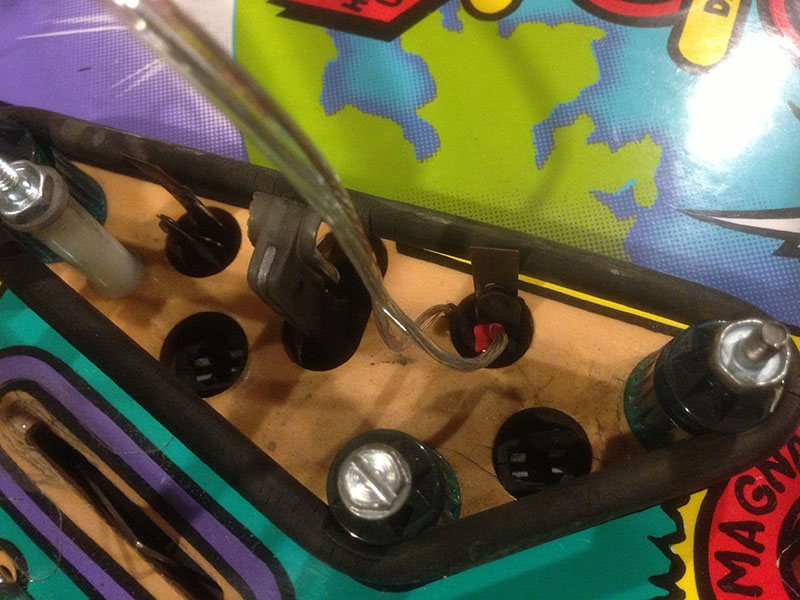
- Now back to the upper side of the playfield. We need to attach the plastic back onto the sling
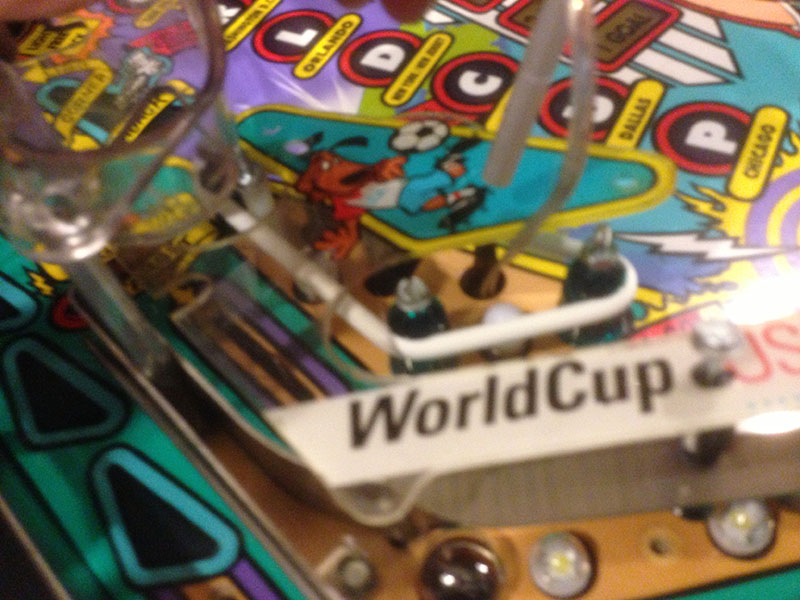
And attach the hex post to the bolt. You probably want to loosen the nut on top of the spotlights so that you can turn the hex posts without turning the spotlight sockets and twisting the wires. After, retighten the nut and point the lights as seen.
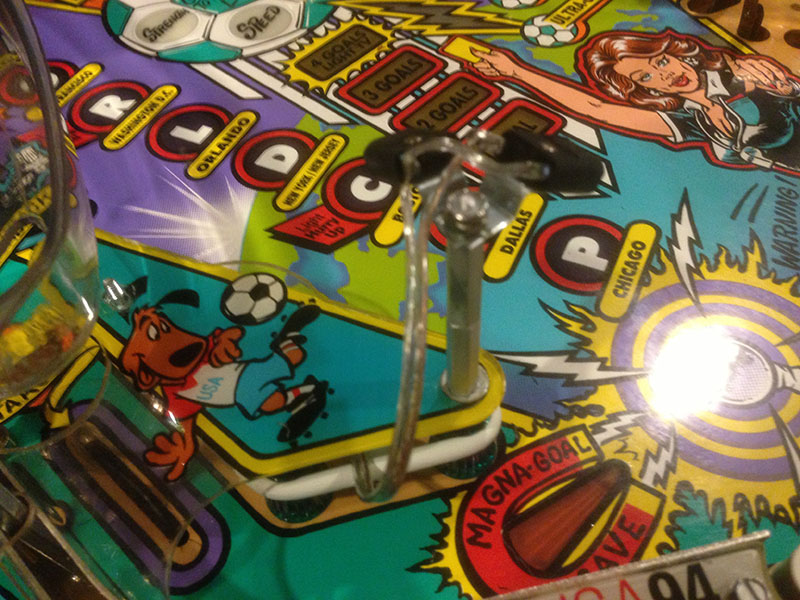
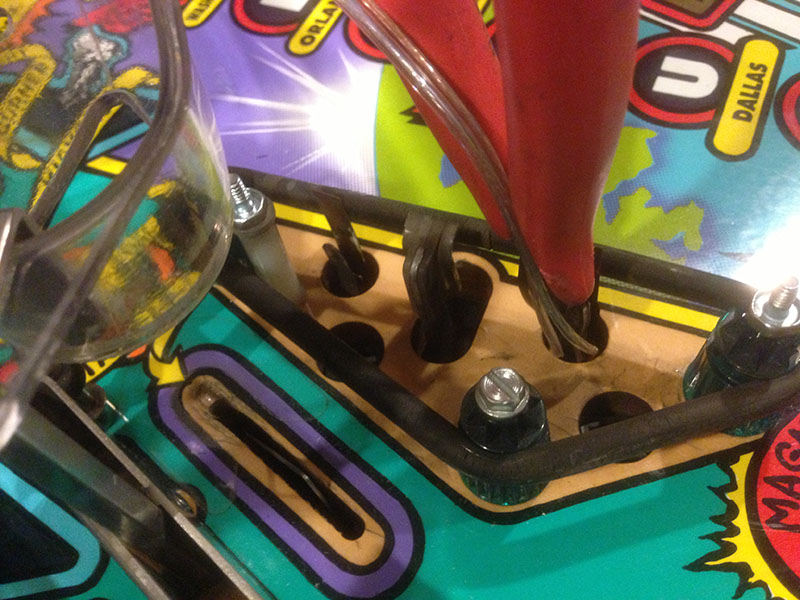
- Gently pull the slack of the wire under the playfield so there is no slack on the top and tie strap the wire to the hex post.

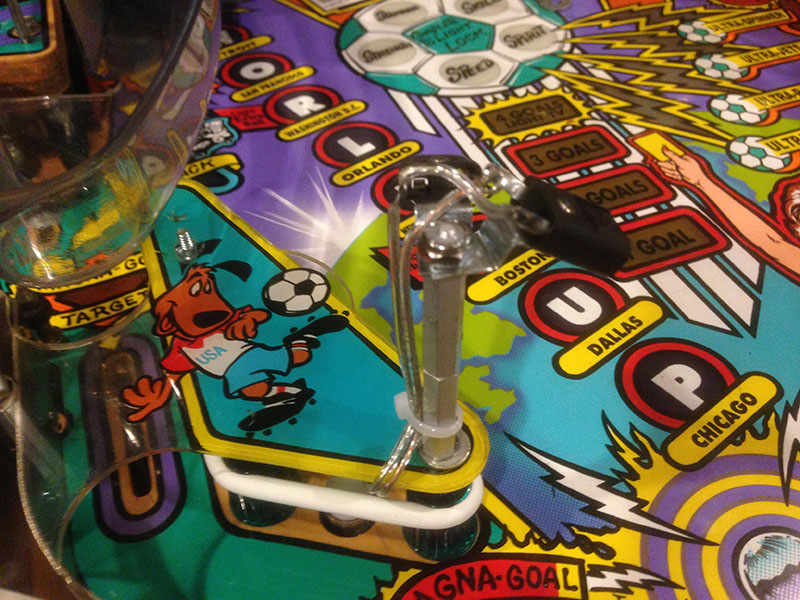
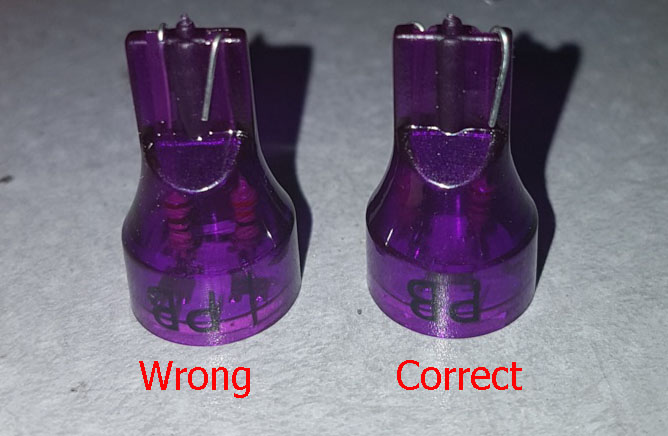
- Inserting the bulbs. This might seem obvious, but for our new larger 8 led bulbs they are actually difficult to insert. Once they are in, they will stay in and not fall out during play. You need to make sure the prongs are bent out properly or the bulb will not light up. Also, you need to carefully insert them or the socket prongs will just bend together and you'll have to bend it back out. The bulbs need the prongs bent at the base of the plastic towards the edge of the bulb. I recommend using your fingernail and forcing the metal towards the edge. If your bulb is not lighting up, it is not making contact with the socket and you need to bend the prongs again. It does not matter which way the bulb is inserted, it is not polarized.
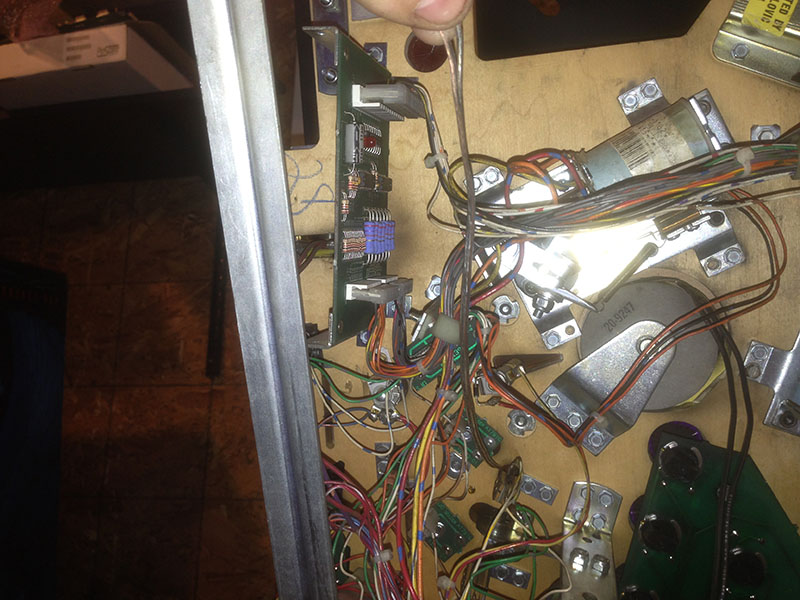
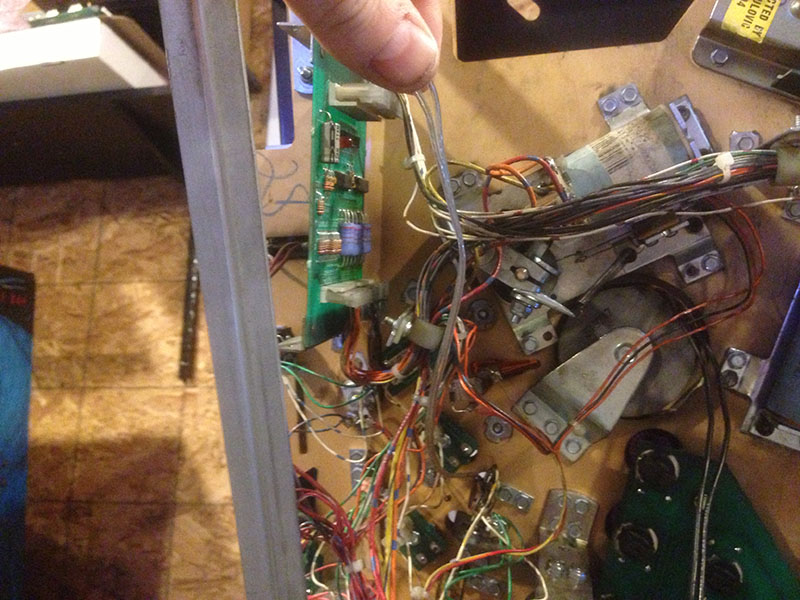
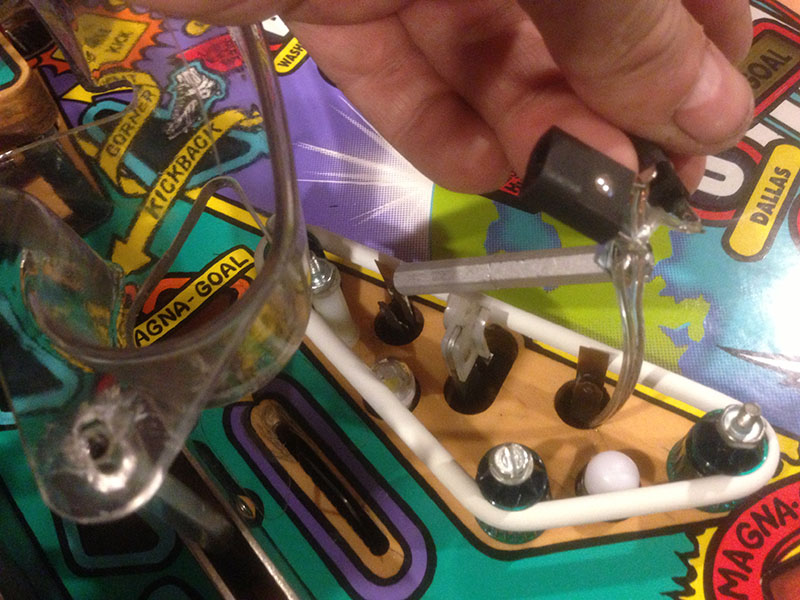
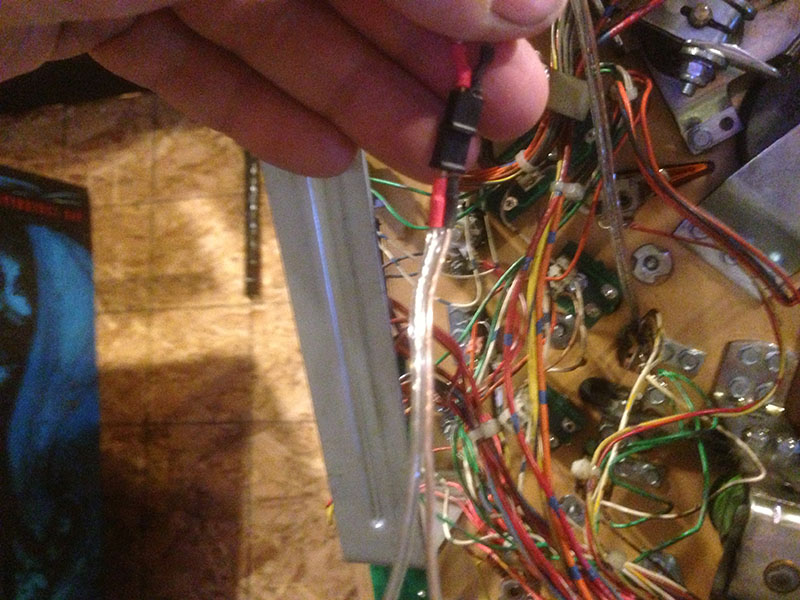
- Now lift the playfield so we can attach the power. Find the wire you pulled through and find its mate with the alligator clips.
The wires are not polarized. It really doesn't matter between red and black which one goes where. But they are color coded for ease of install regardless.
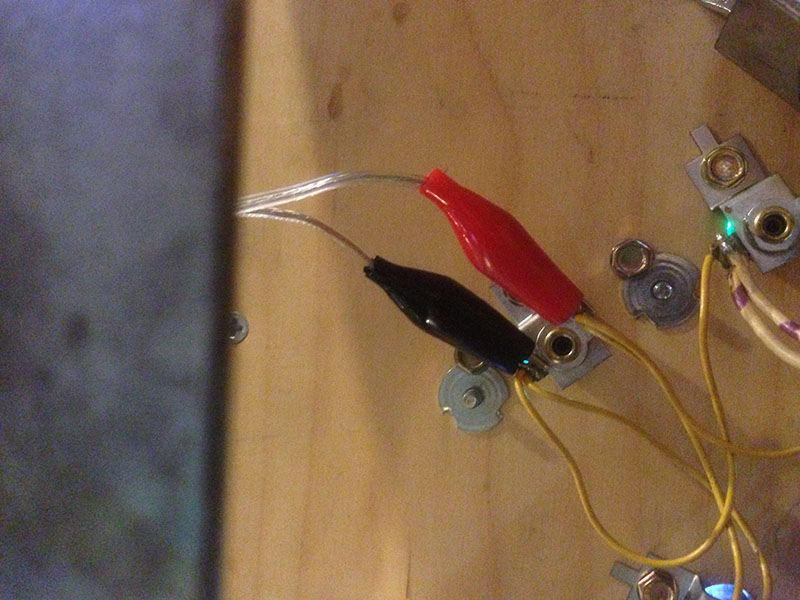
- Finally, find the nearest GI socket and attach to it. (for stapled GI like data east, skip down below to step 11).

Make sure the alligator clips do not touch each other or the base of the light socket. If you can solder, you can solder this part instead.
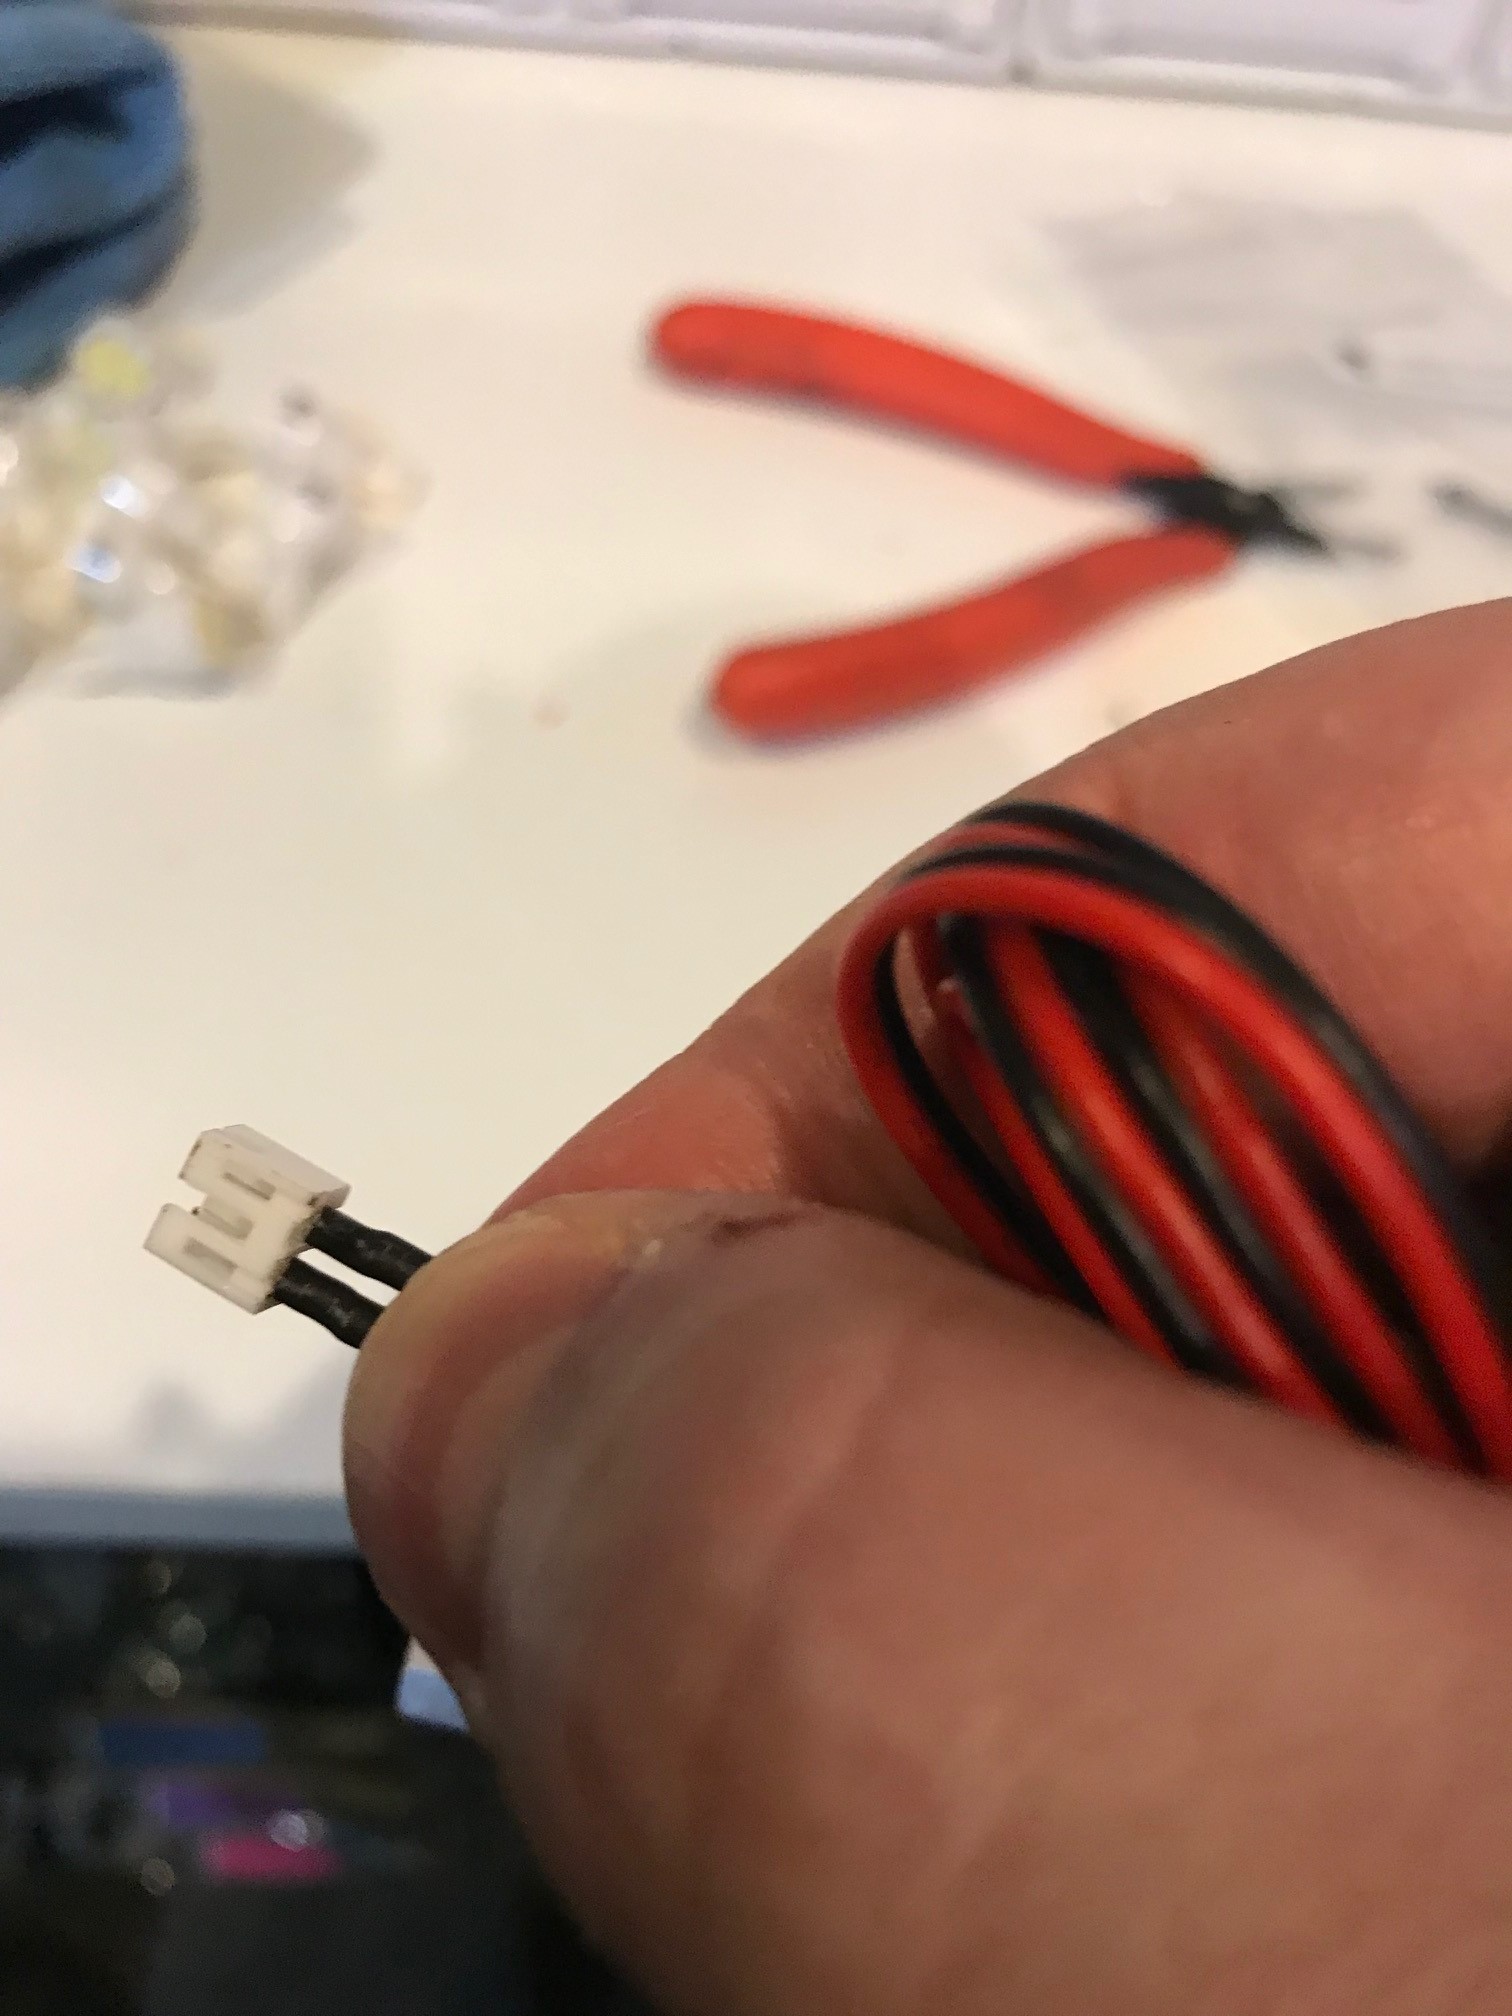
- On our newer style connectors that are white, the white connector can come off the spotlight wires. If so just poke them back in. When you connect the wires, hold the wires not the plastic to push the wires directly into the connector. If your connector is loose like this:
Push it in like this and hold the wire like this: