 Price: $99.99
|
Price: $99.99
|
 Price: $189.99
|
 Price: $99.99
|
 Price: $209.99
|
 Price: $209.99
|
Pinball Side Light Installation
Pinballbulbs Side Lights are easy to install and should take about 15 minutes. These mount to the sides of interior of the pinball machine cabinet directly below the glass - one on each side. They mount with velcro and are easily removed when needing to lift the playfield.
Assembly
To start, the side lights come disassembled for easy shipping and need to be assembled. Assembly takes about 5 minutes each side. Here is a video to demonstrate the process:
Update!
Note: we have updated the sidelights to use clips to secure the pieces together rather than tie straps. See this video for how to assemble the brackets using the clips.
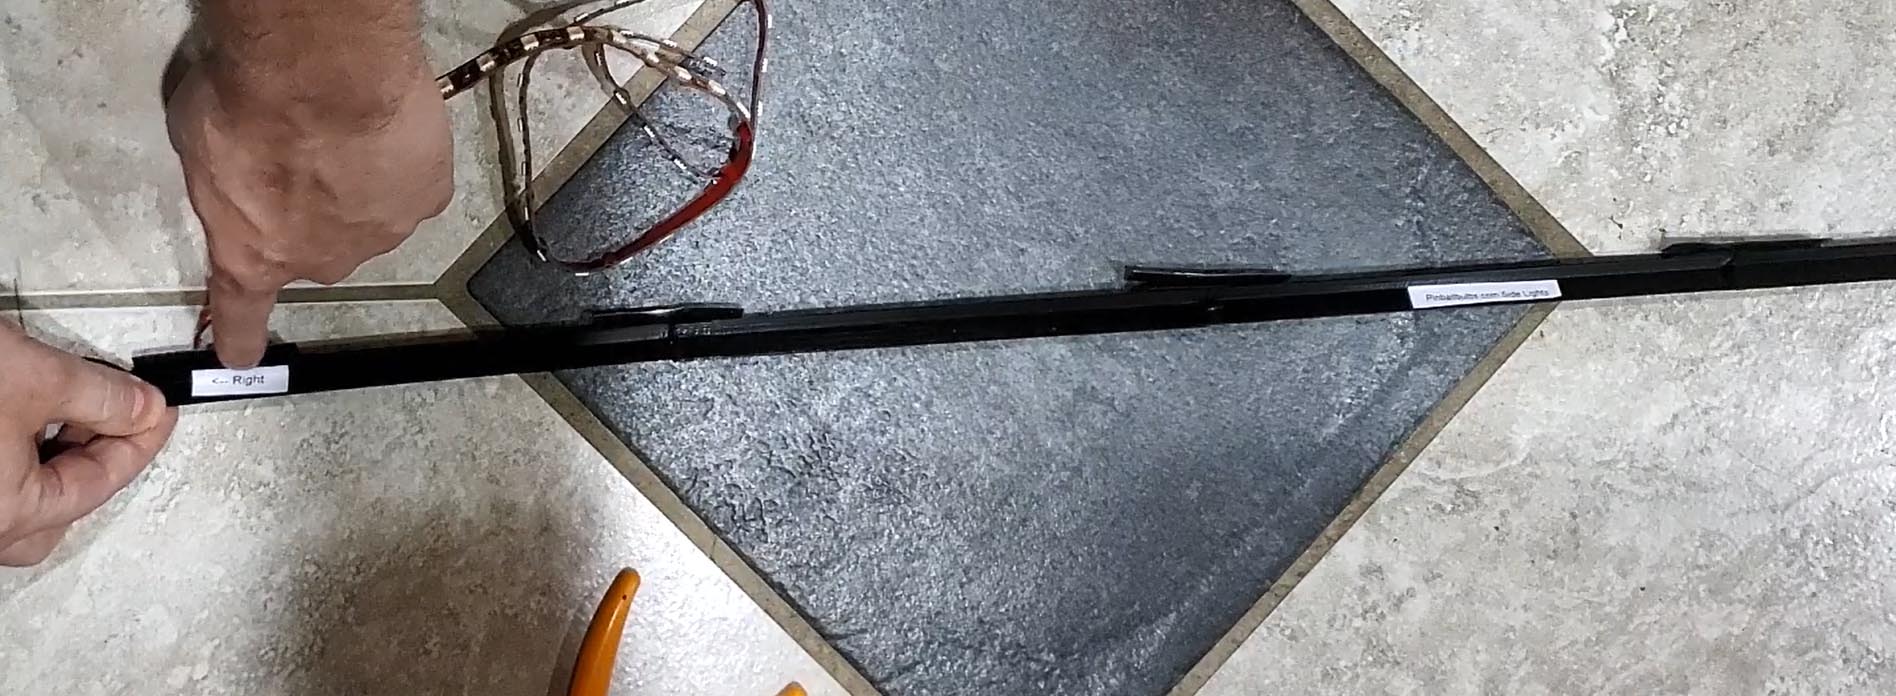
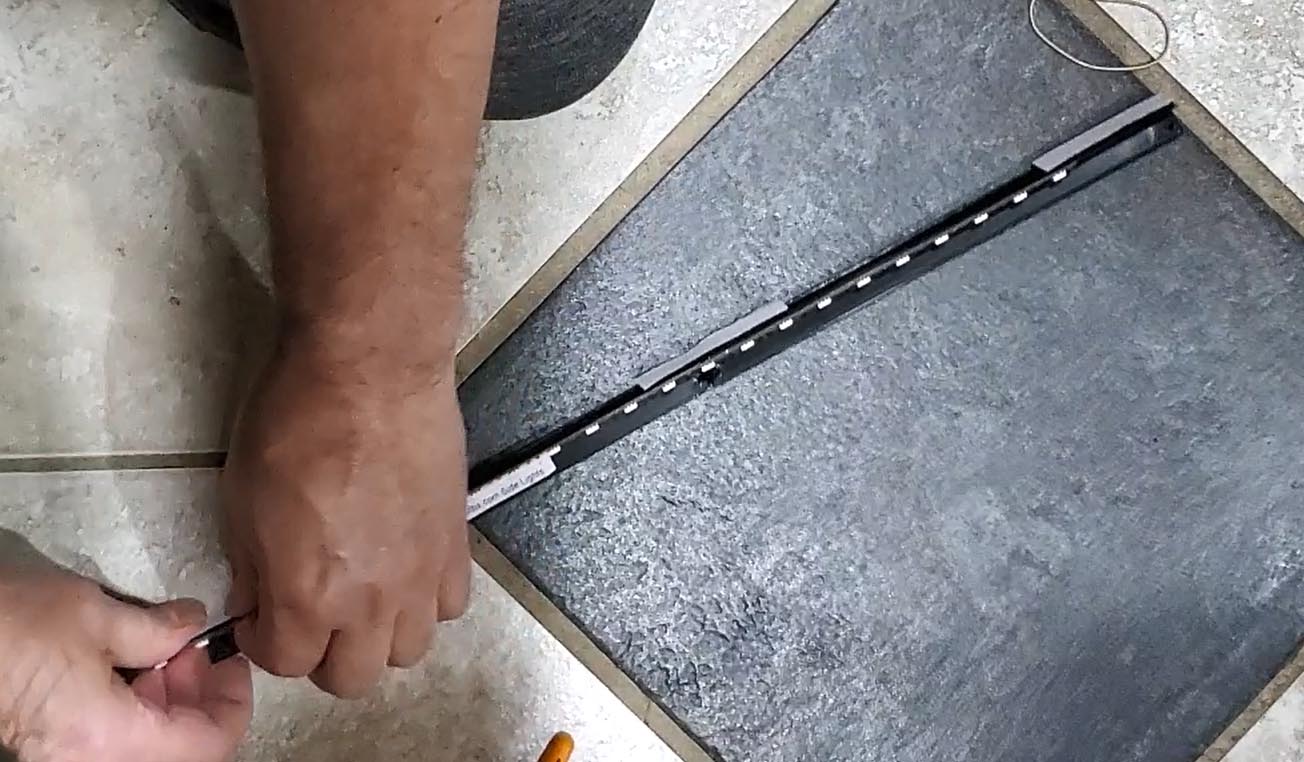
Summarizing the video, each side rails comes in 4 attached pieces along with a light strip.
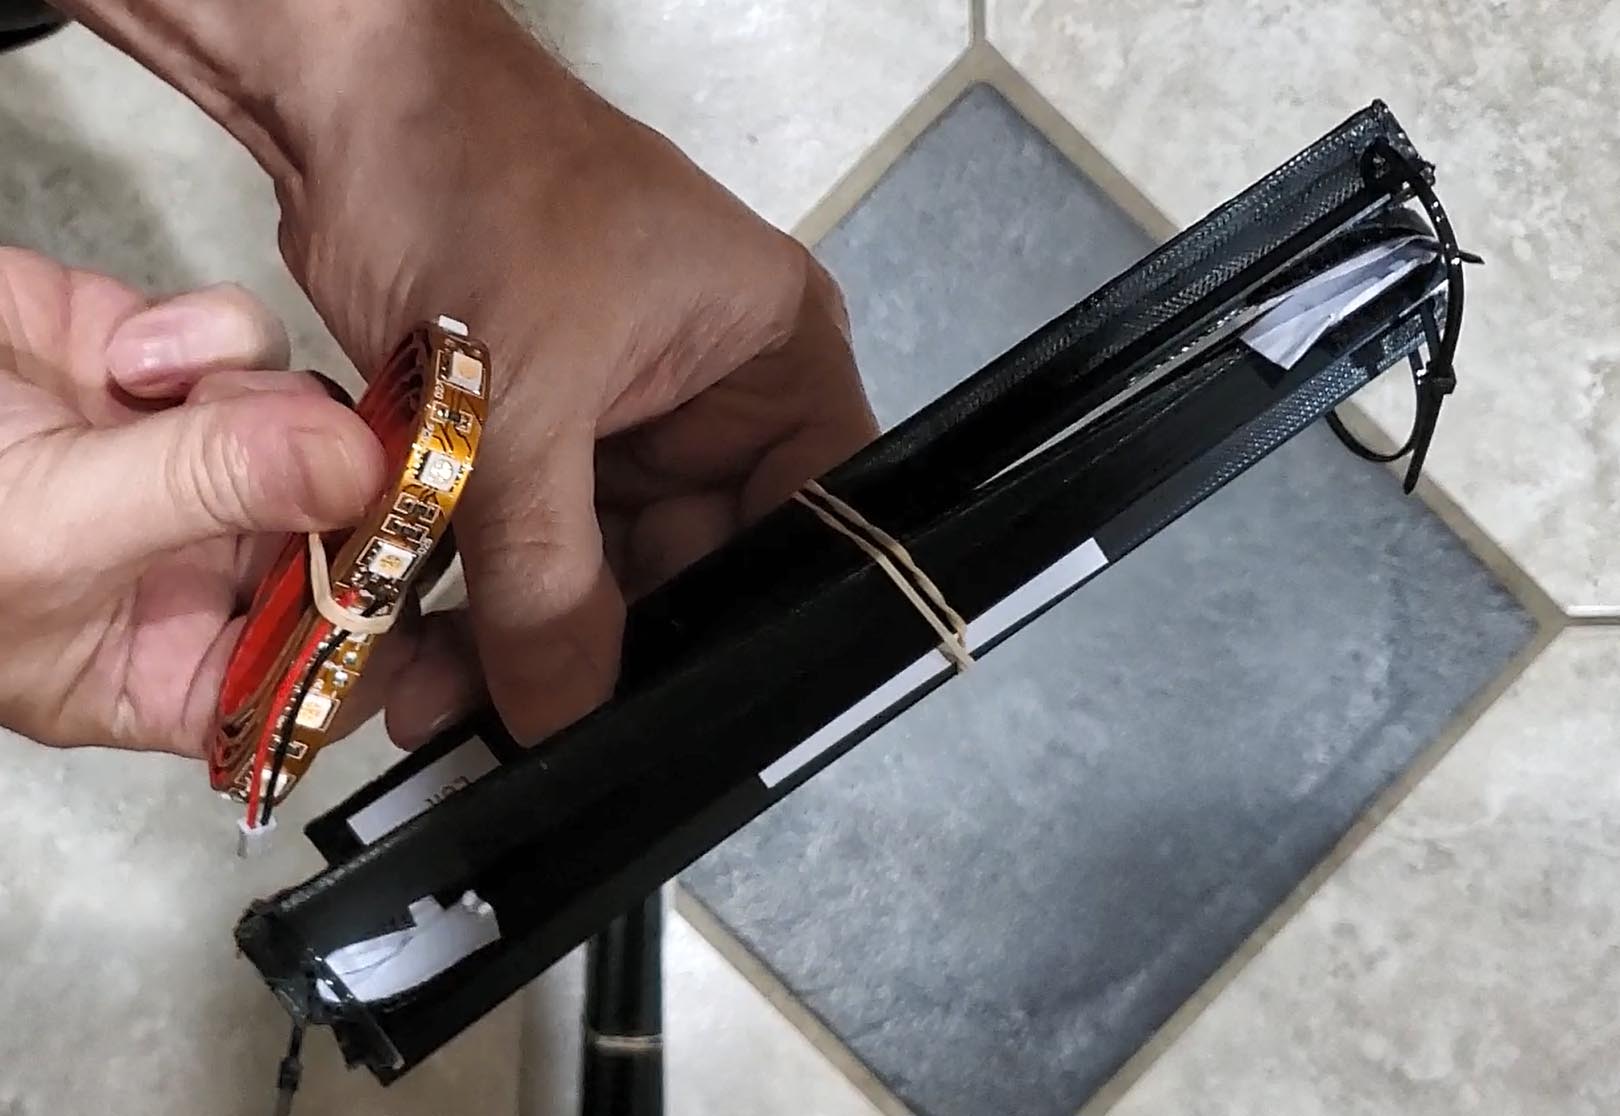
To assemble the rails, we will unfold the rail, line it up on a tight surface, pull the tie straps tight and cut them off, and then feed and stick the light strip onto the side of the rail.
Unfold the rail set:
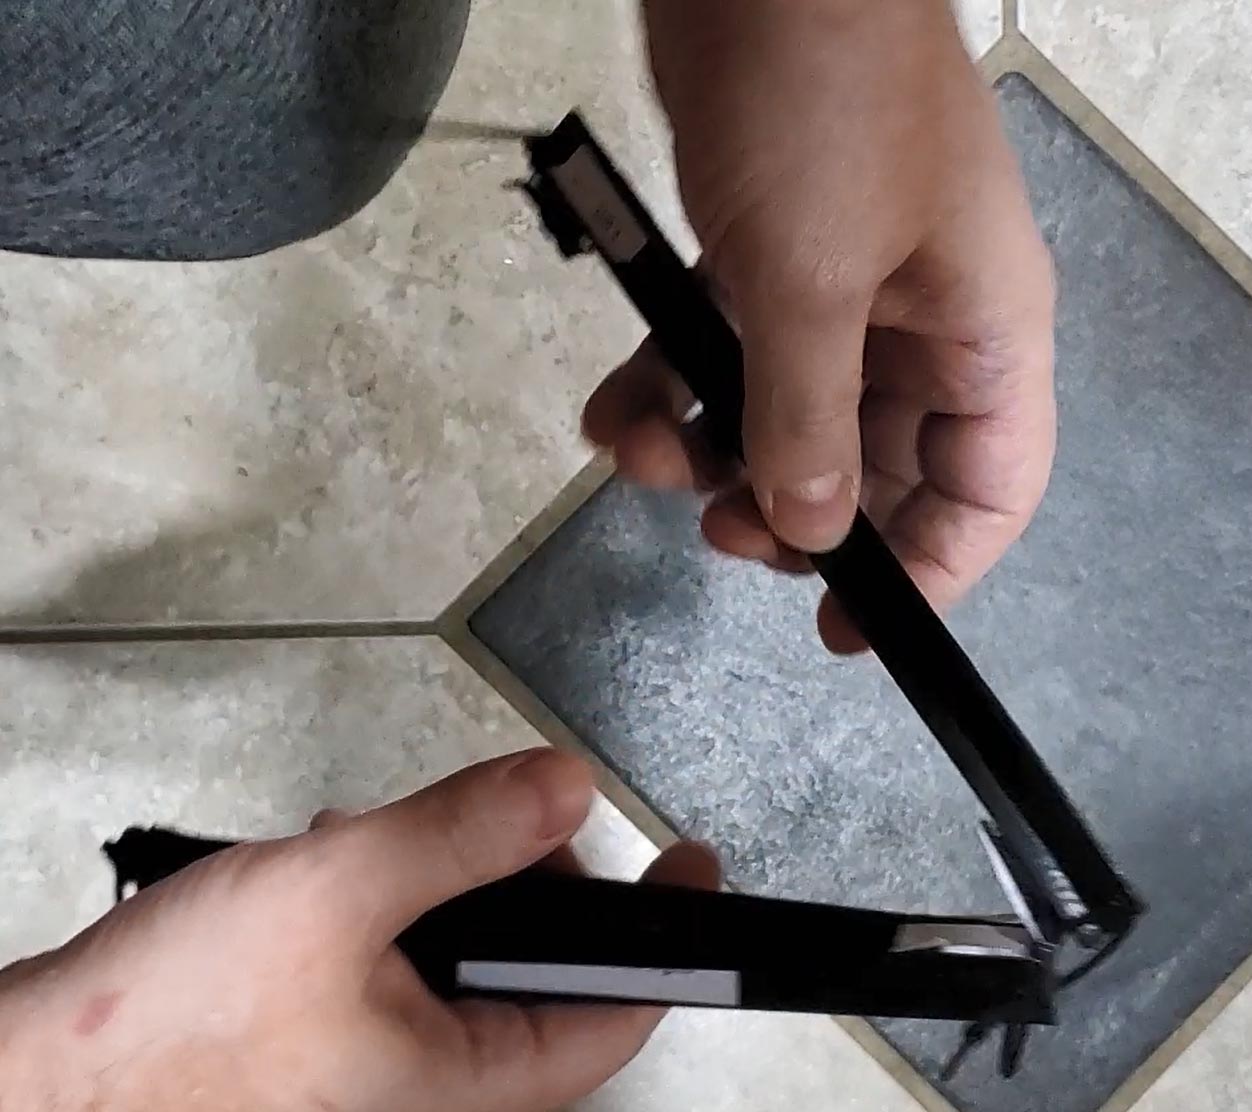
Put the rail down on a flat surface. I am using the floor. Attach the clips to each bracket as shown in the video above.
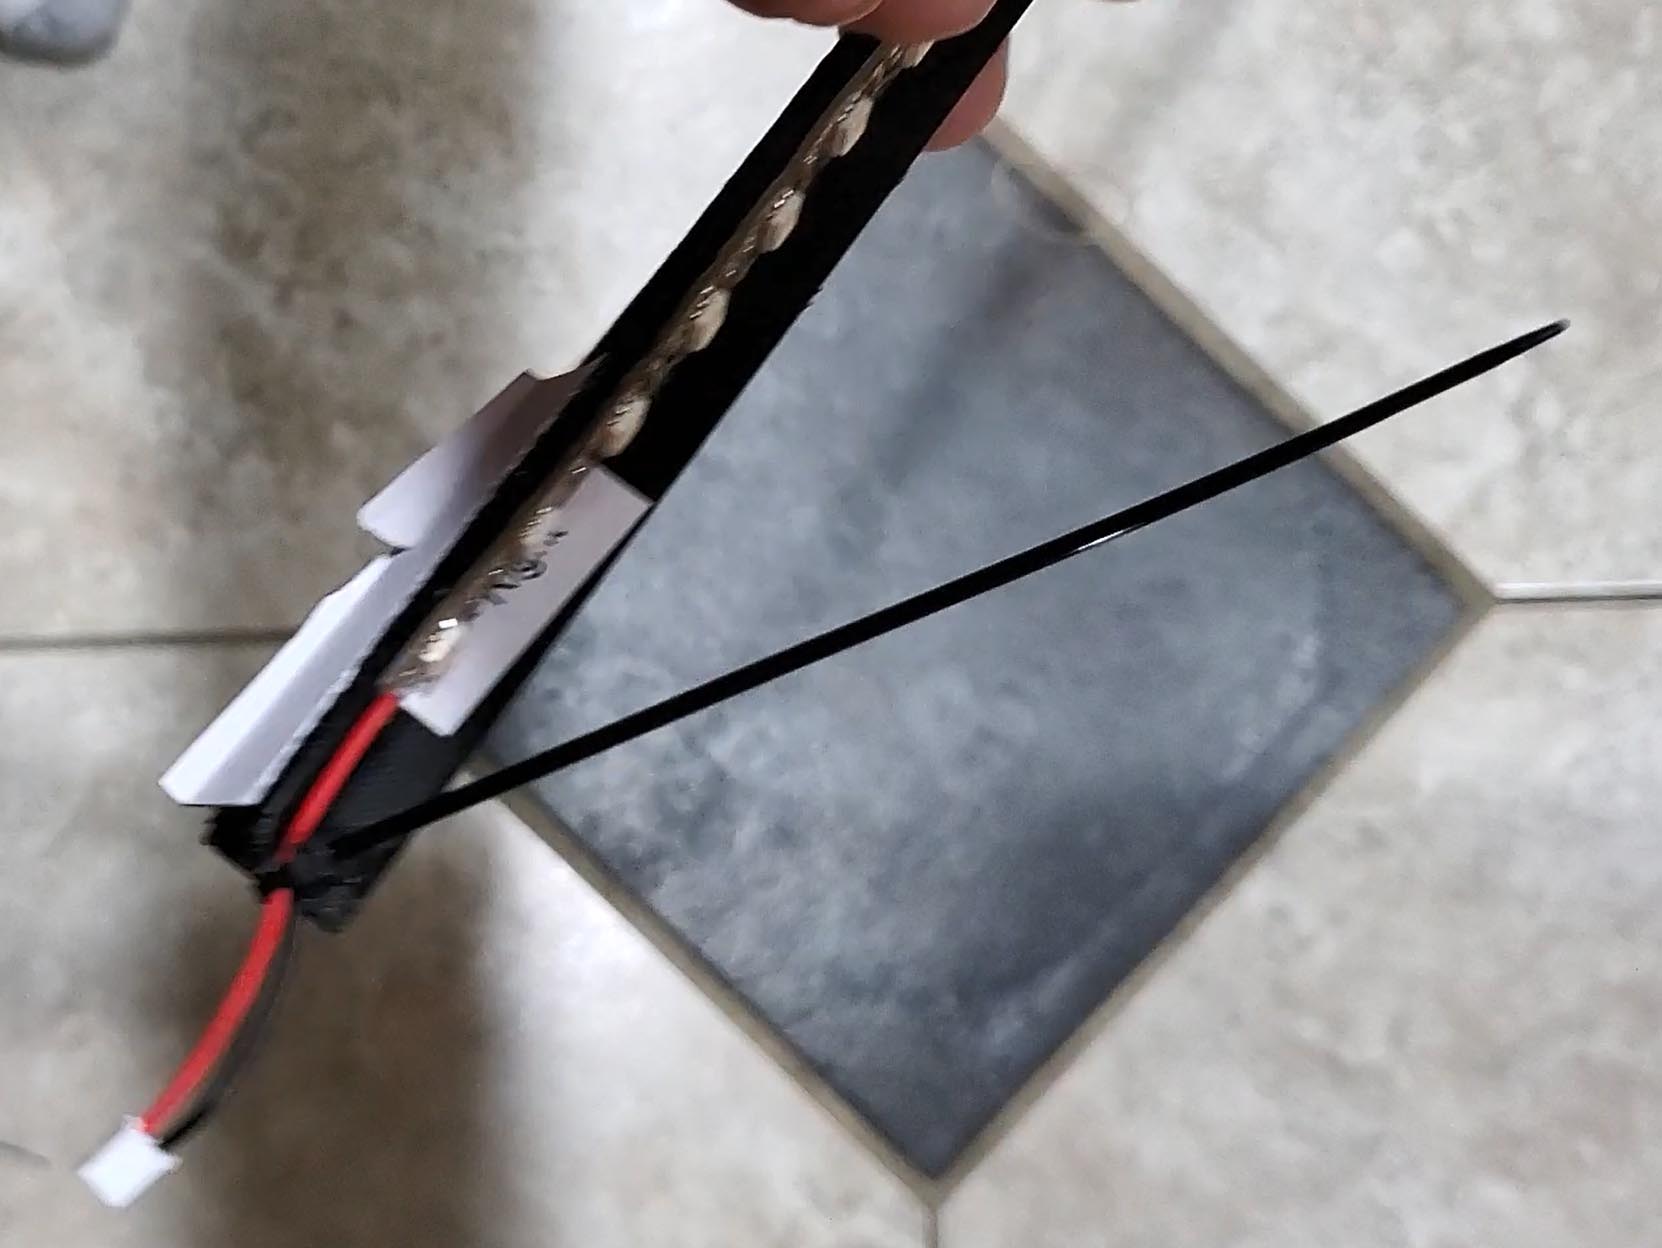
Next we will install the strip. The rails have stickers marking the left and right front. This is the part of the strip where we will place the connector on the strip.
Peel the strip backing tape
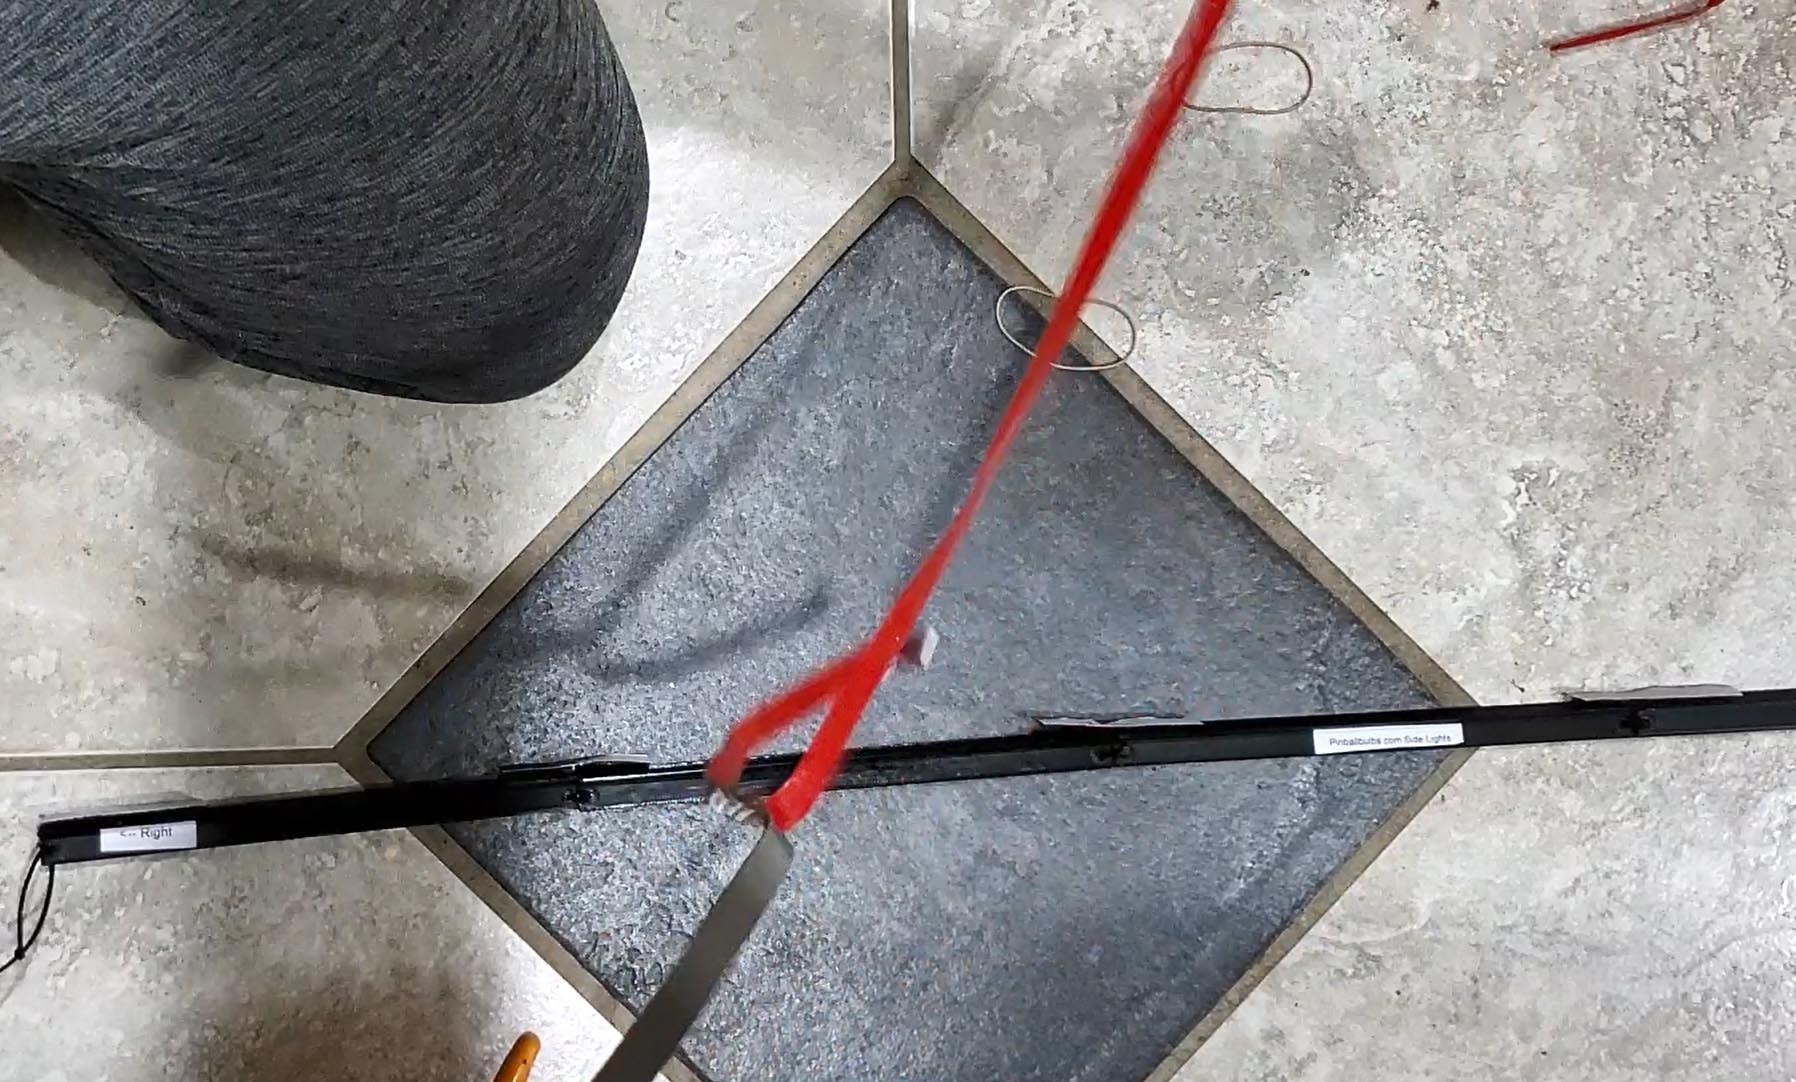
Feed the front power connection through the tie strap at the front
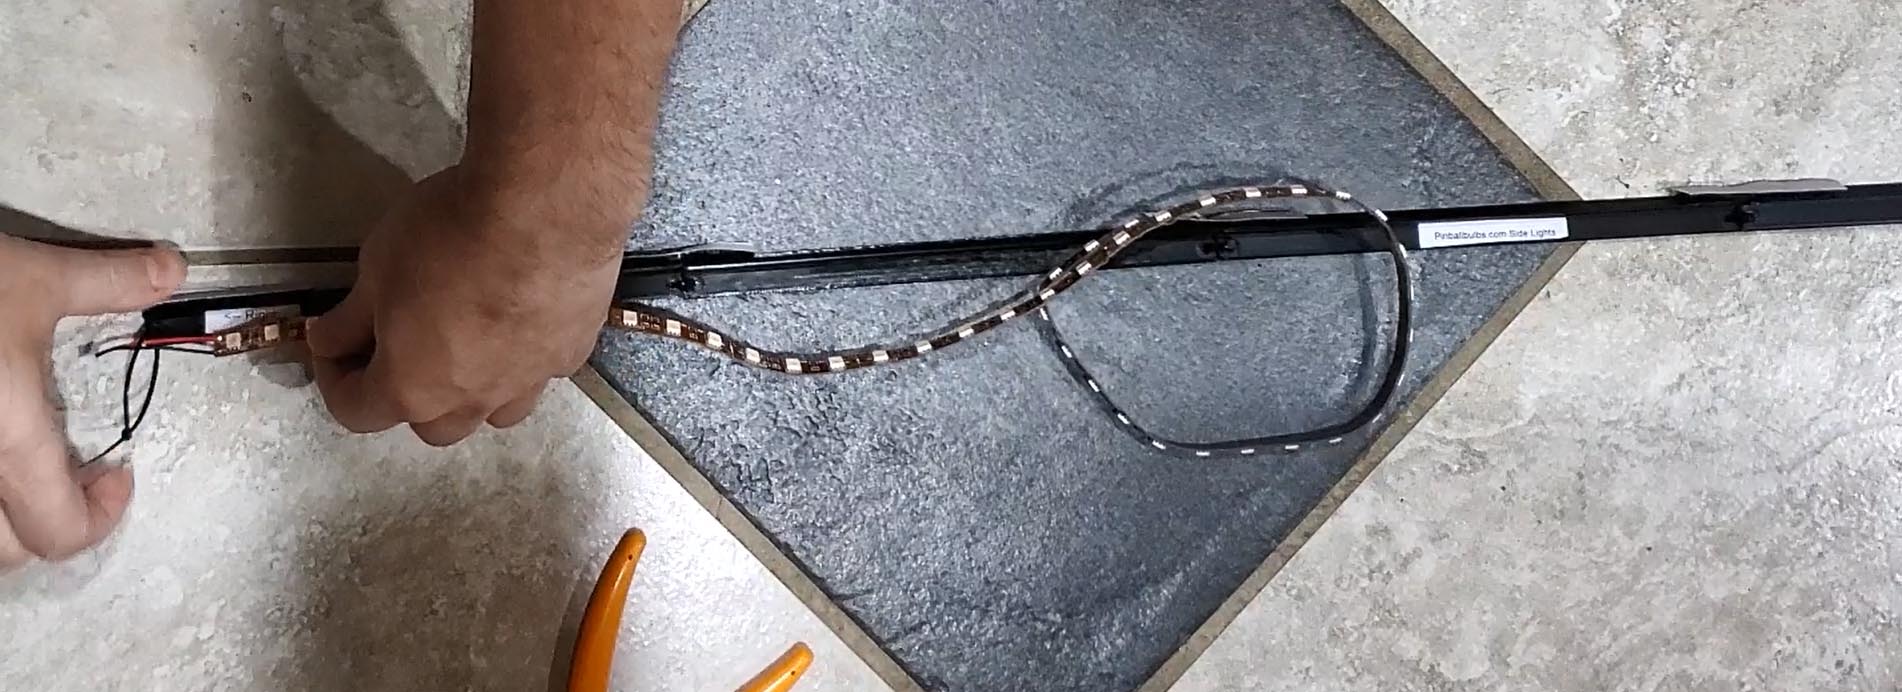
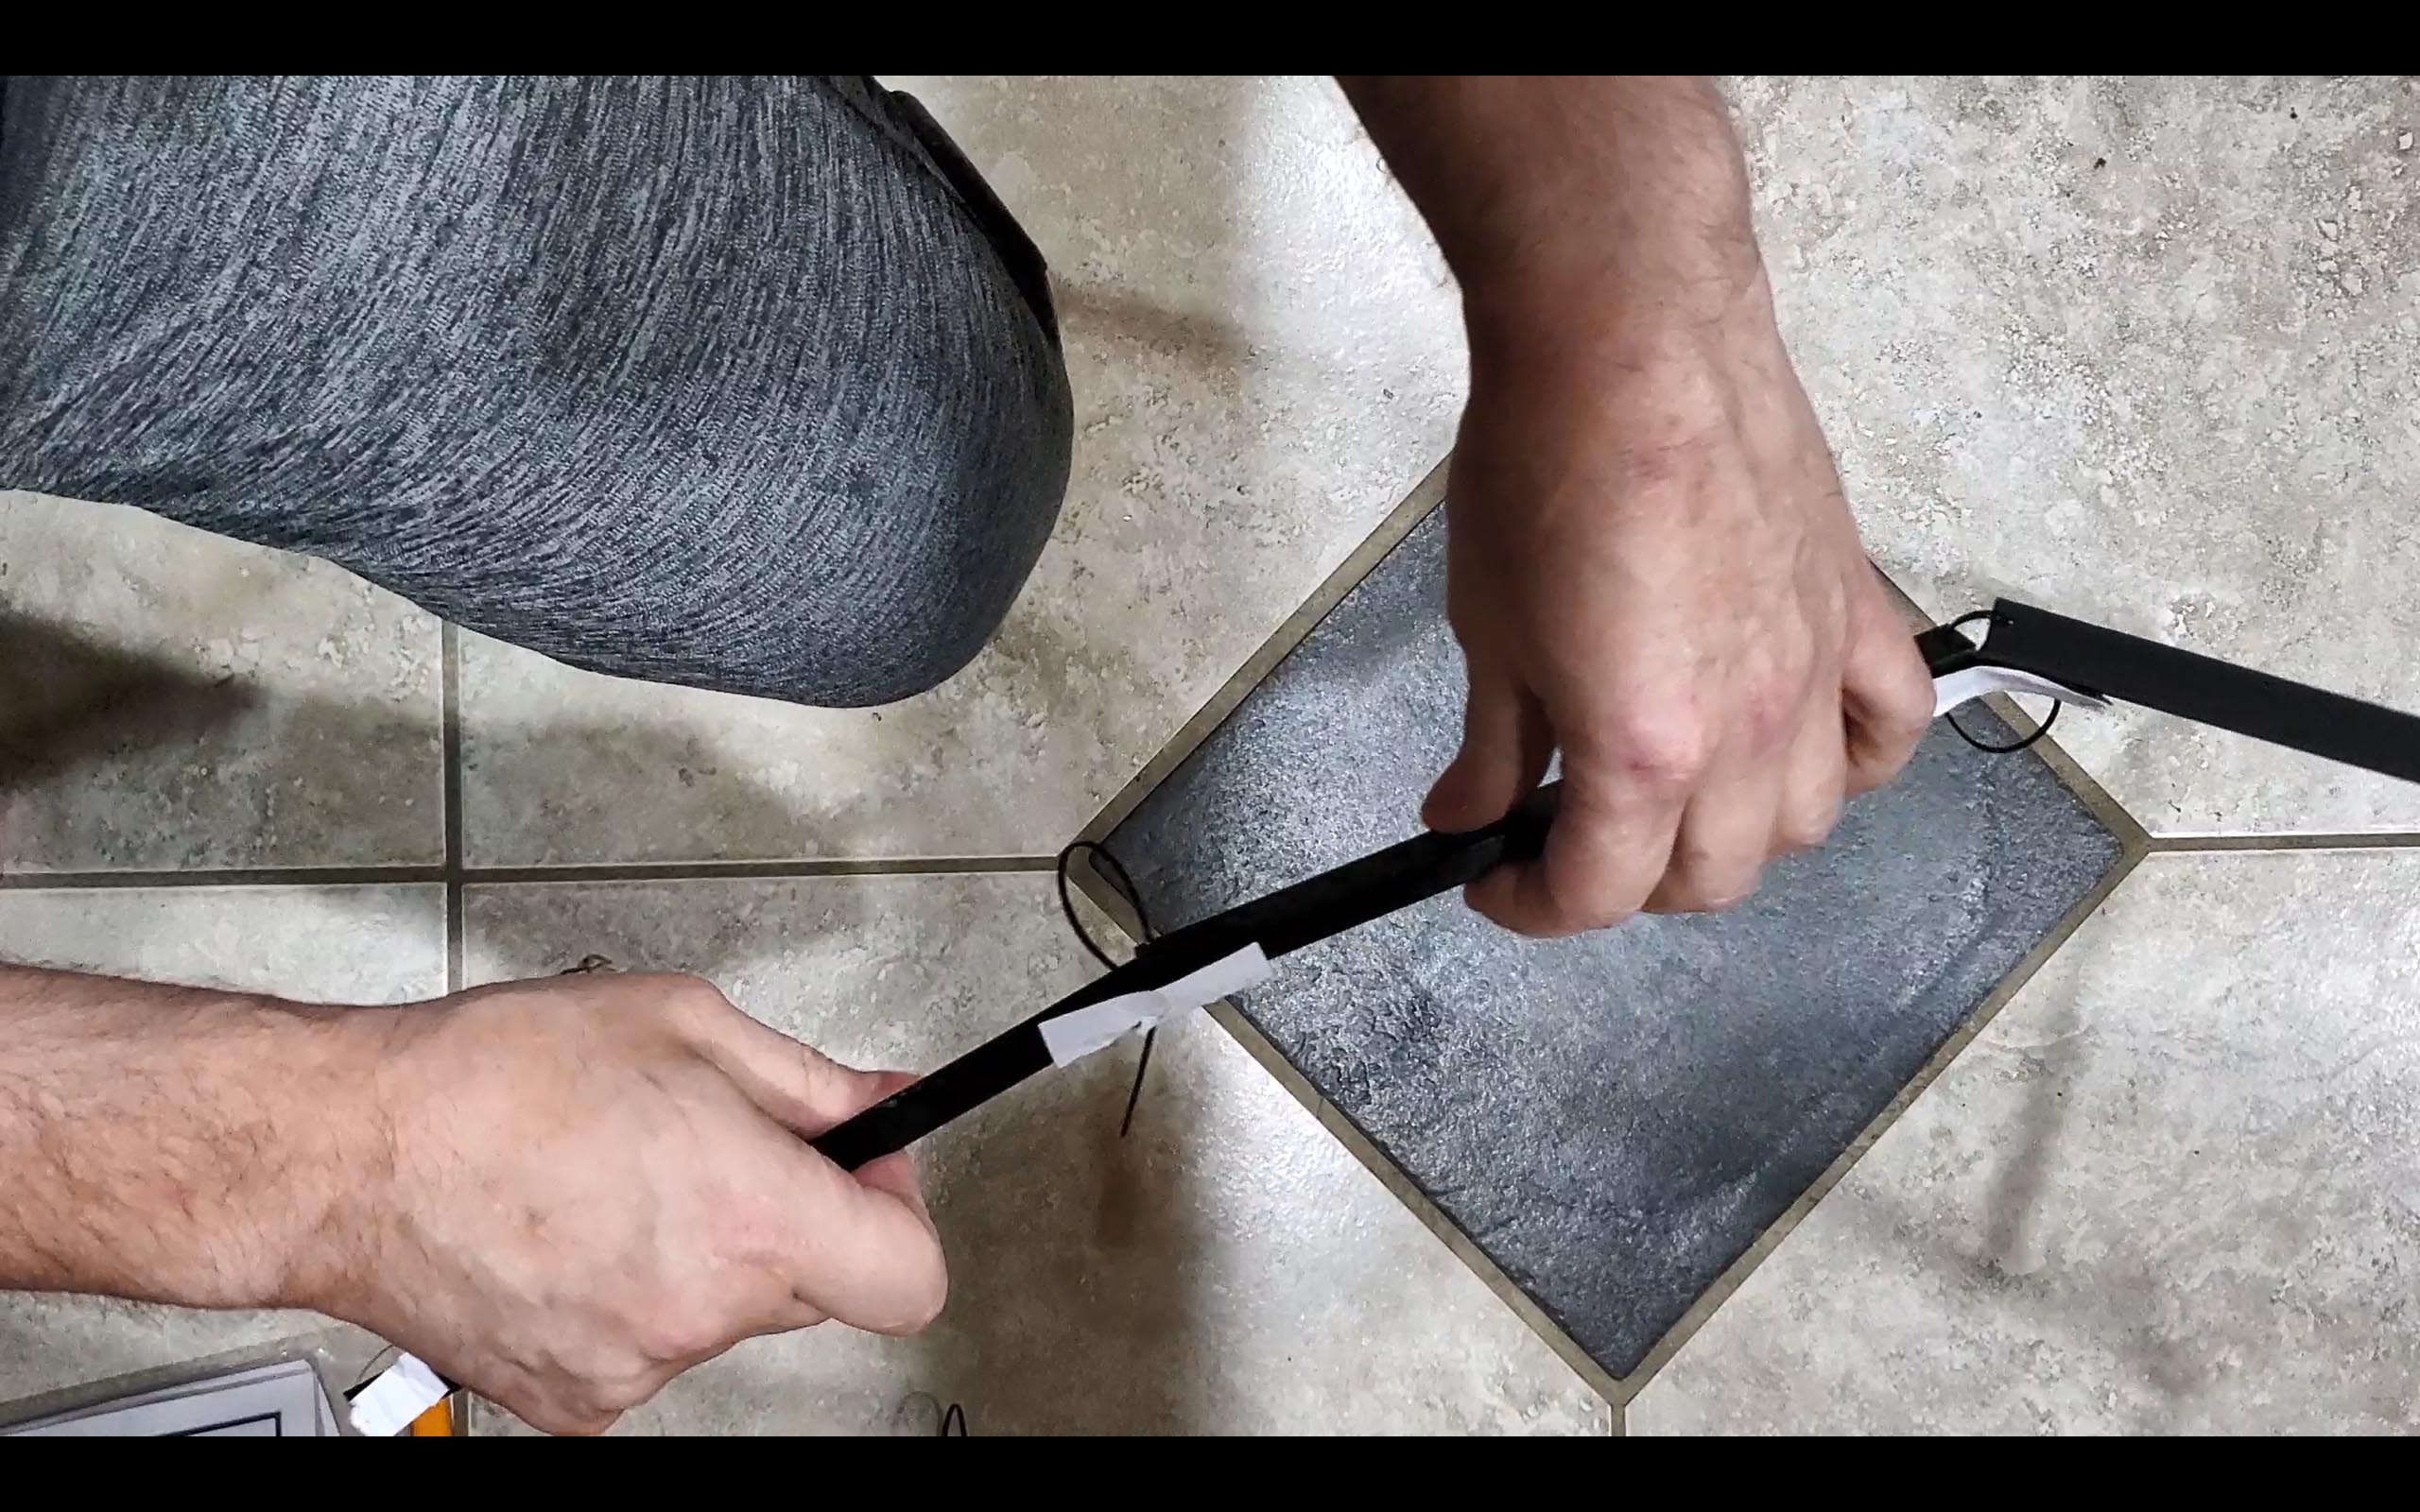
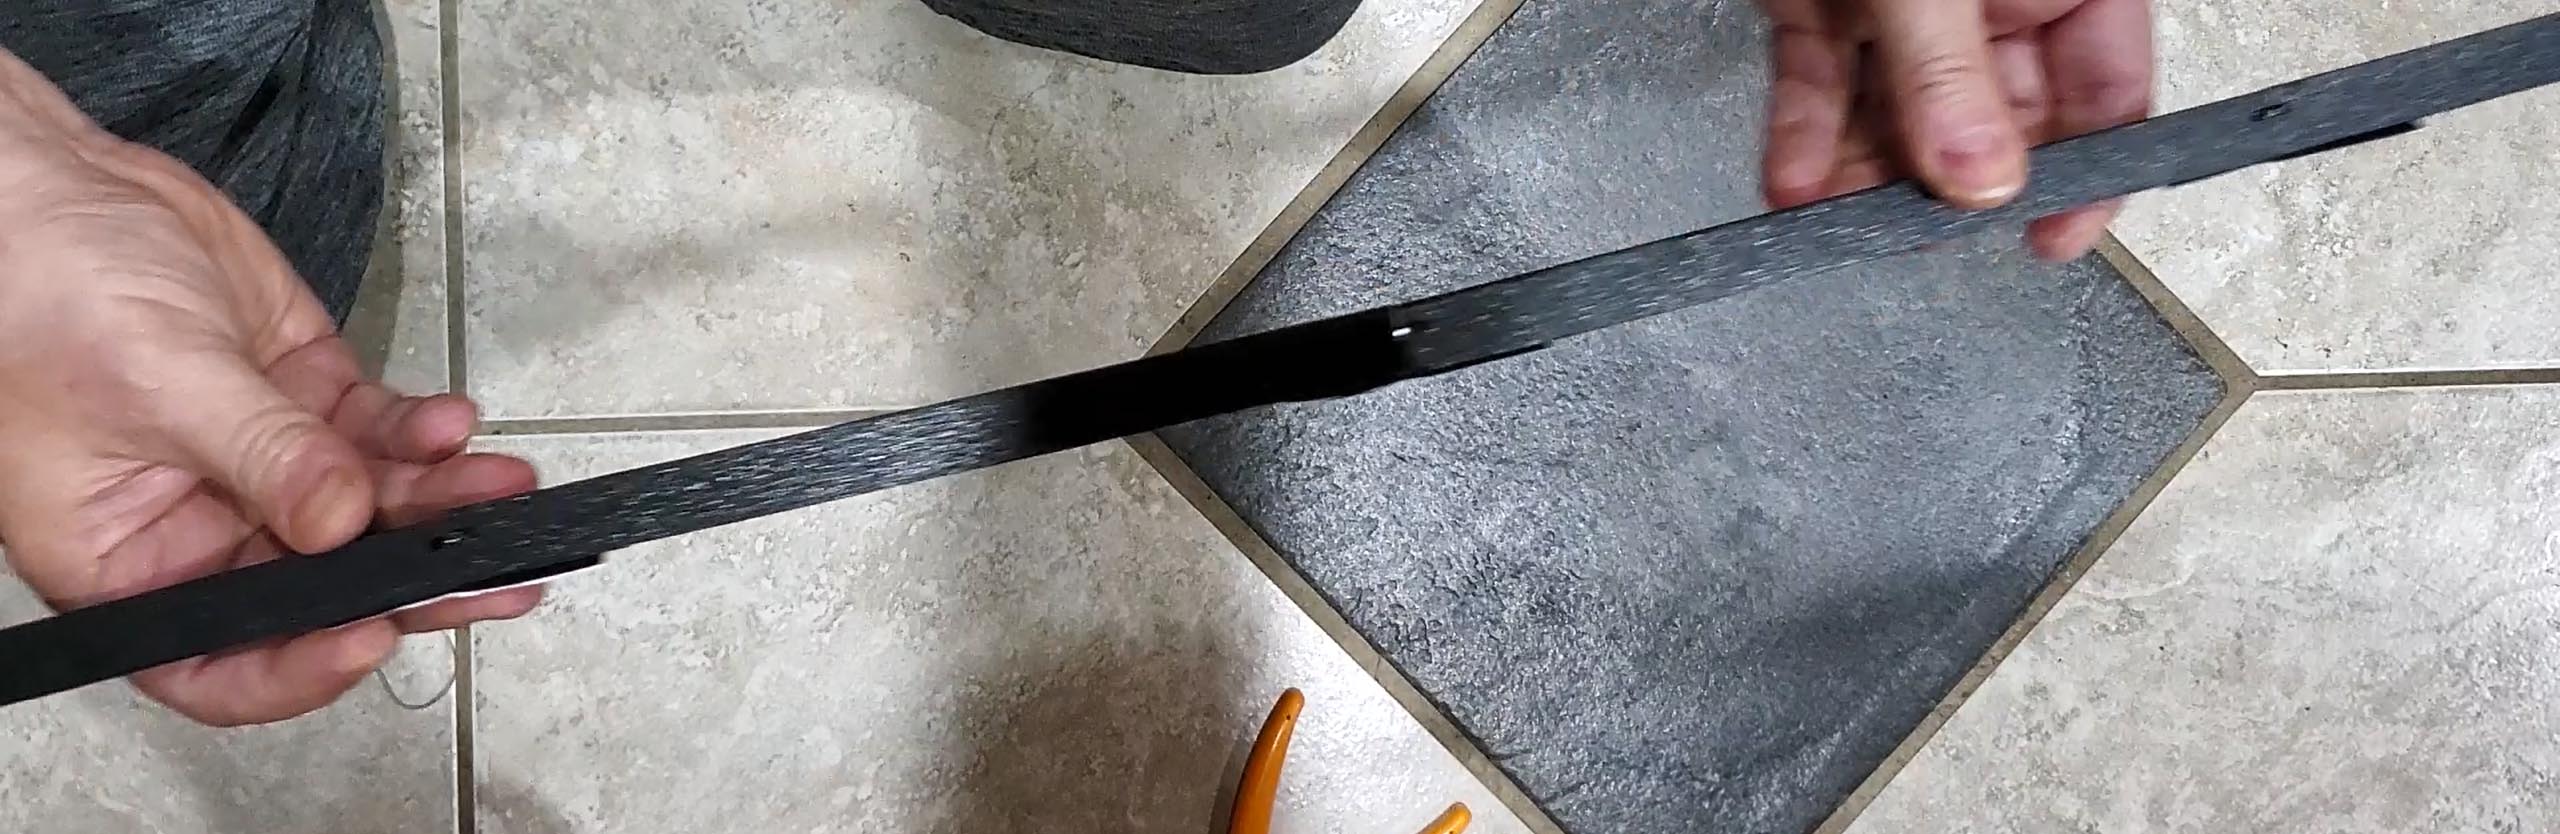
Run the rest of the strip on the rail. The strip goes on the same plastic part that has the velcro tape. The tape will attach to the side wall of the game. The strip needs to point away from the side wall not down to the playfield. The top of the rail is angled. The side is straight and has tape on the back. We are attaching to the side, not the top.
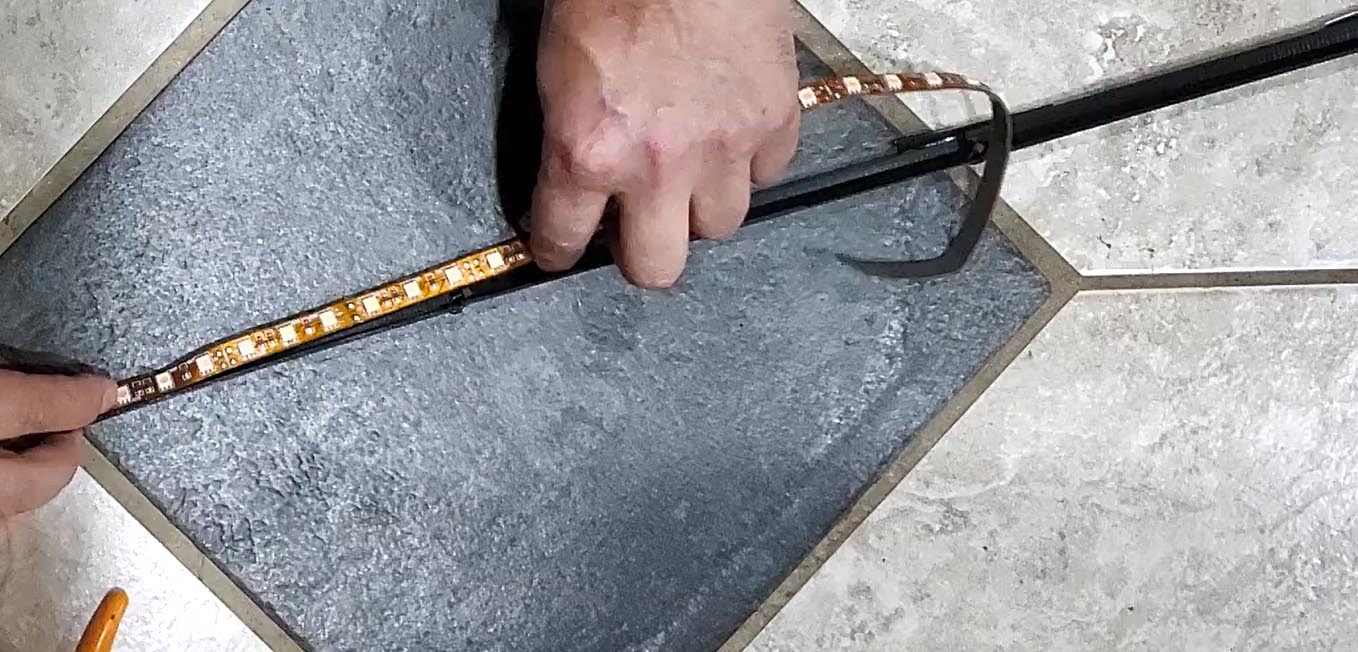
The strip doesn't stick well at first but you squeeze it tight all across the strip. This adheres it to the rail very well.
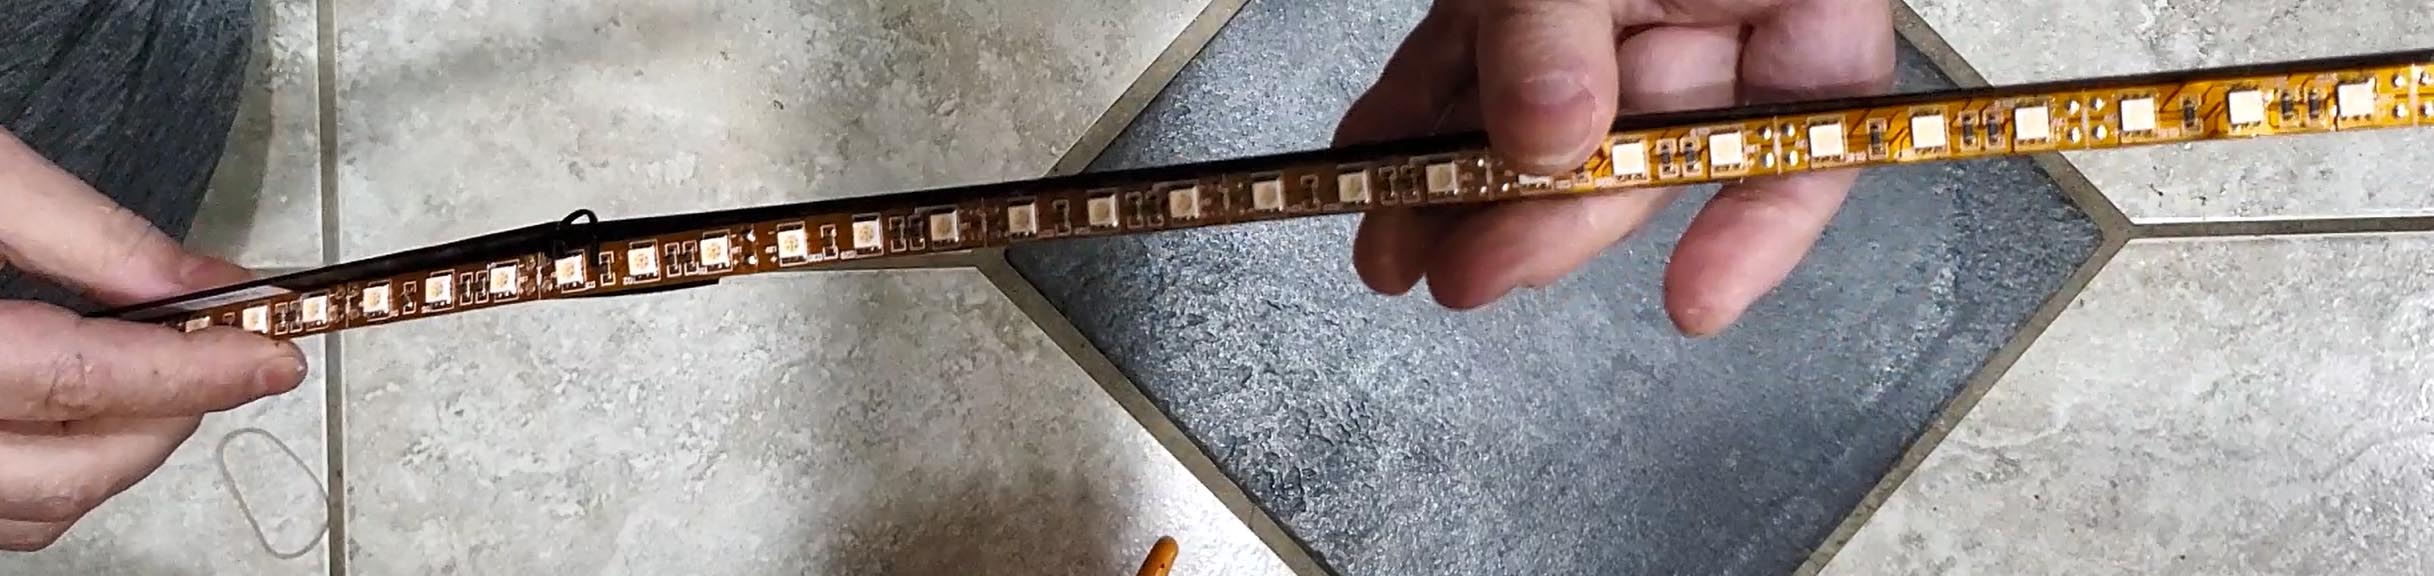
Tighten and trim the front tie strap holding the power connector
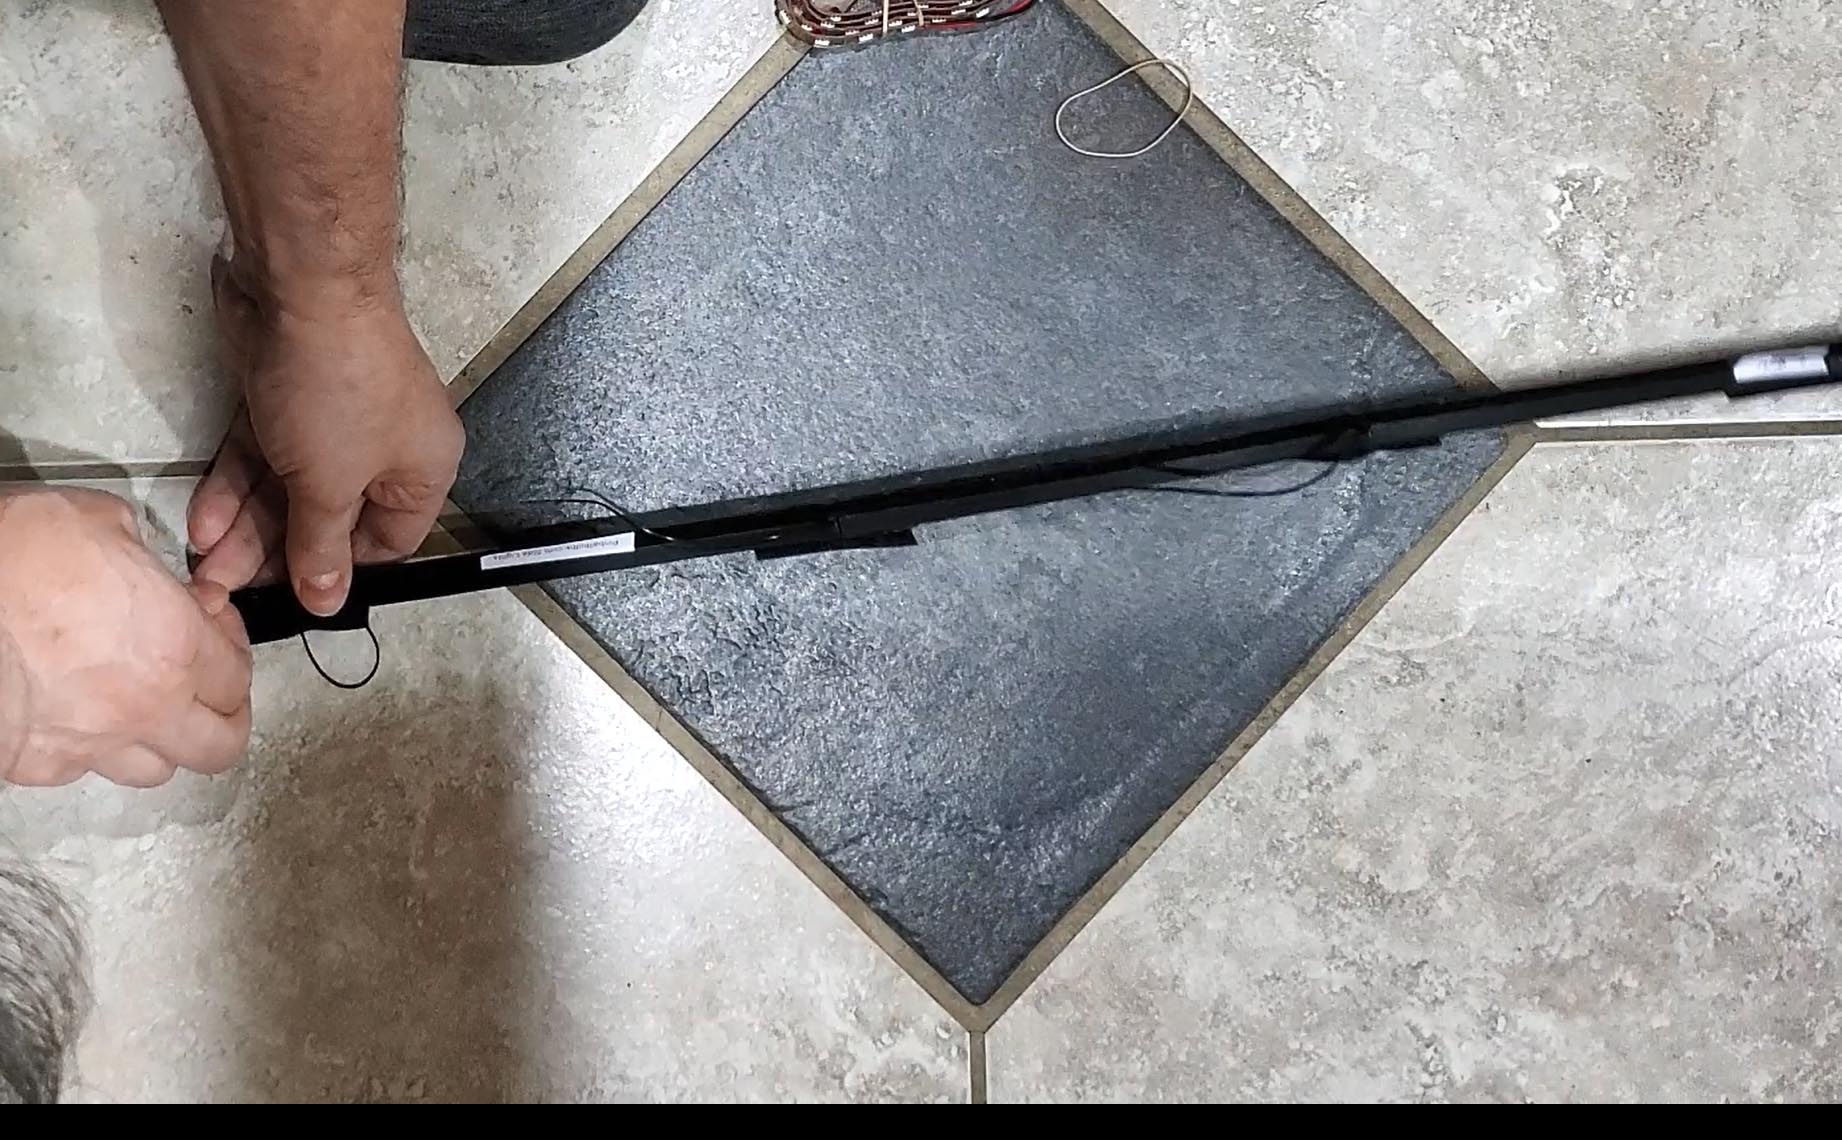
The rail is assembled. Repeat for the other side.
Top
Strips
Velro side that will attach to cabinet.

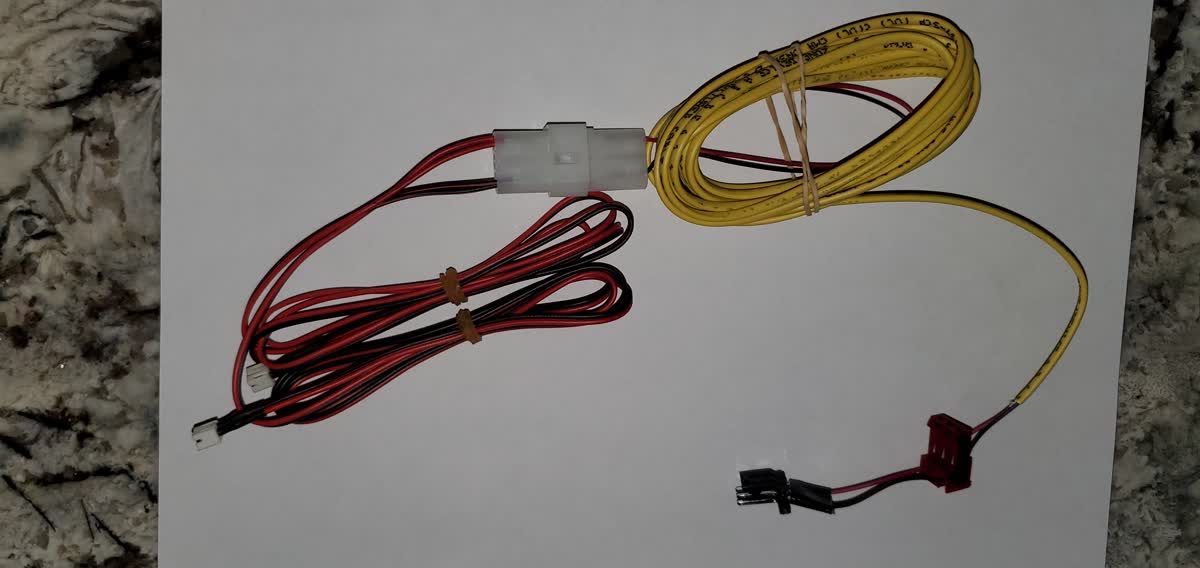
Attaching the power cables
Since the rails can only be installed when the playfield is down, we will run the power cables first. There are two cables. The mid-cable that plugs into the side-rails. This cable has 2 white connectors.
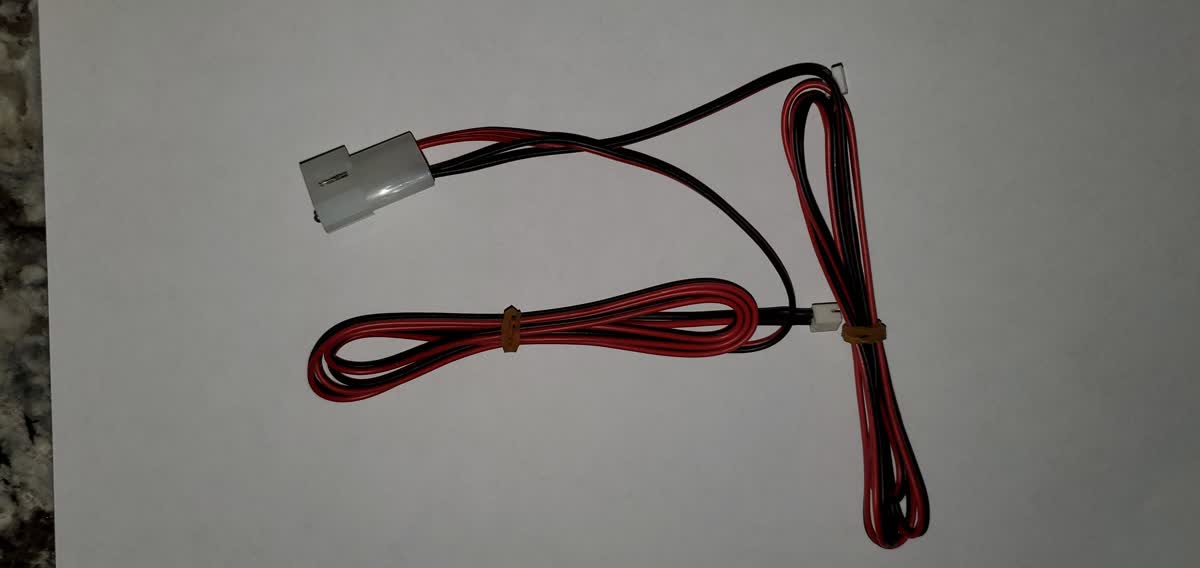
We will run this cable into the lower cabinet behind the backboard and use some tape to secure the white plugs in place so that when the playfield is down and the side light rails are removed, the plugs don't fall back into the cabinet.
With the playfield pulled forward, run the white wires to each side of the backboard.
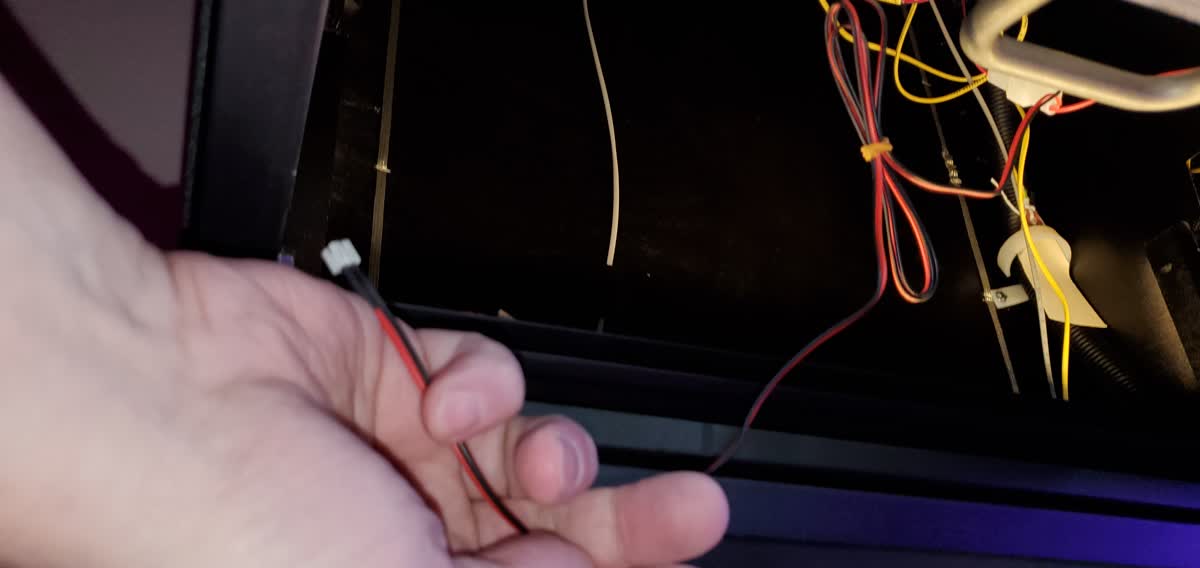
Use some of the included black gorilla tape or any electrical tape to tape the wires behind the backboard so they don't fall into the cabinet. If the wires fall into the cabinet, it just makes it more of a pain to remove and reattach the rails when lifting the playfield.
Here is how the wires look when taped just hanging there.

Once run, you can see the playfield in place with the two wires one on each side poking through. This makes it easy to remove the side light rails to lift playfield.
The other end of this cable plugs into the cable that goes to the game power. The game cable will be different depending on what game you have. Here is the stern spike cable plugged into the mid cable:
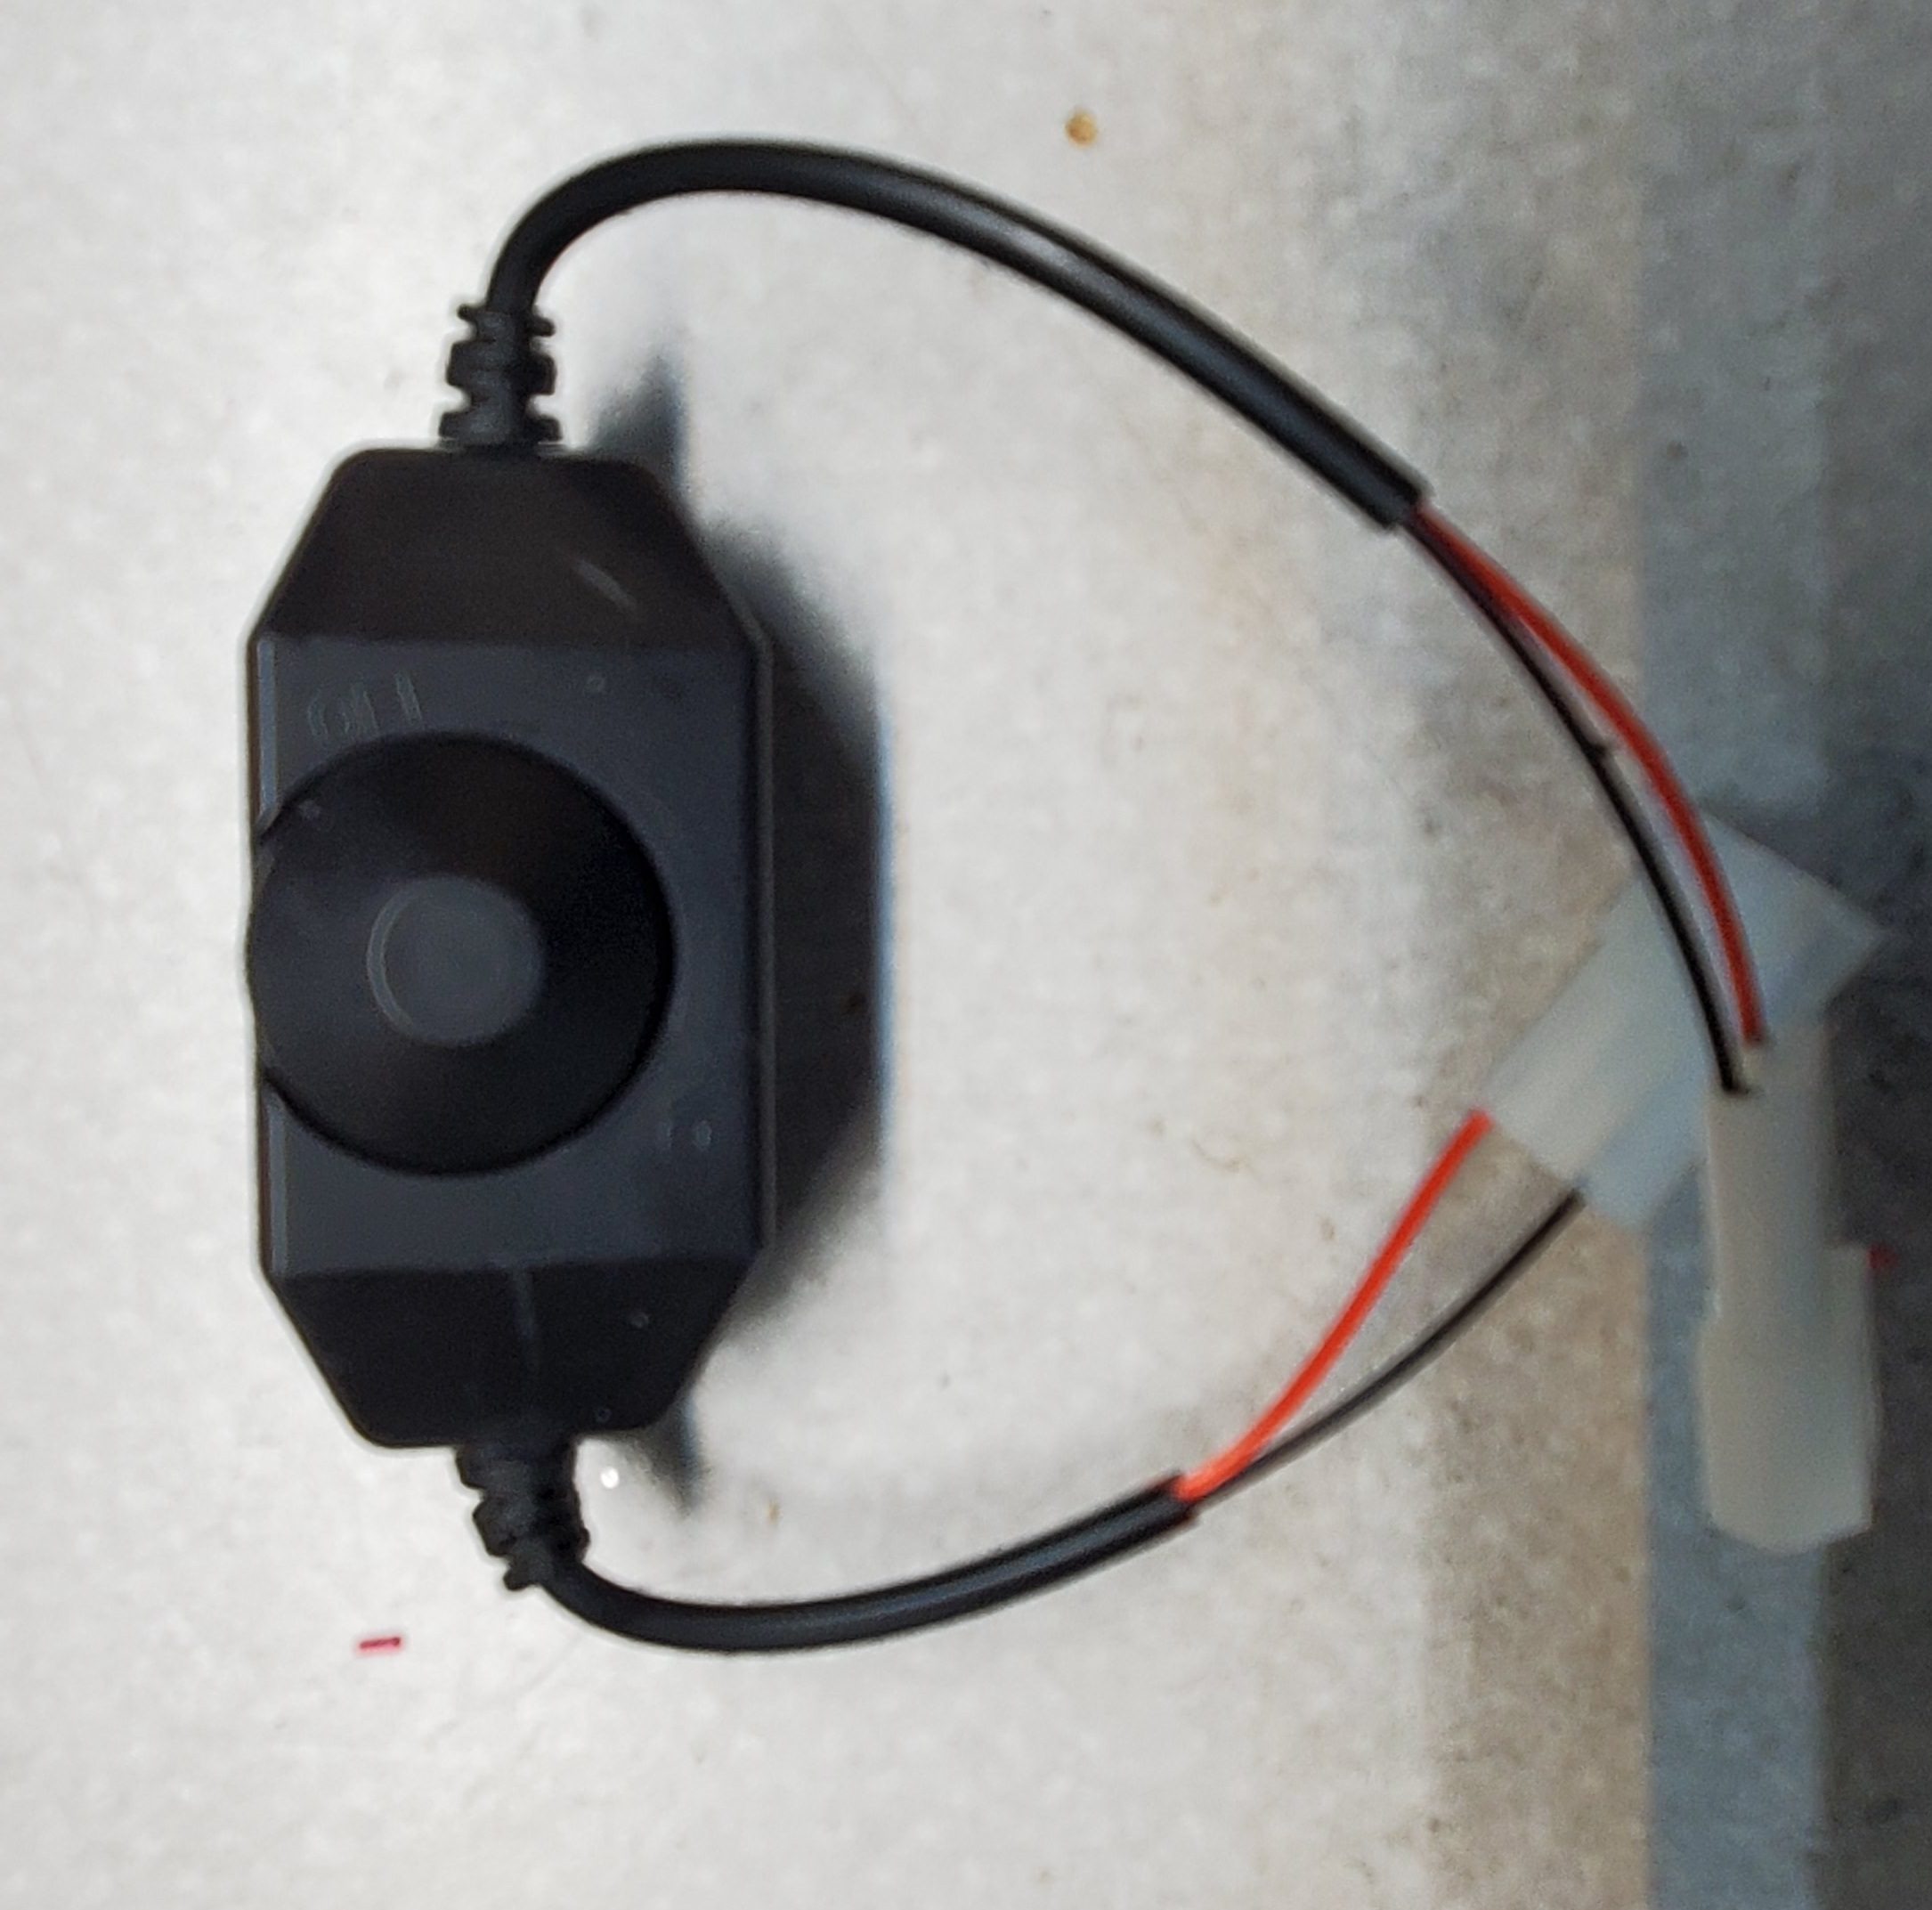
Dimmer control
Note: this is for white sidelights only. It is not needed for something such as purple, which should always be fully lit.
Cool white side lights can be a little too bright in some cases. So, we include an optional dimmer. If you want to use this, simply plug it in between the red Y cable and the game's power cable. It fits inline and can only be plugged in one way. Then you can turn the knob to adjust the brightness of the strips to your heart's content. It's a purely optional step.
Power Connections
Next, we will need to attach the power cable into the game. This will vary depending on your game. Here are instructions for each manufacturer we support:
Power Connections
Stern Spike 2 - Stern modern games.
Stern Spike 1 - Stern original spike games uses node board to left of cabinet.
Stern and Sega - Stern/Sega Whitestar and SAM to right of coin door.
Williams DMD - Power for Williams DMD class WPC, WPC-S, WPC-95
System 11 - Williams System 11 games
Data East - Data east games
Jersey Jack Pinball - Power for JJP machines by the coin door.
Chicago Games - Chicago Games (Williams remakes)
Spooky Games - Spooky Pinball Games.
Alvin-G - Alvin-g Games are supported!
Gottlieb - Gottlieb system 3 (DMD) games are supported.
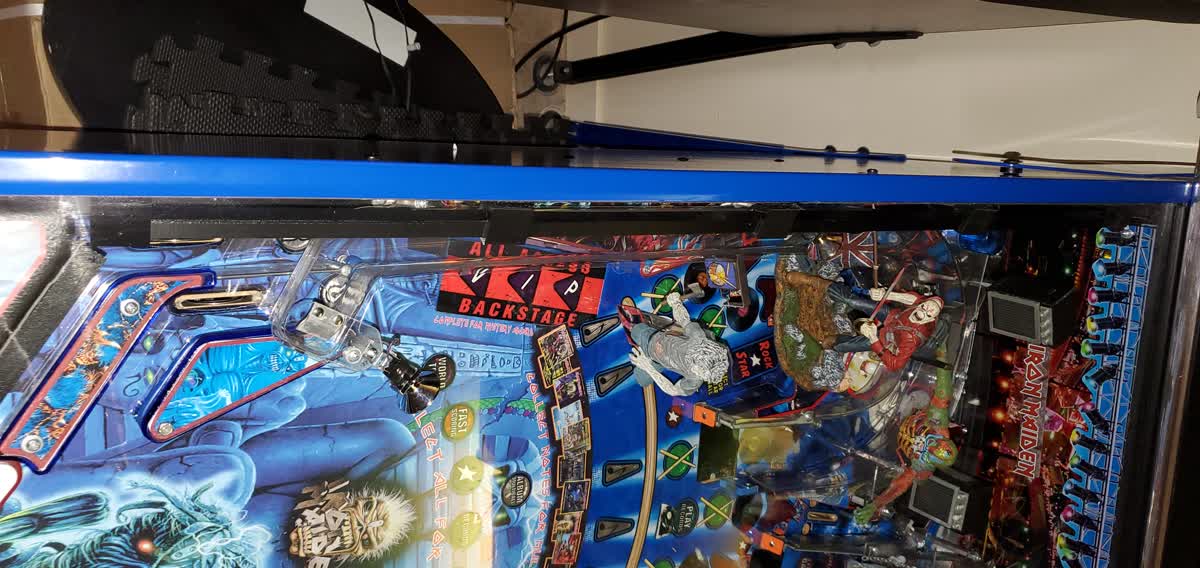
Installing Rails In Machine
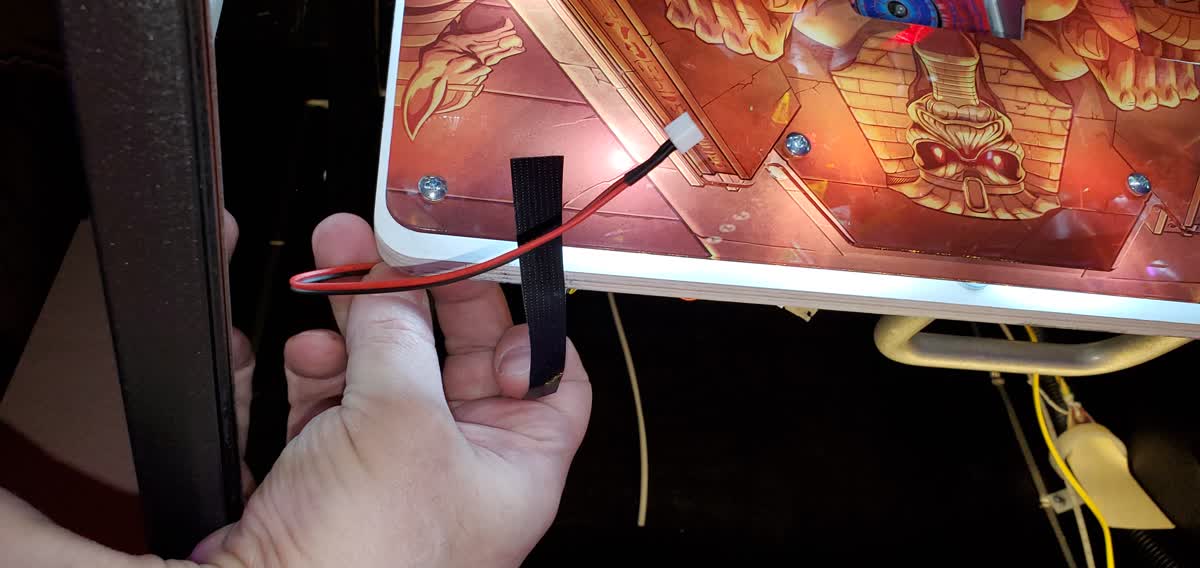
Ok at this point you can install into your machine. The side rails are now 4 pieces: 2 side rails, 1 side rail power cord, and 1 game power cord that connects to the side rail power cord. The side rails themselves have little white power connectors on them. These face the back of the machine. The leds will face side ways slightly angled down towards the playfield. The rails are marked left and right.
Here is a side rail installed:
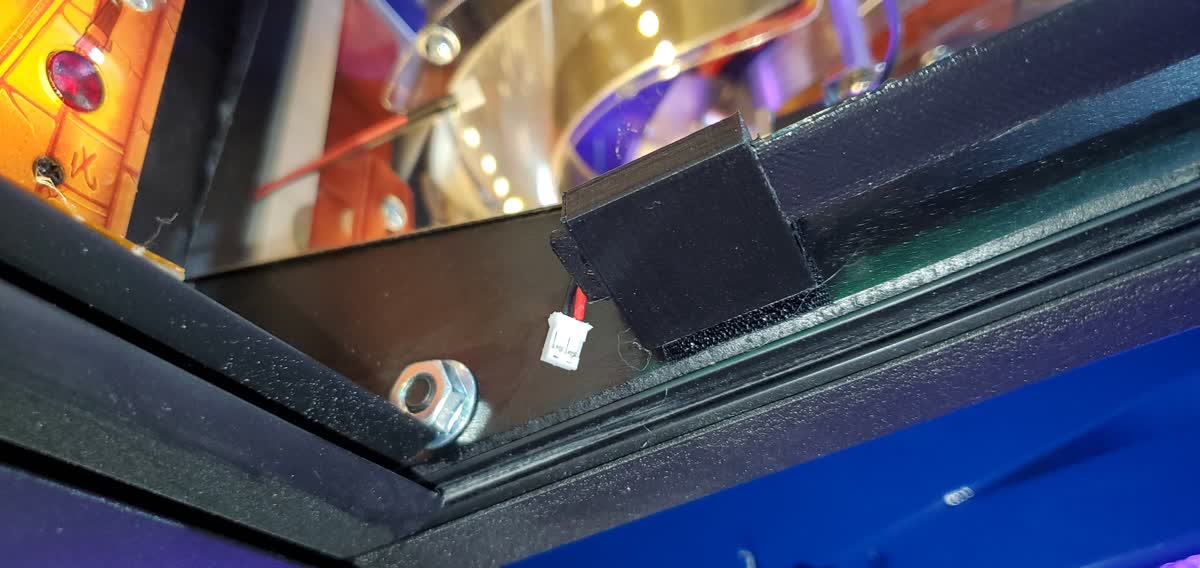
Here is the small power connector:
To mount the side rail, simply peel the tape on the 5 velcro pieces and stick it to the side of the cabinet. You want to position it as high as possible directly under the glass guides so that the glass doesn't hit it. If your cabinet isn't clean, make sure you clean it with alcohol and let it dry before sticking the tape or it will come off.
Peel the tape on each of the 5 segments
Line up close to the apron so you get light near the lower playfield flippers
Push to the side of the cabinet firmly to stick.
Finally, plug in the white power connectors.

Plug in both sides
Removal to lift playfield
When removing the rails to lift the playfield, just carefully pull the rails off the velcro and unplug them. When you unplug the white connectors, actually pull the wires not the white plastic. This helps prevent the white connector from coming off the wires. The wires in the back of the plug can just pull out of the white connectors easy. If this happens you can just poke them back through. Just make sure you line up red with red and black with black.
Other Videos
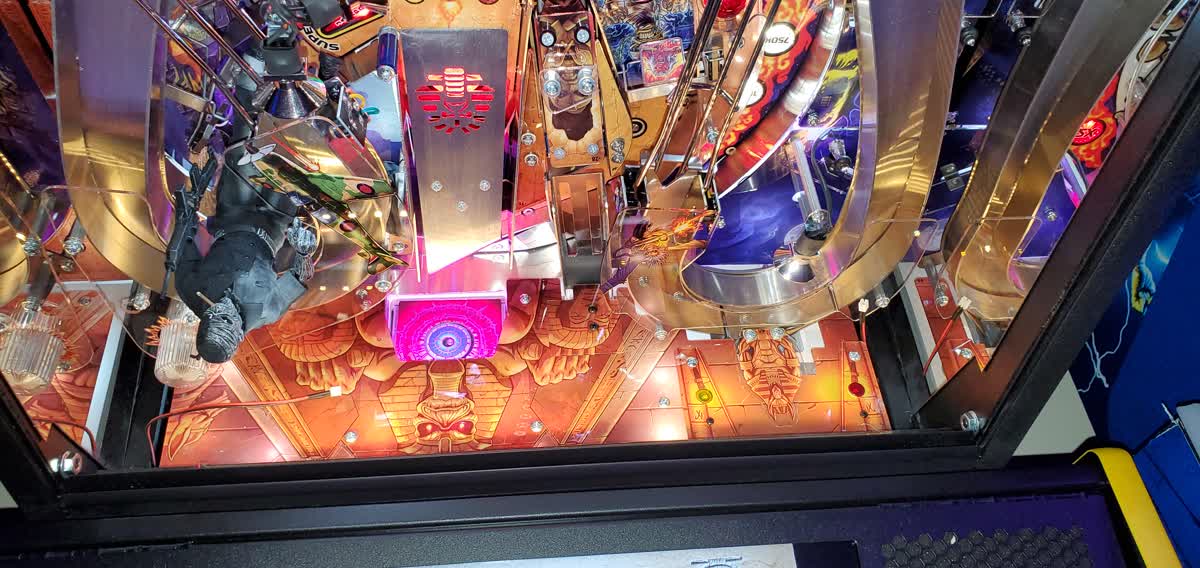
Here is a video showing how we get to power in Stern's Iron Maiden. It also shows the prototype installed rails which look a bit bulkier but are otherwise the same. Here we also show removal and adding of the velcro rail into the pinball machine.
This video shows the production rails installed into metallica. Ignore the horrible purple hue of everything here. It's a side effect of the crappy camera.


